Prop - Mandalorian Helmet
I stumbled upon a prop making video for the Mandalorian helmet a while ago and finally got around to making it. The templates were made available for free, and the video was a helpful guide for getting it together, but there were several things that that I had to work out myself (like most prop projects even with good templates).
I knew I didn’t want to to have the visor sit so back in the helmet, and also the metallic finish had to be closer to the actual helmet, which I feel I achieved but had other issues along the way.
Materials used
- EVA foam (5mm foam)
- EVA foam (10mm foam)
- Contact cement for sticking everything together
- Foam Clay to fill gaps and more detailed parts
- Craft filler for the holes and gaps in the foam and resin
- Primer sandable base coat primer
- Metallic paint for main colour
- Resin coat few light layers for smoothness (well attempt to)
- Paint protection for sealing without impacting paint metallic-ness
- Visor suggested from the video
Tools used
- Knife for cutting out foam
- Silver sharpy for tracing out template
- Heat gun for sealing the foam
- Respirator when working with contact cement or heat-sealing the foam or sand-papering the foam and resin, very important!
- Safety glasses when working with contact cement, you don’t want that stuff in your eyes
- Ruler for general measuring
- Craft knife helpful for cutting paper
- Aviation snips for cutting the visor
The process
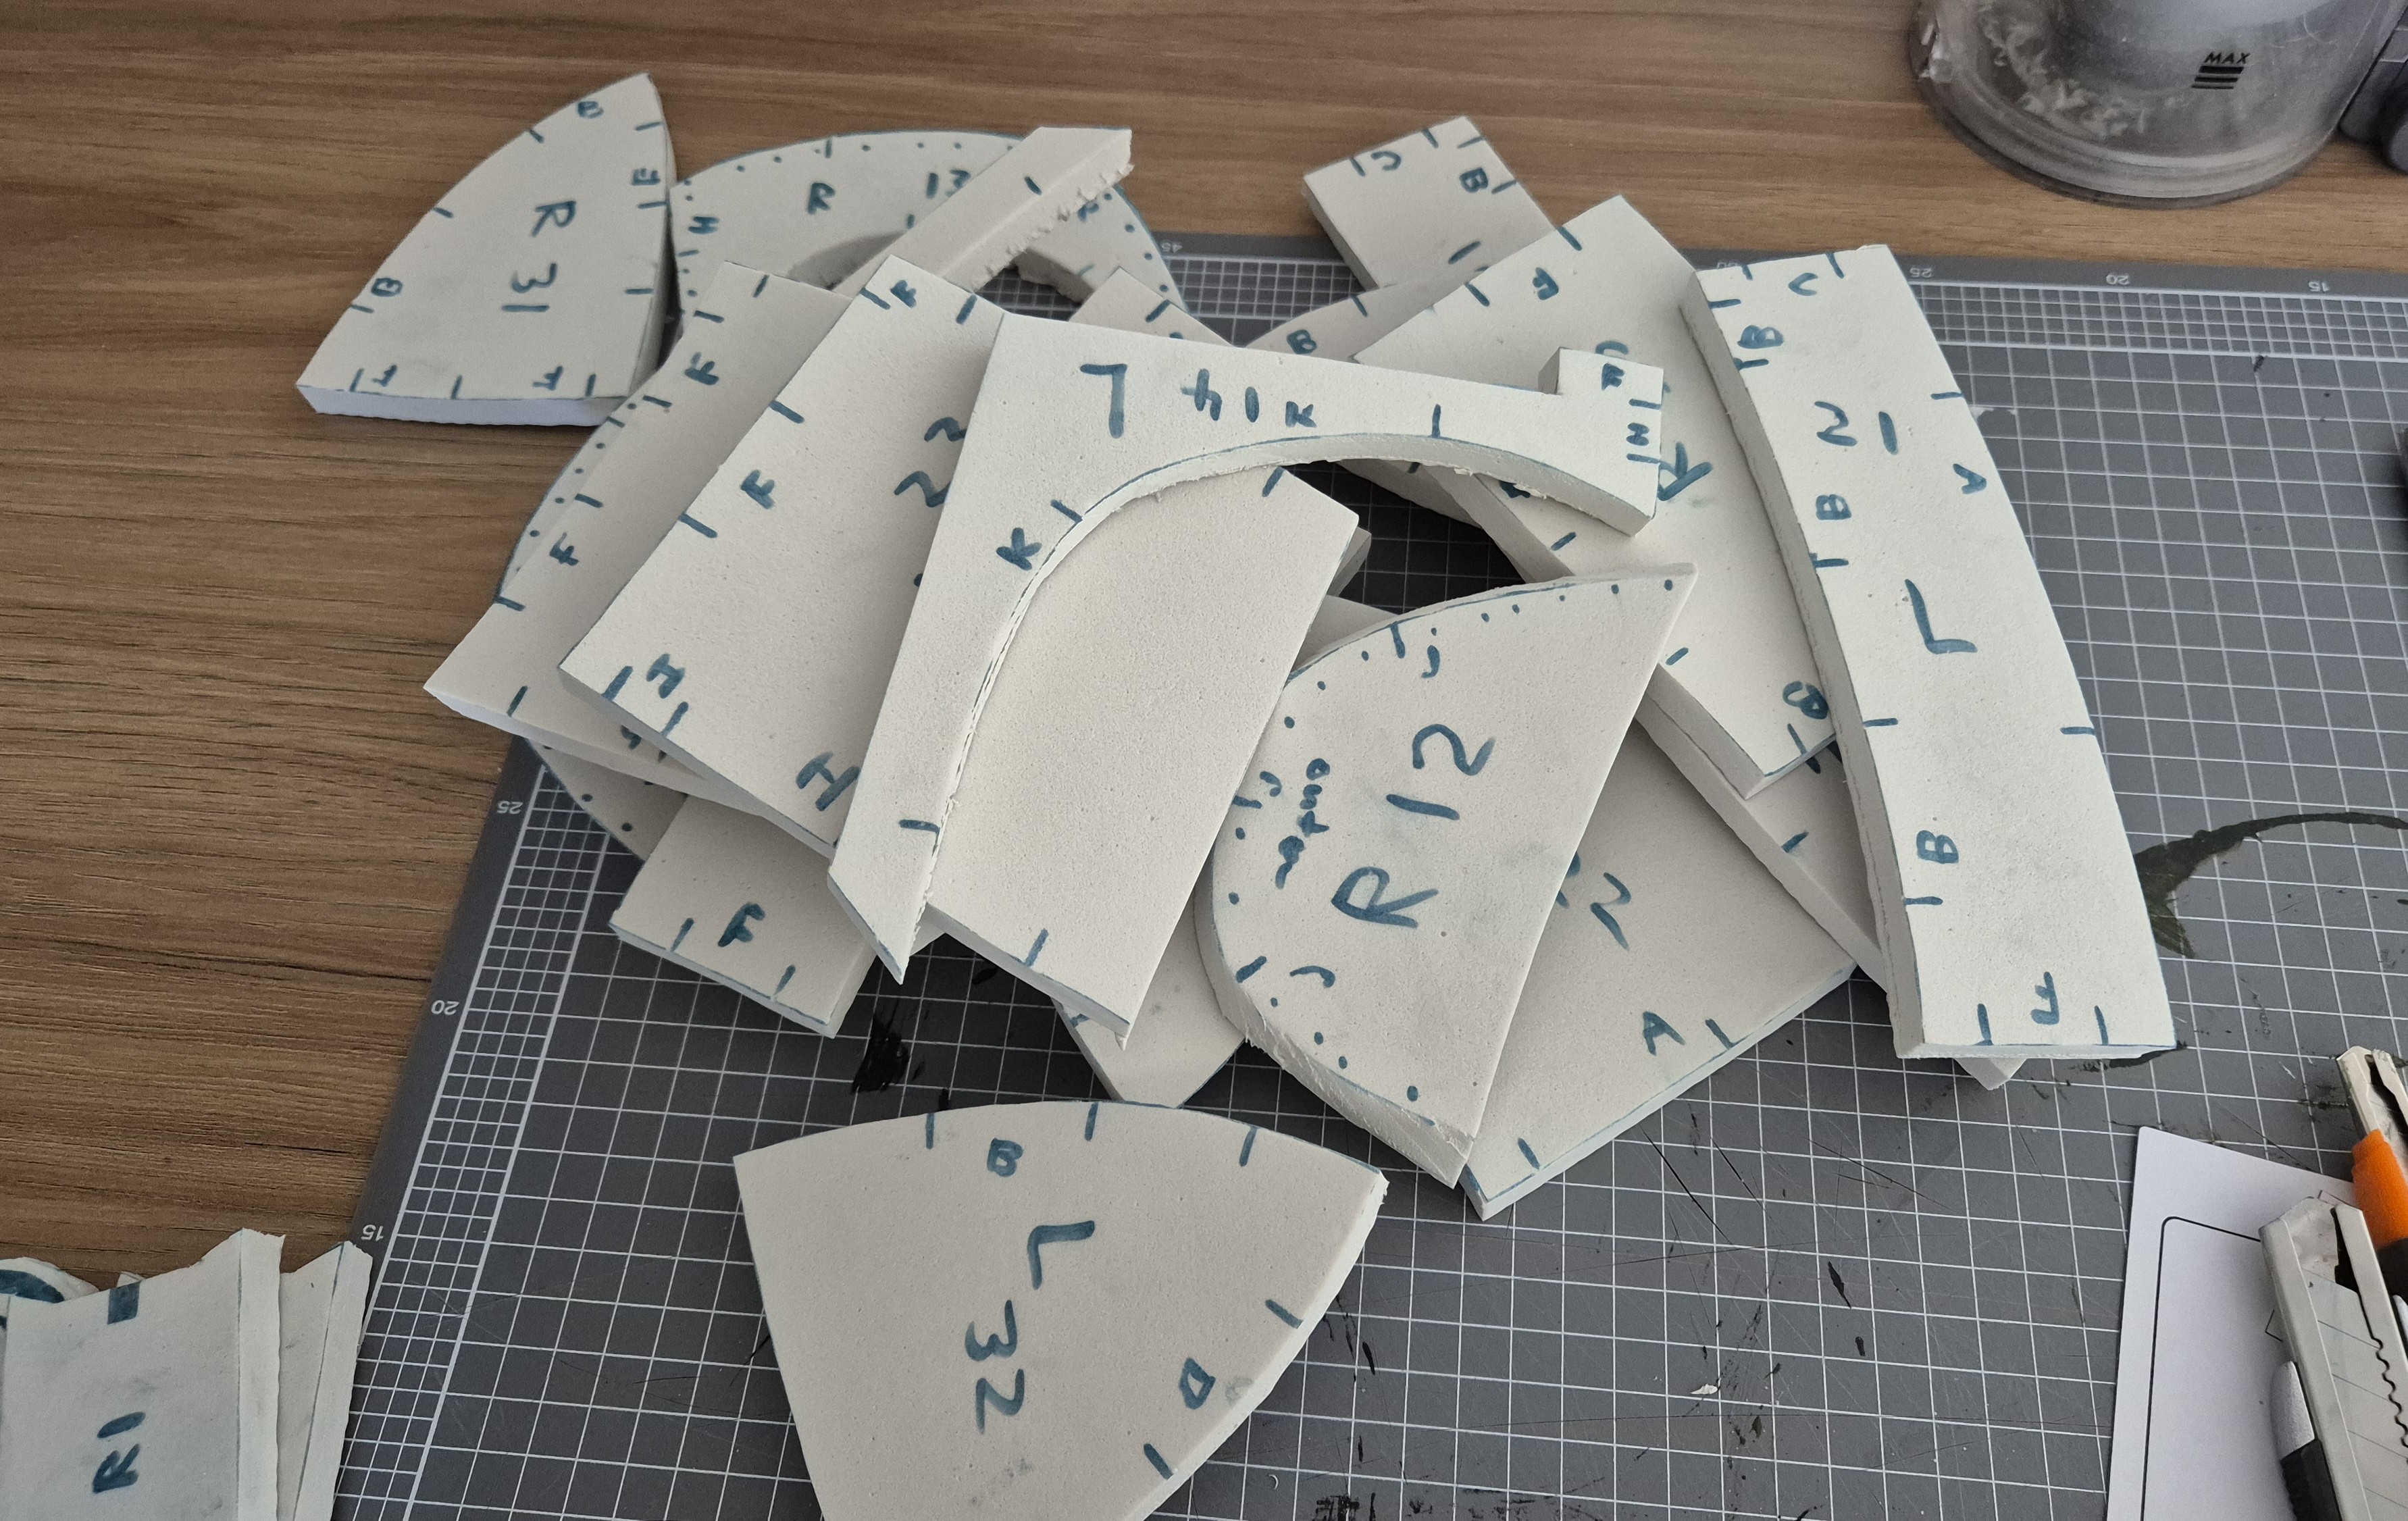
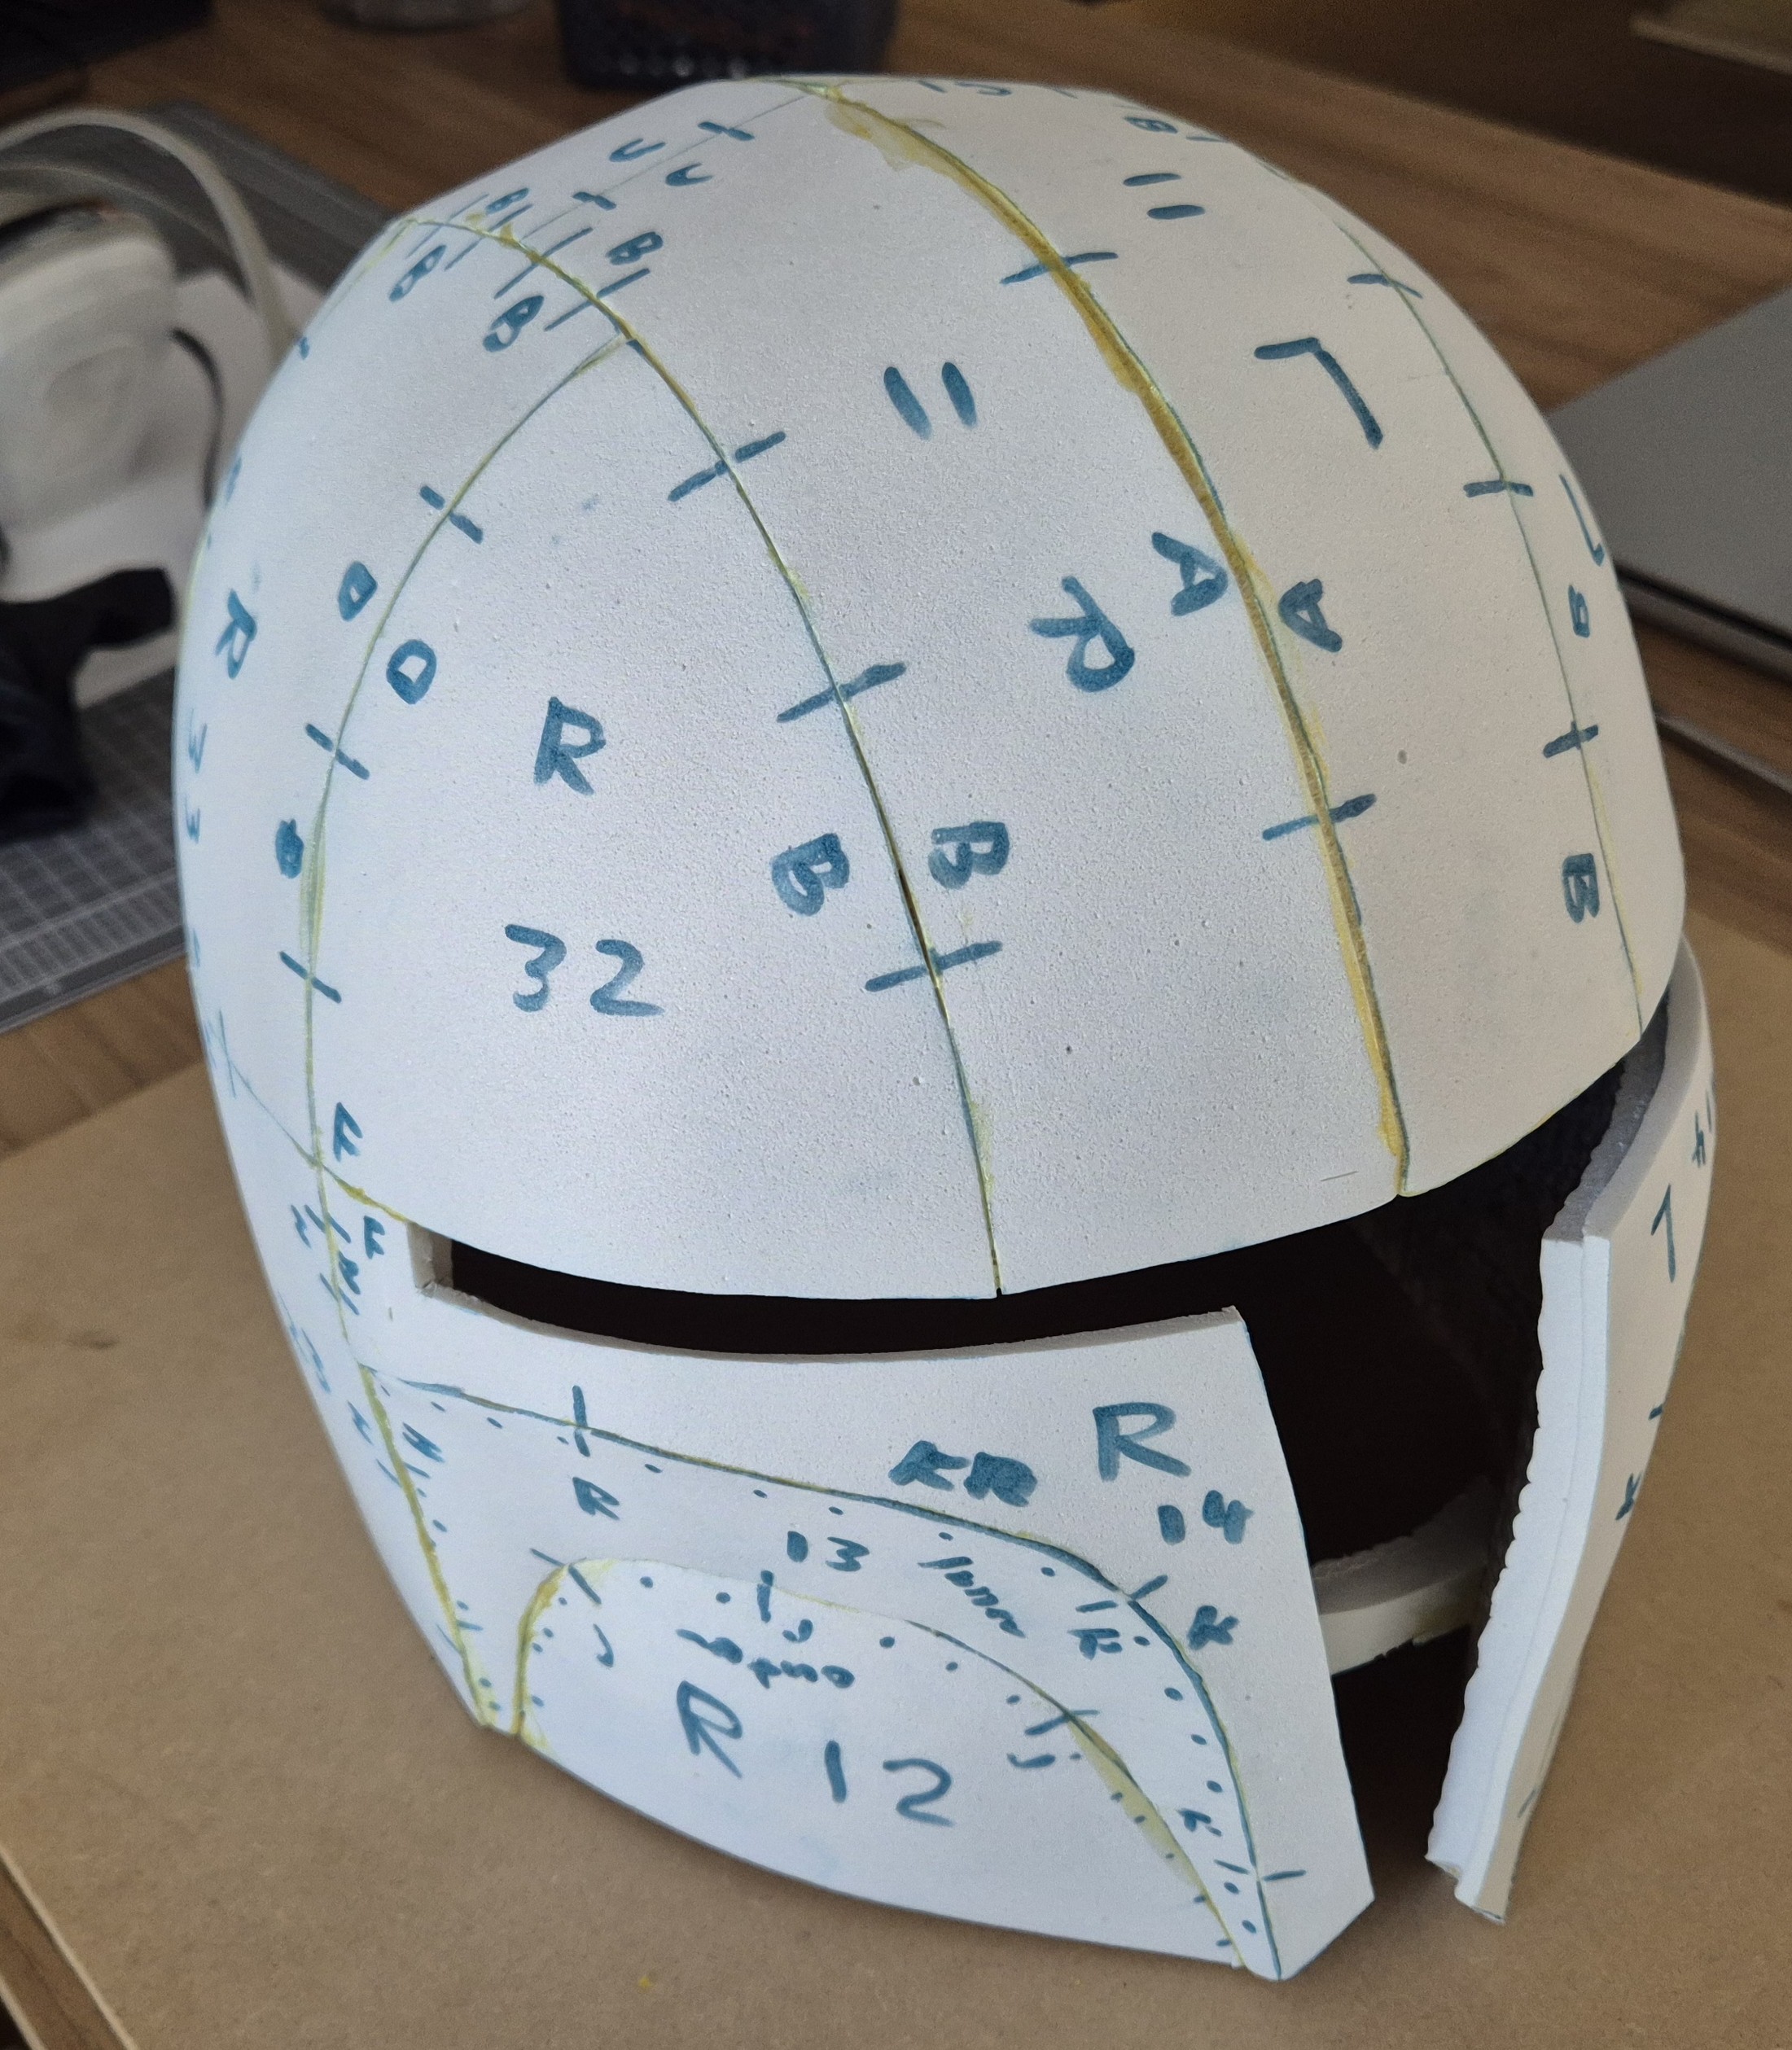
Getting the pieces cut out, 10mm mat foam from Spotlight, it’s light but has thin plastic layer on the other side, I kept that inside of the helmet, otherwise wasn’t too obstructive.
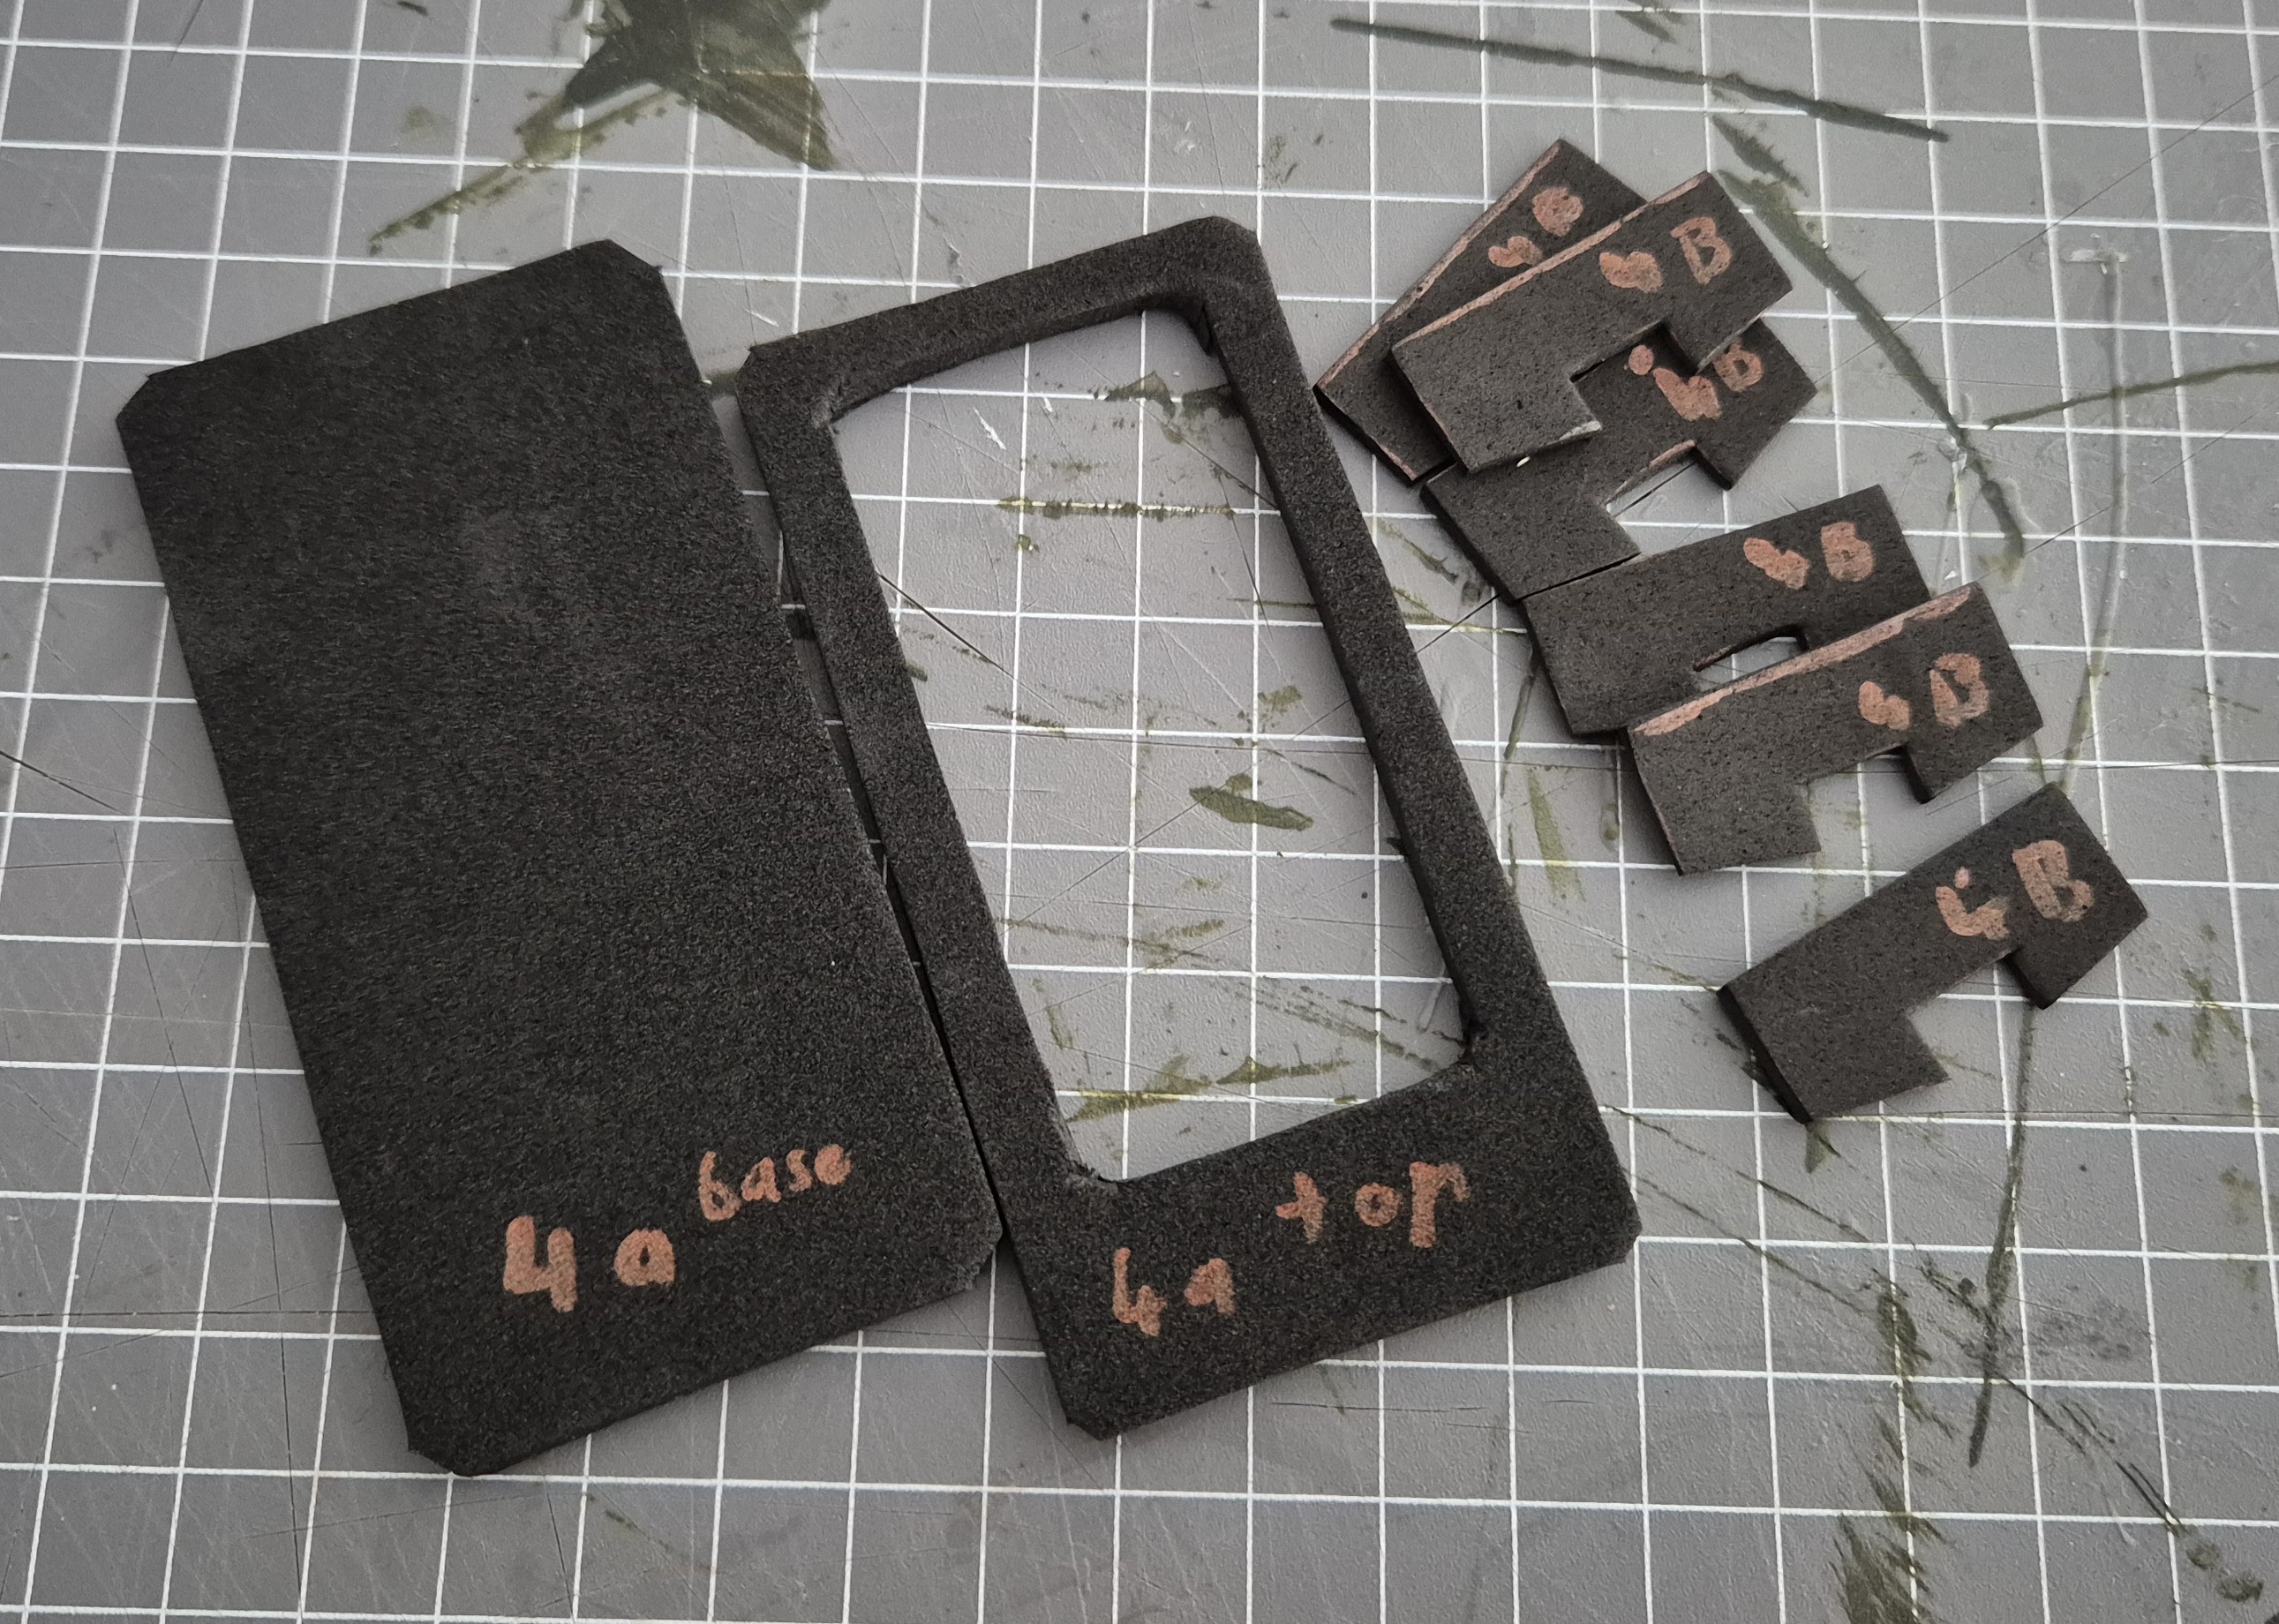
Cutting out the back panel in 2mm foam.
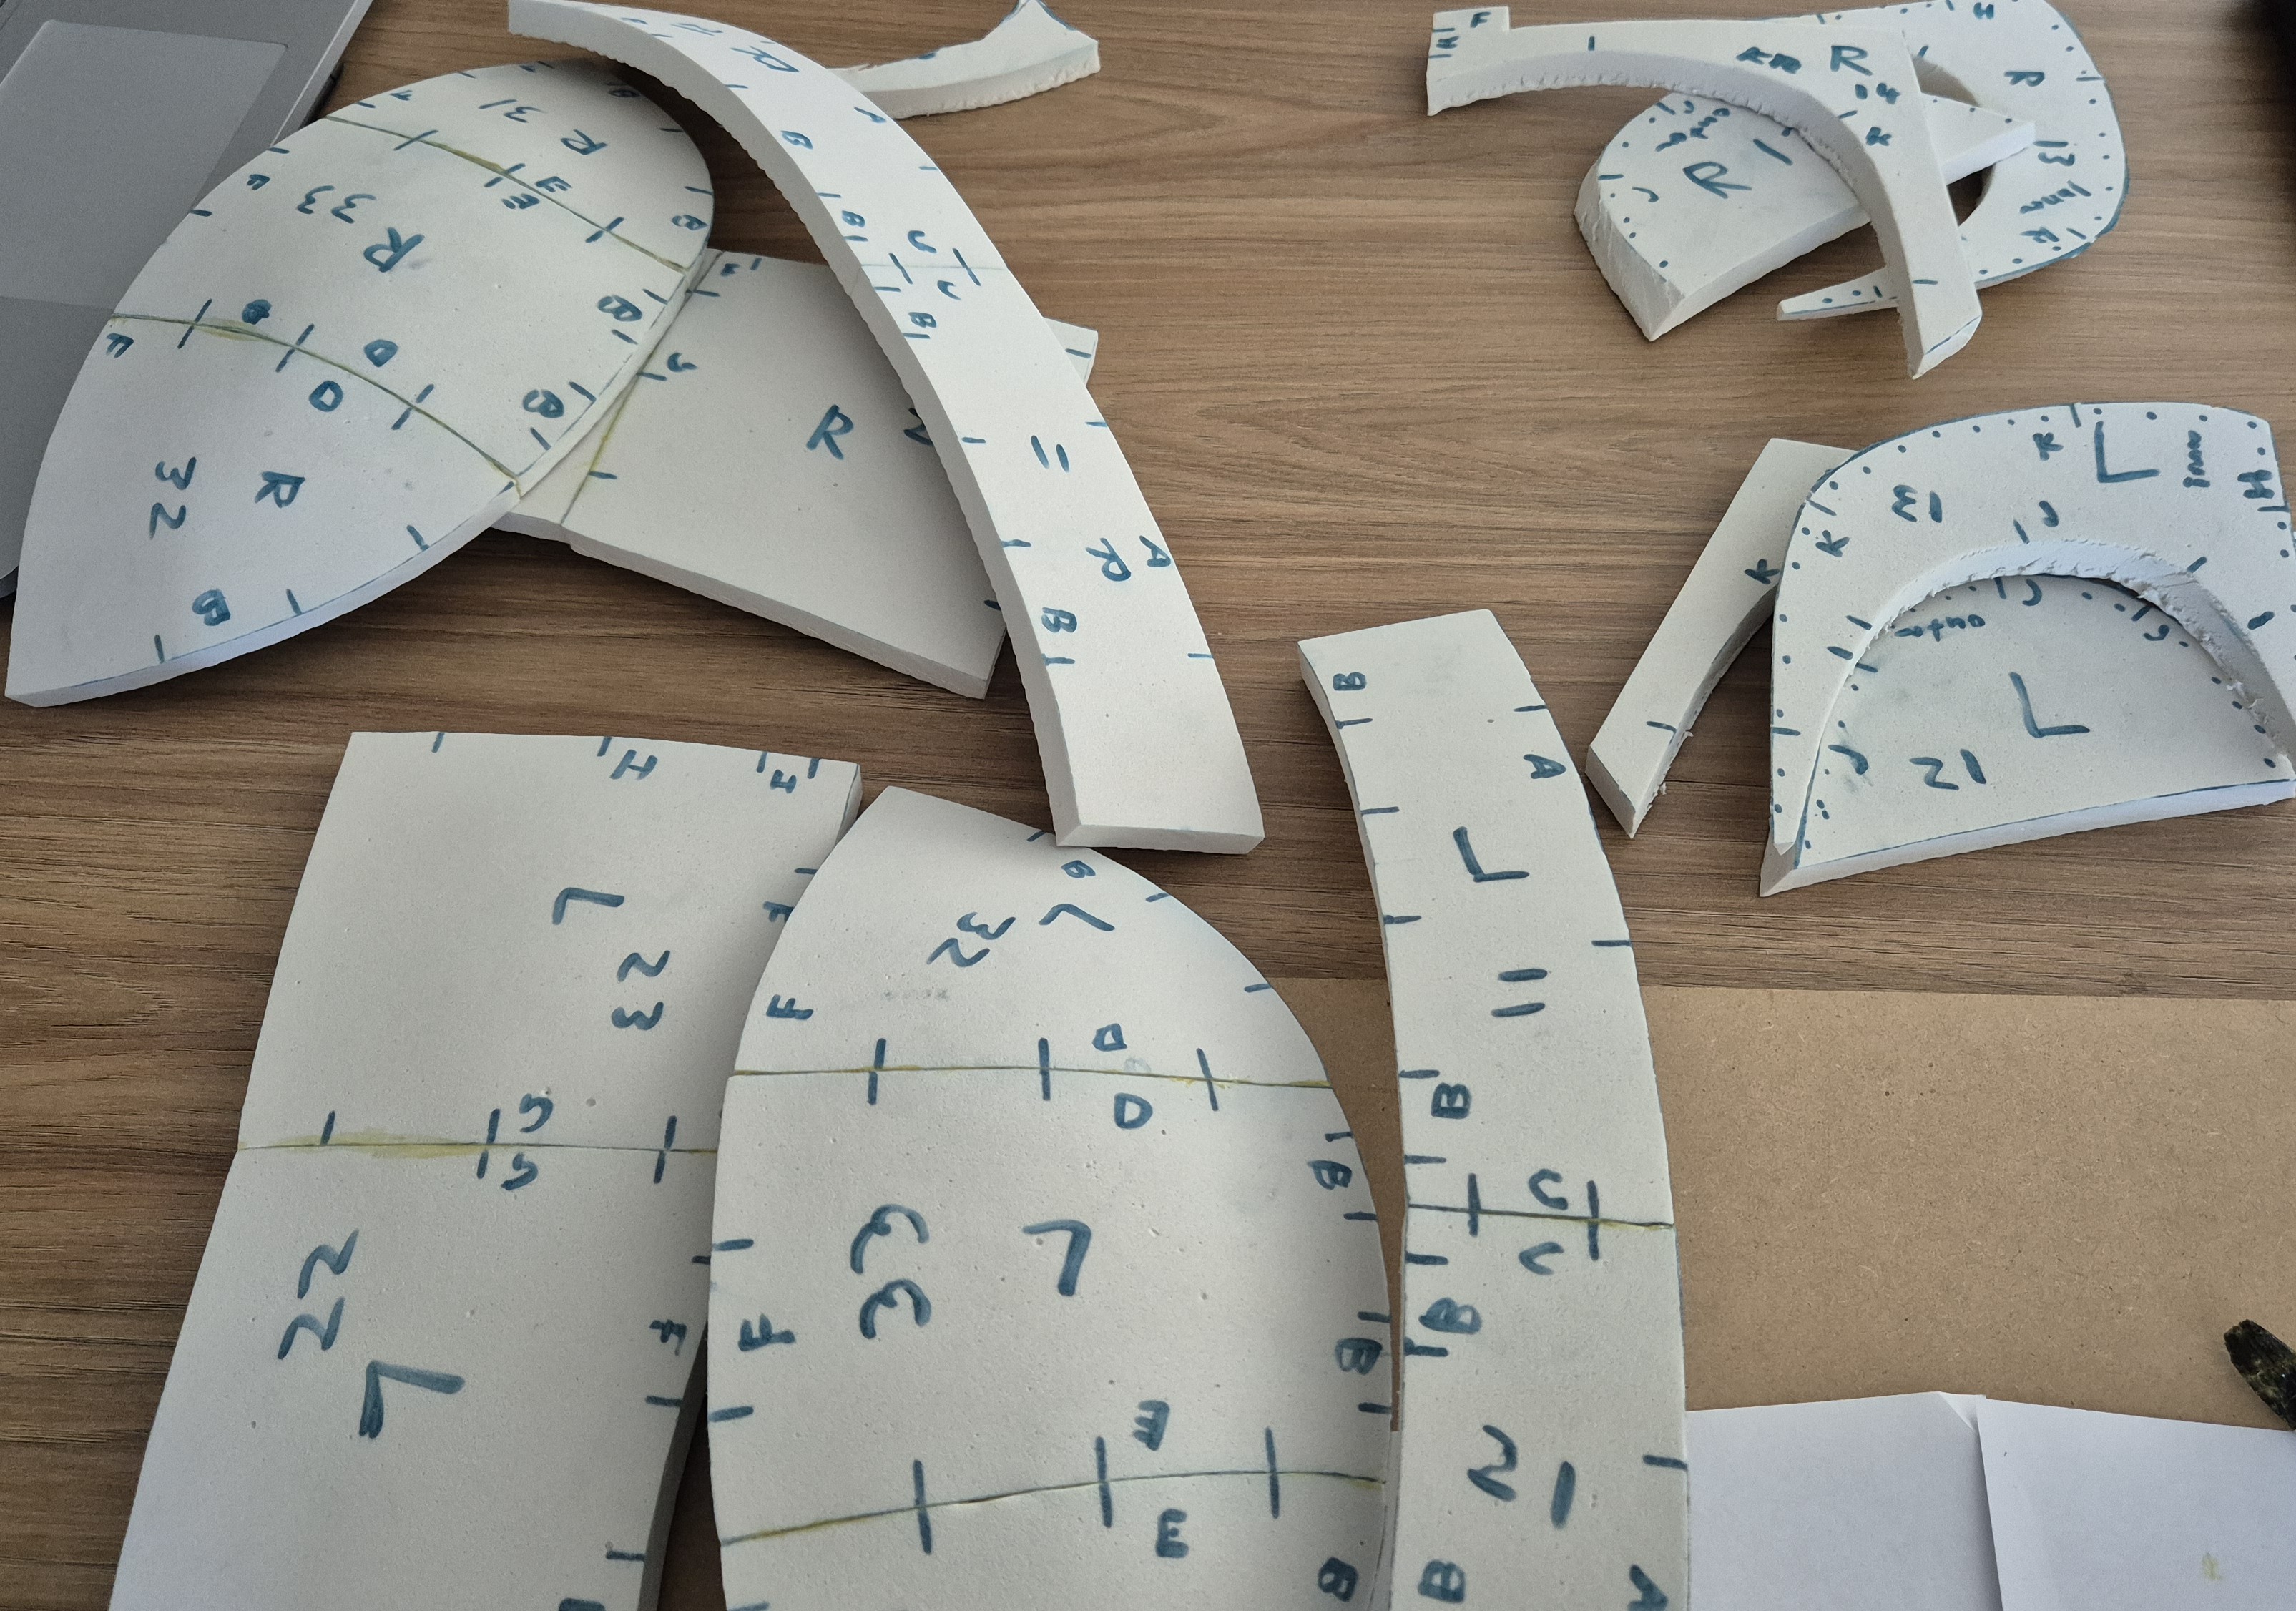
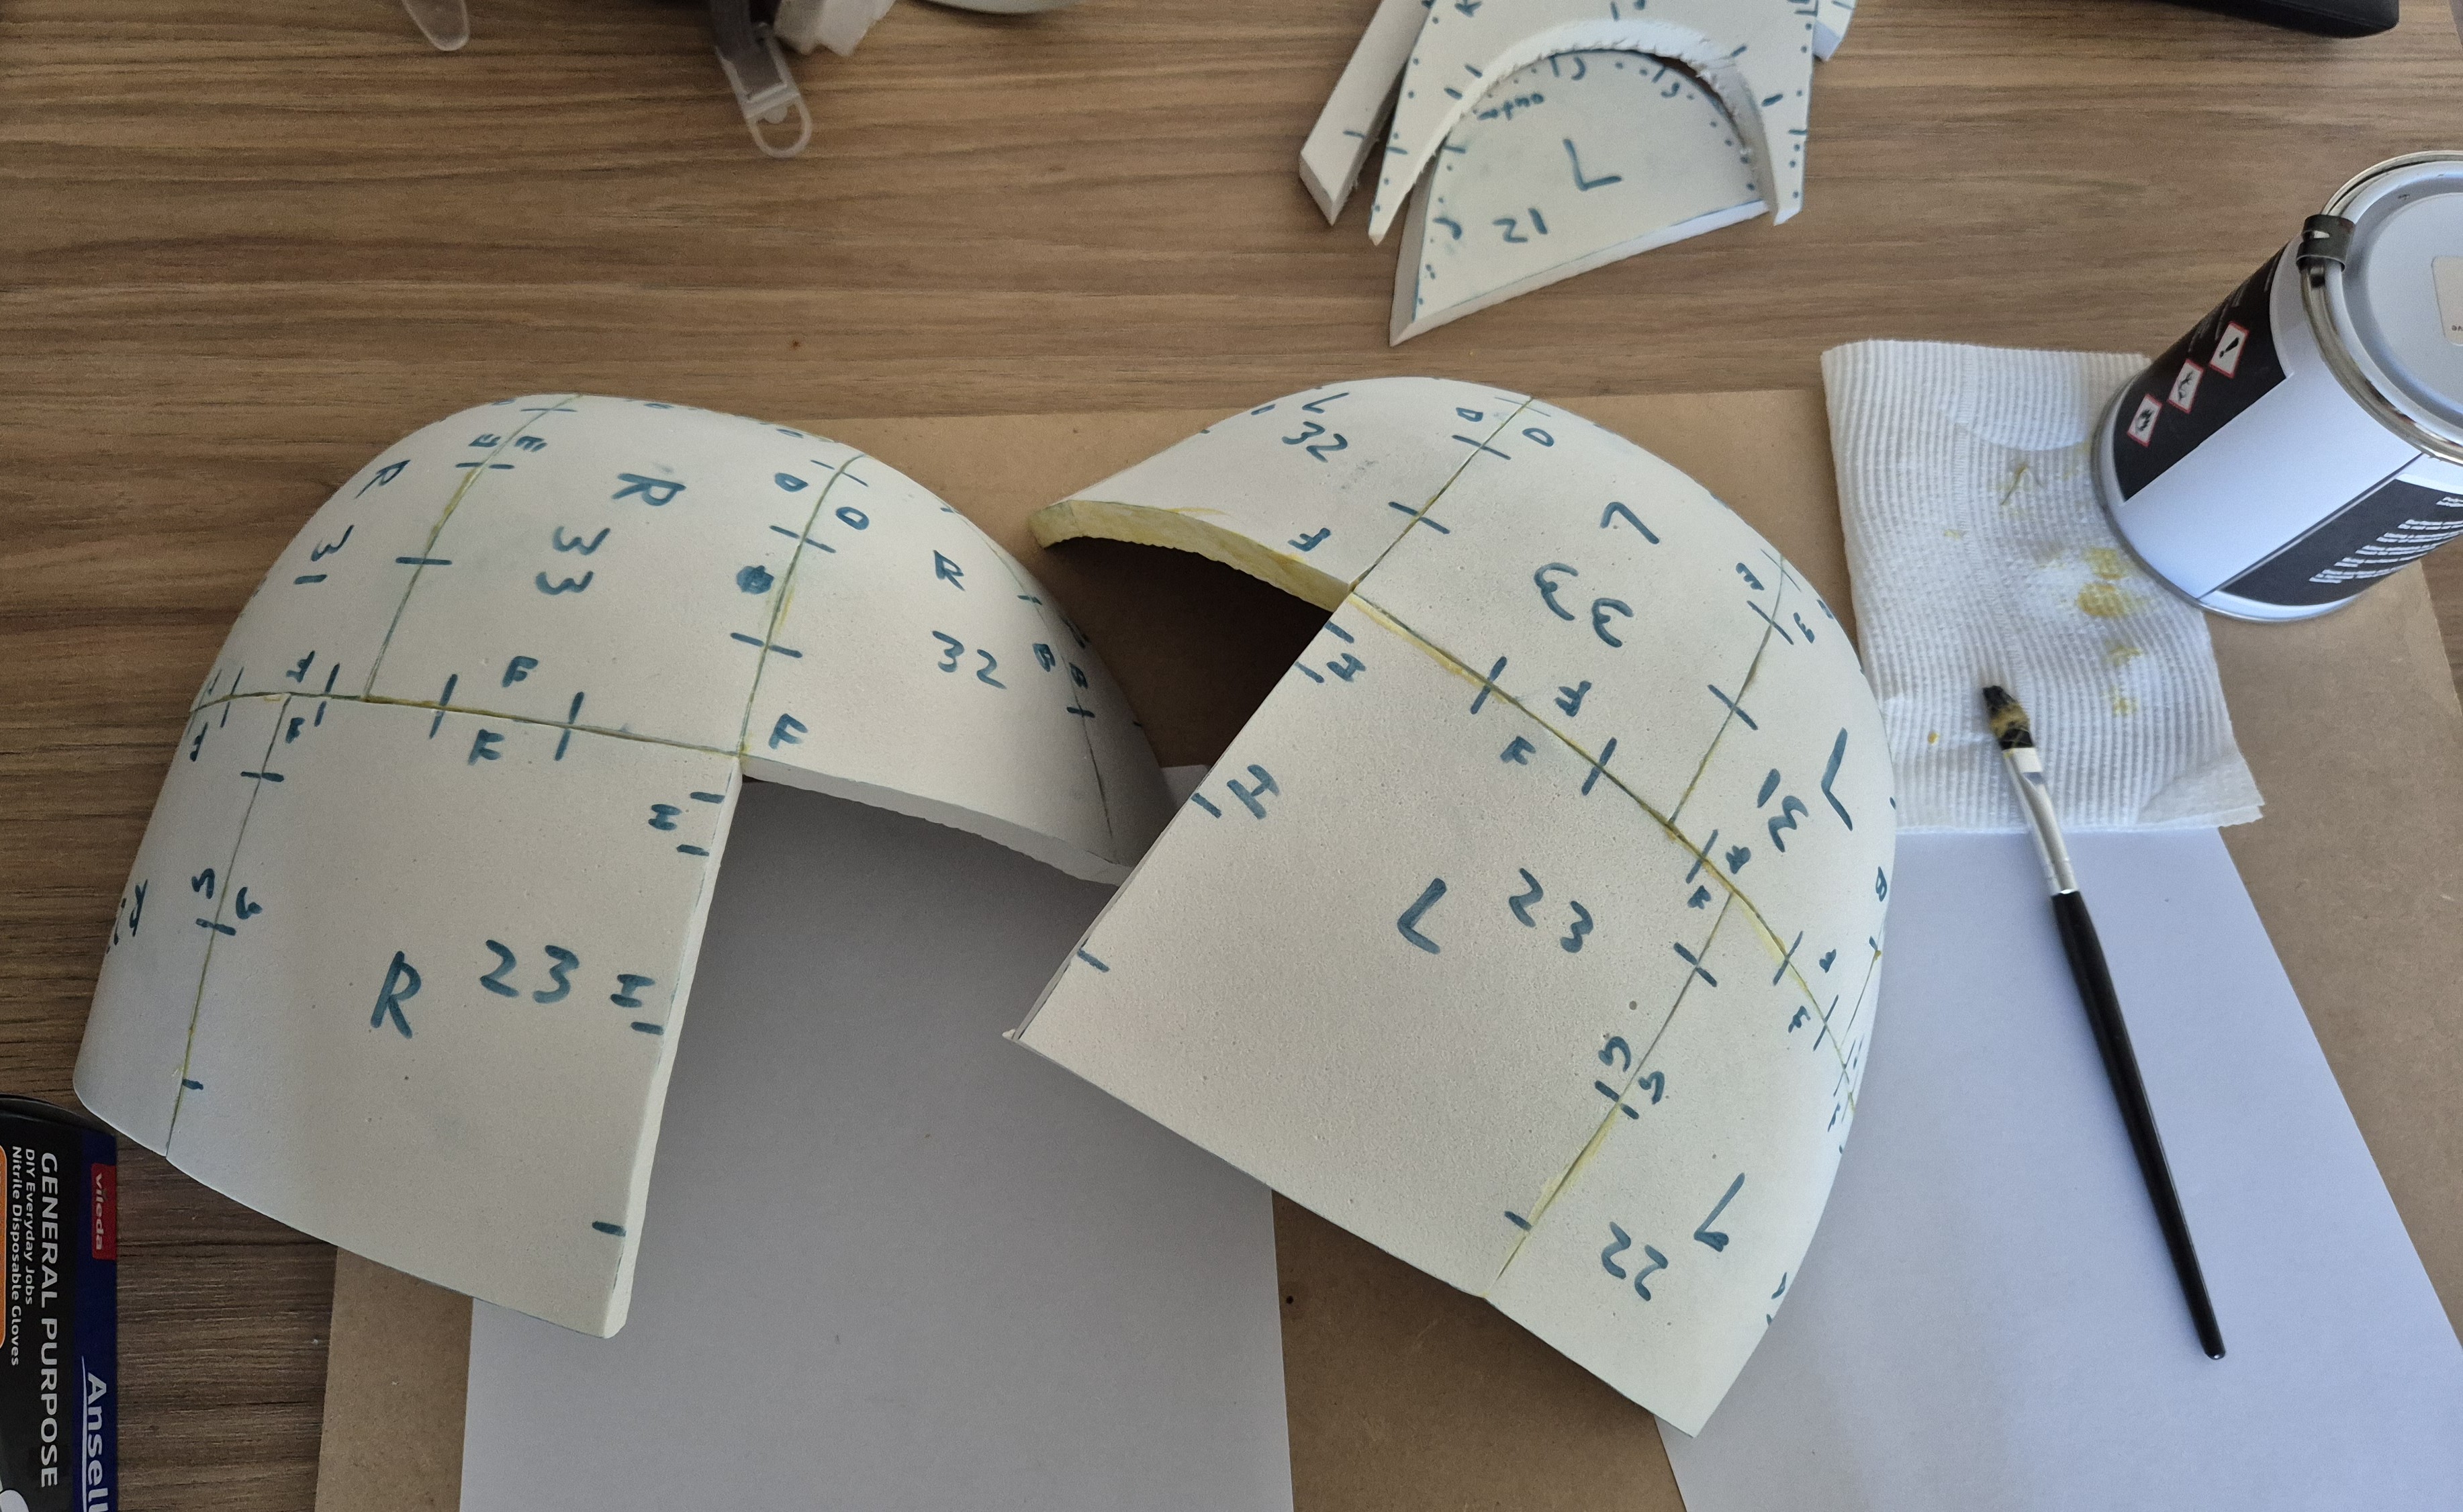
Starting to stick the pieces together, due to how they are joined together they curve a bit, but also previously hit them with a heat gun to get them into shape better.
Inside of a cheek piece, the important difference from the template/video is I’ve cut an inset around the edges, the intent is to get the visor sitting closer to the front of the helmet, since the 10mm gap looked too ‘off’ and out of place.
The two full halves before and after gluing them together.
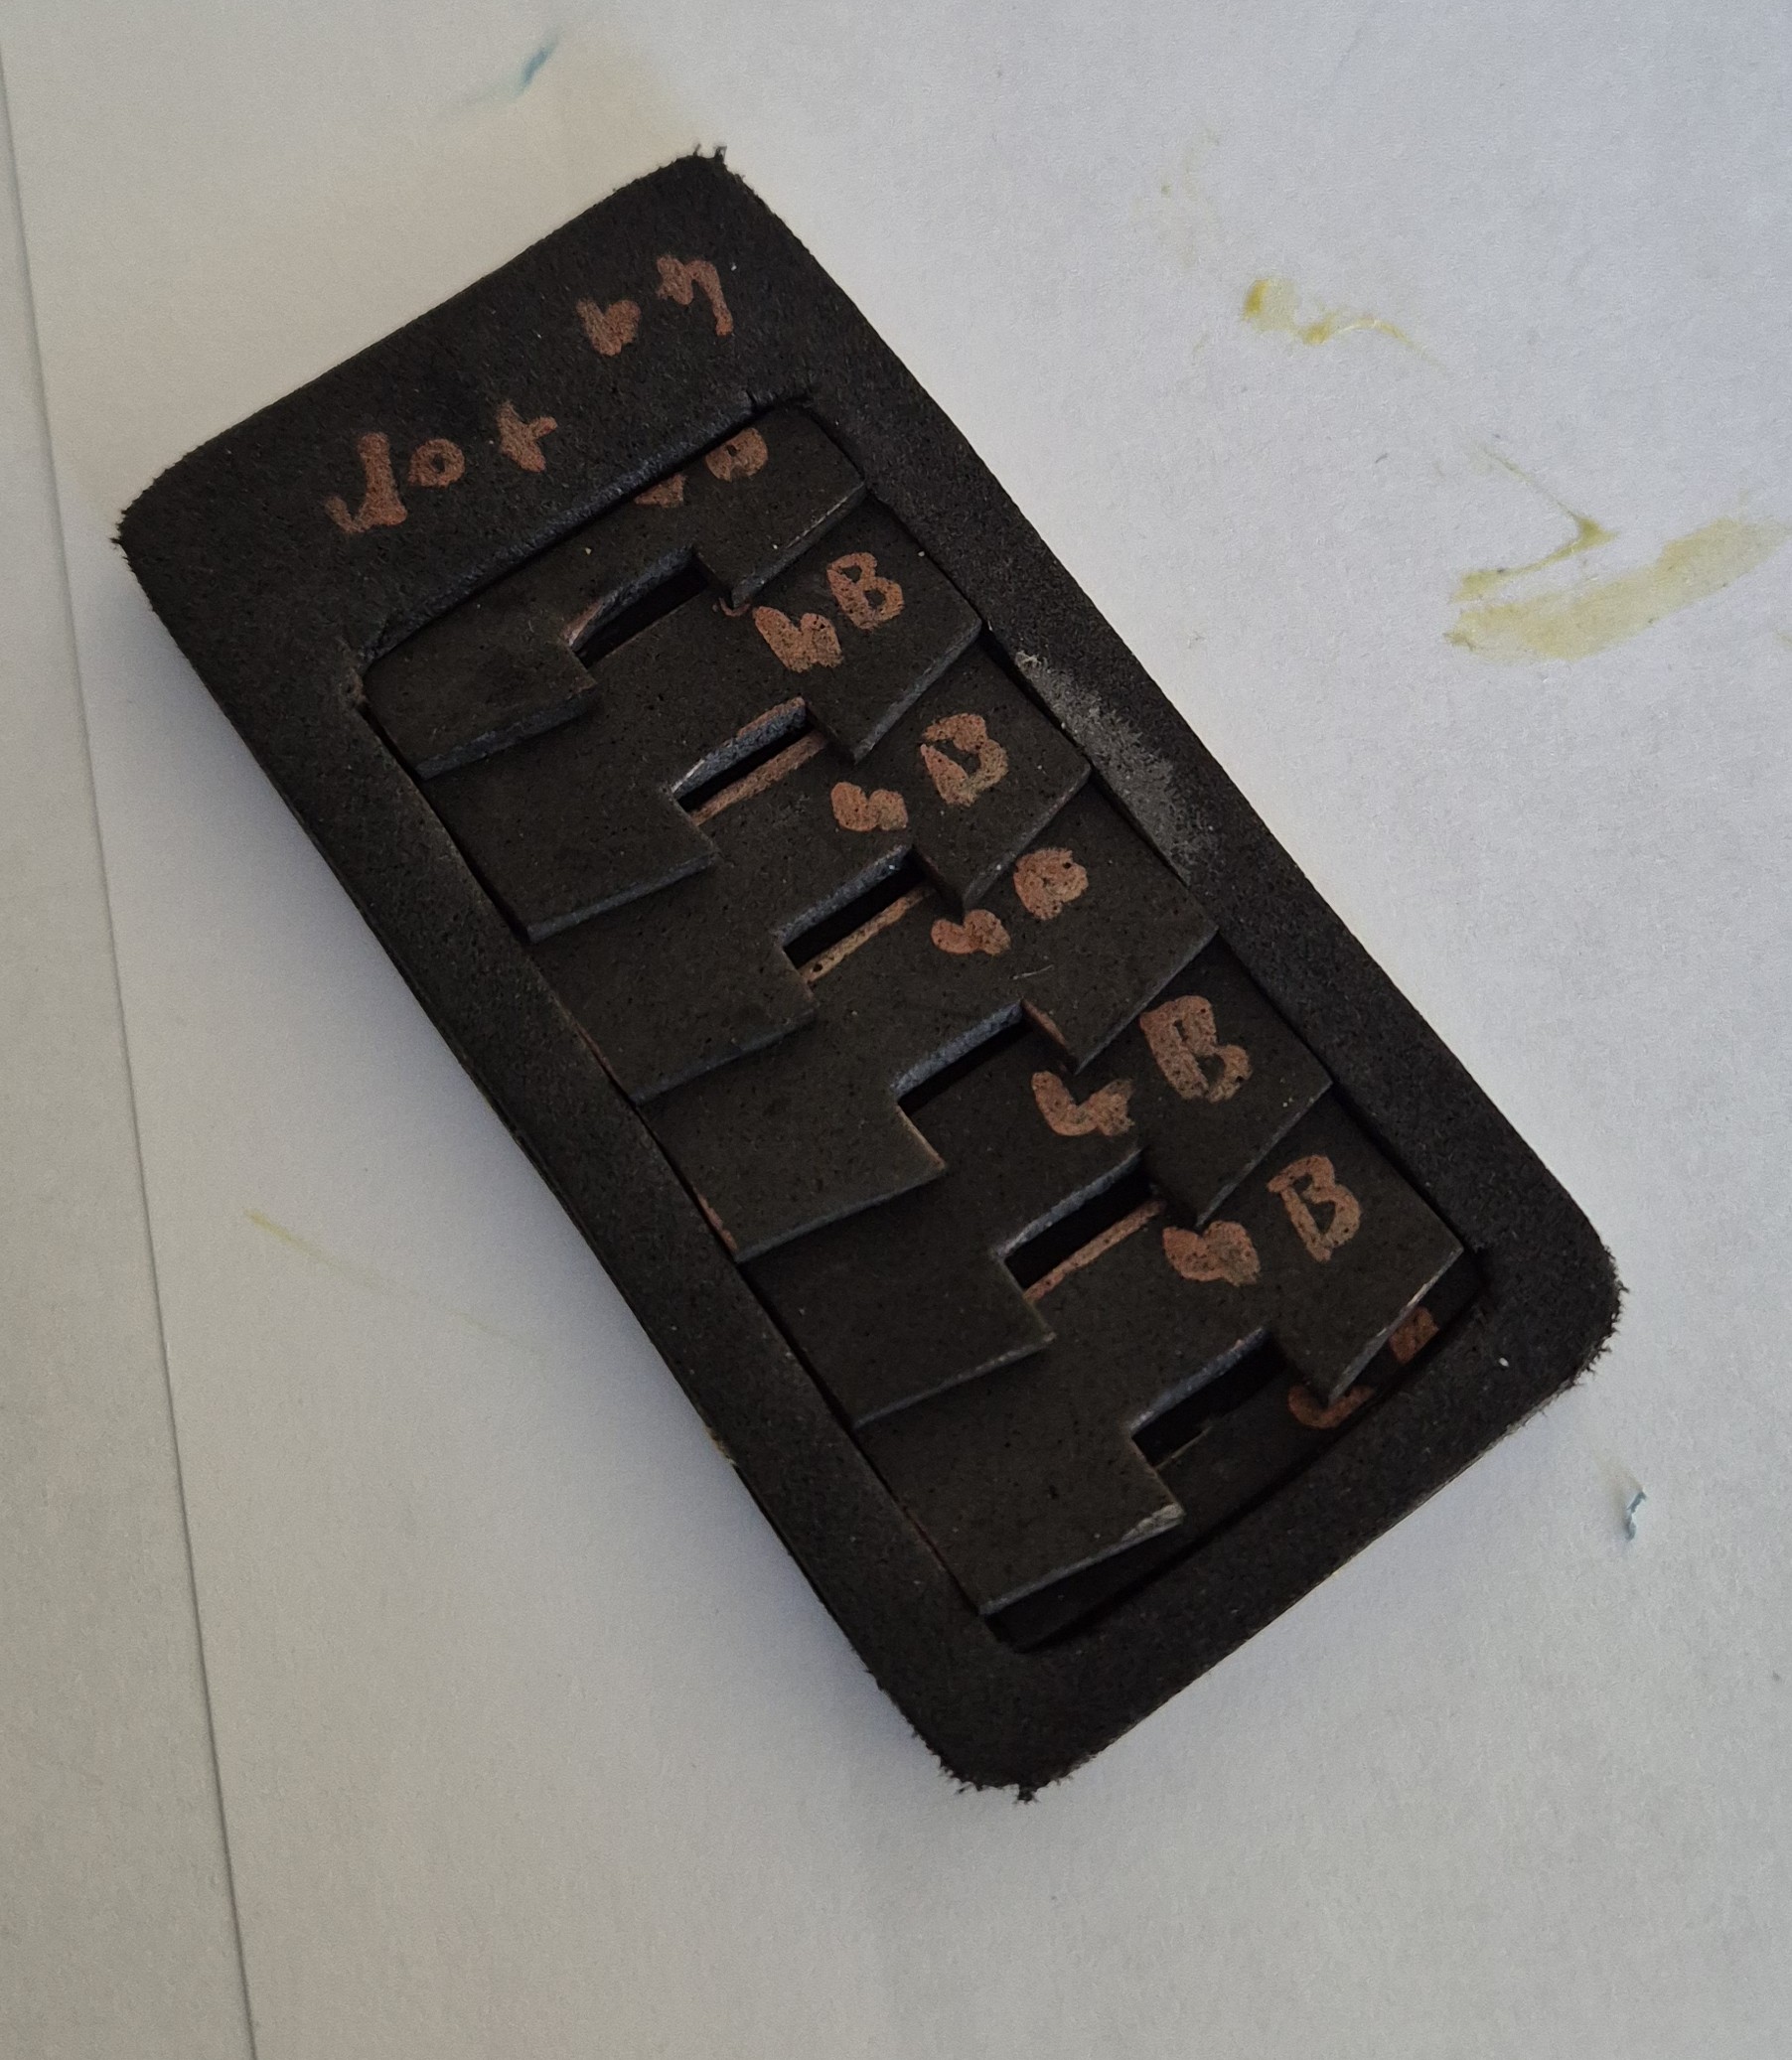
It was recommended in the video too, even with heating and shaping the cheek pieces into place, it’ll still try to bounce back, so on the inside I glued a bit of foam to help hold the cheeks in place. Another piece was added later as this wasn’t holding the shape the best, a larger/flatter piece would have been better.
The back panel put together, just used super glue as it was too small to deal with contact cement.
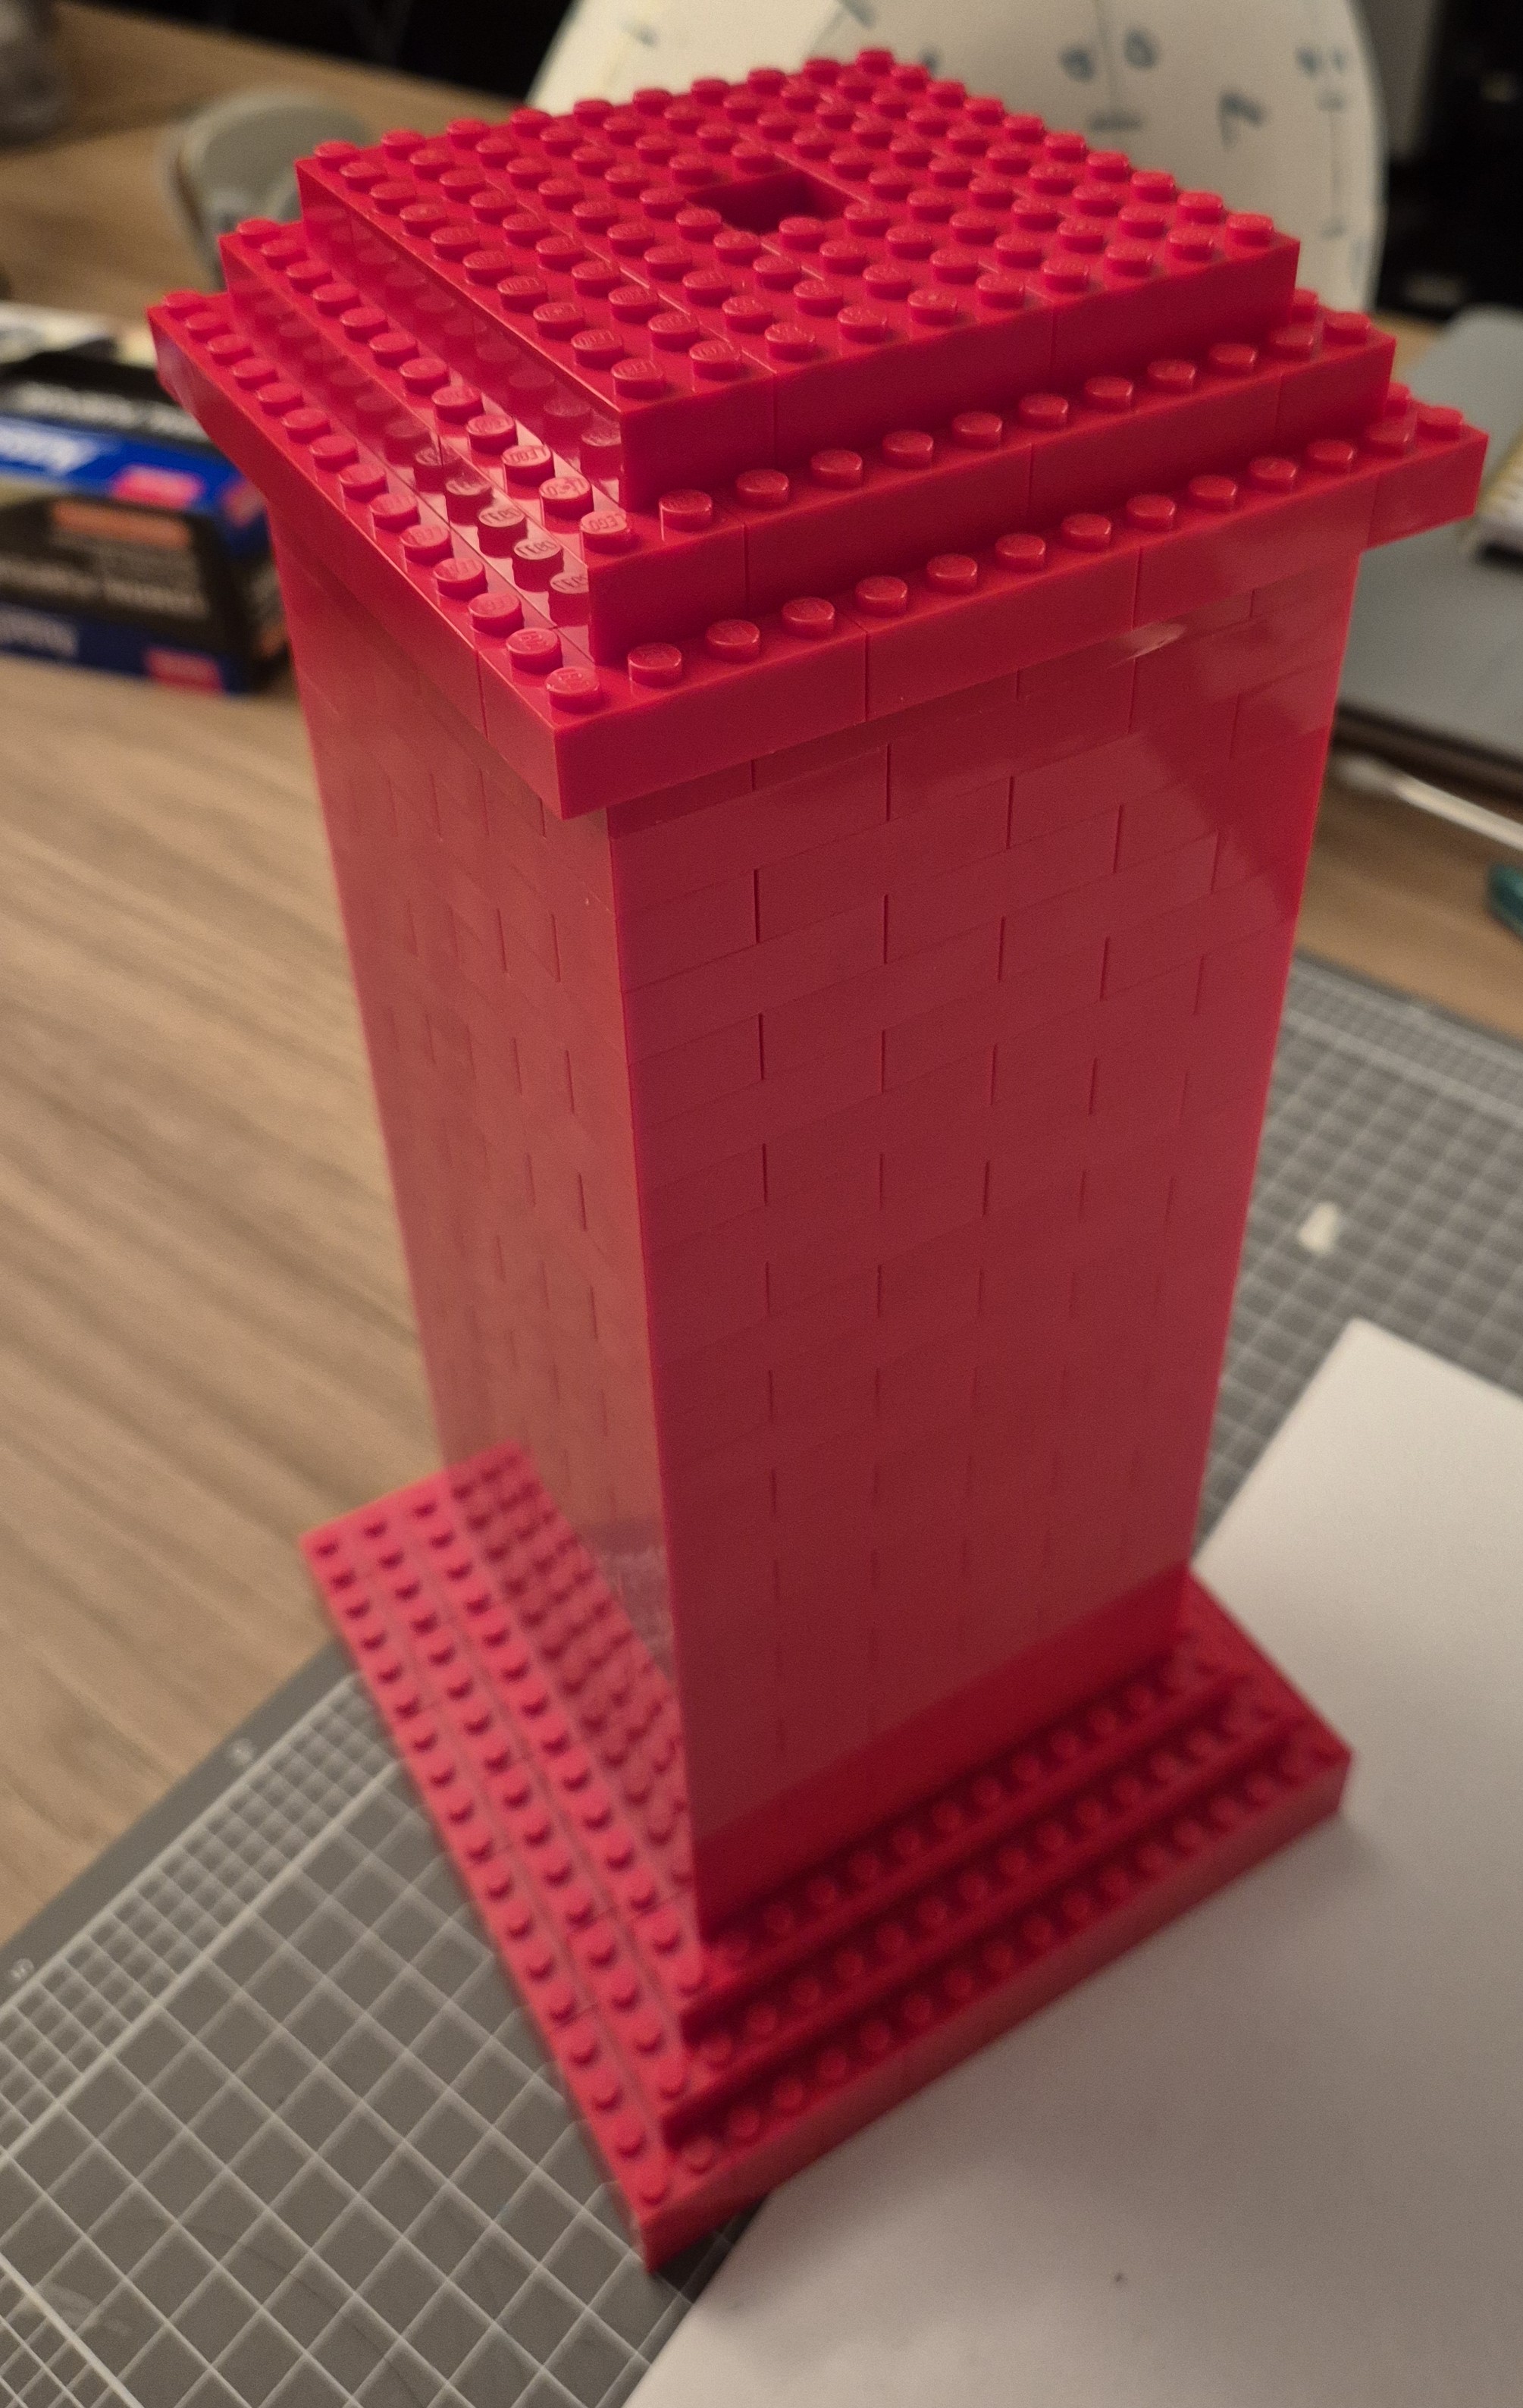
Since I’ll be working with the helmet at various angles, and further when painting and using resin, I wanted something to sit the helmet on, and instead of getting a foam head I just made a basic stand out of Lego. This was covered in paper later to help protect the pieces.
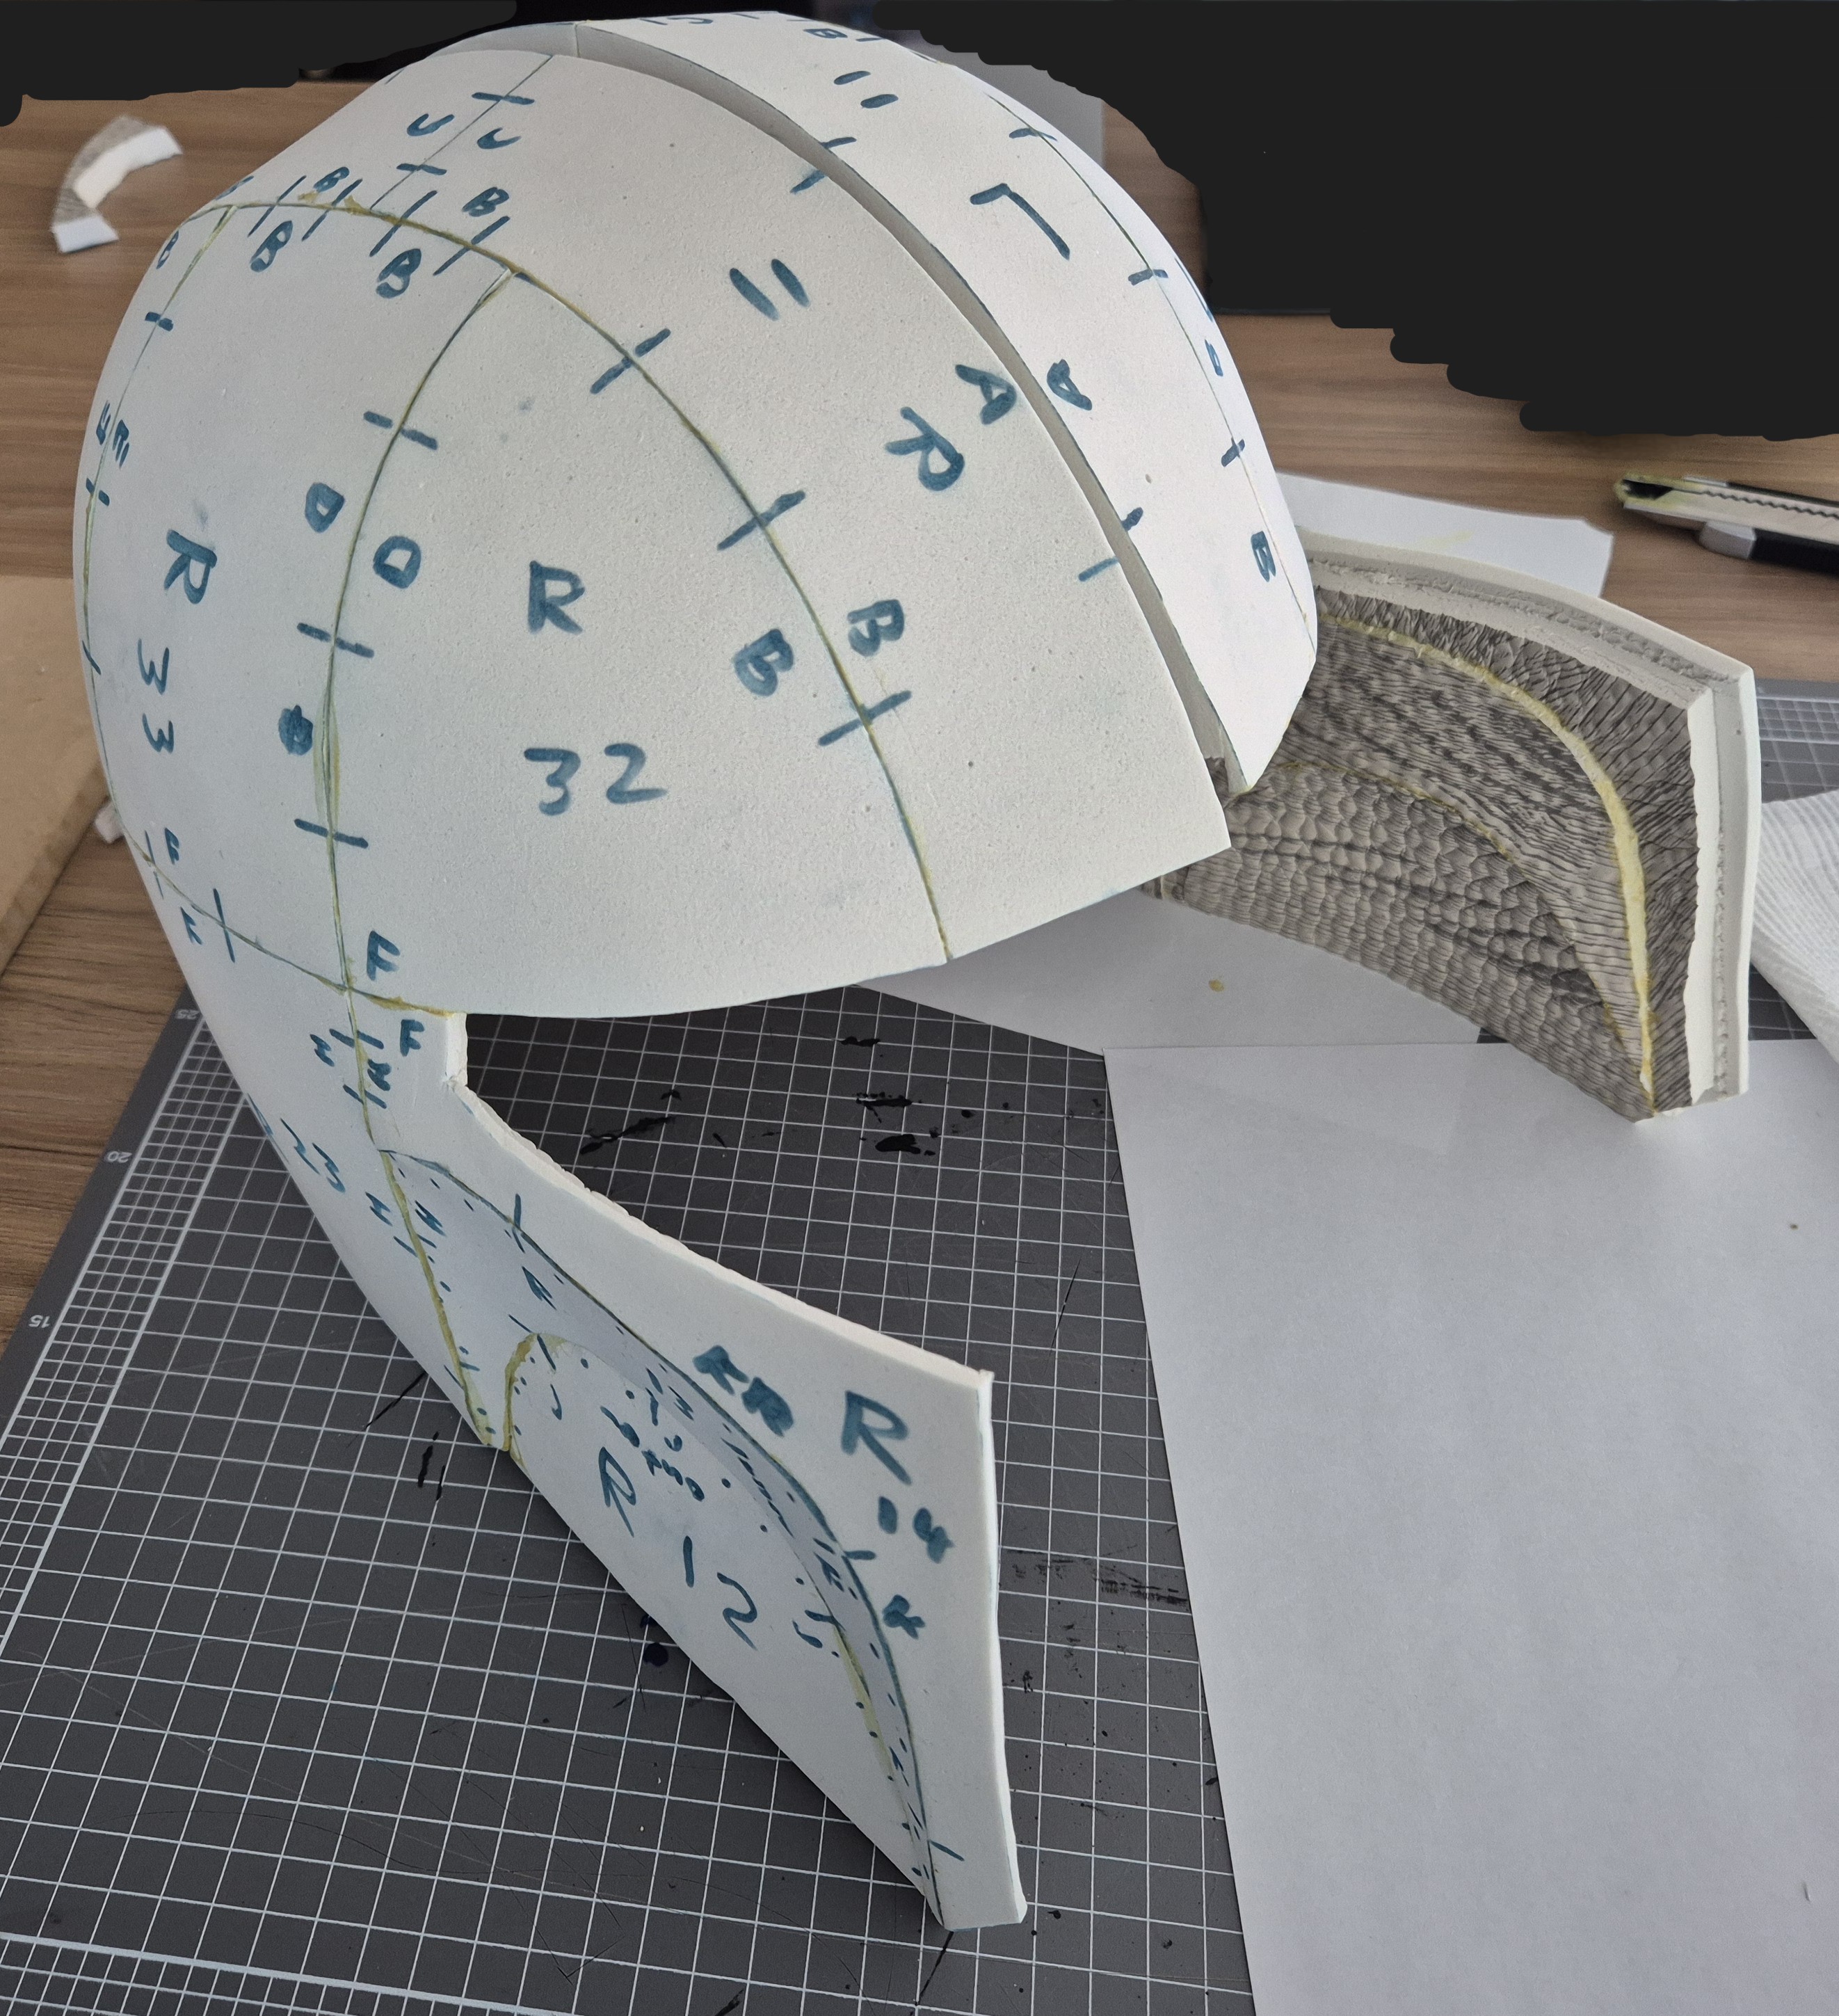
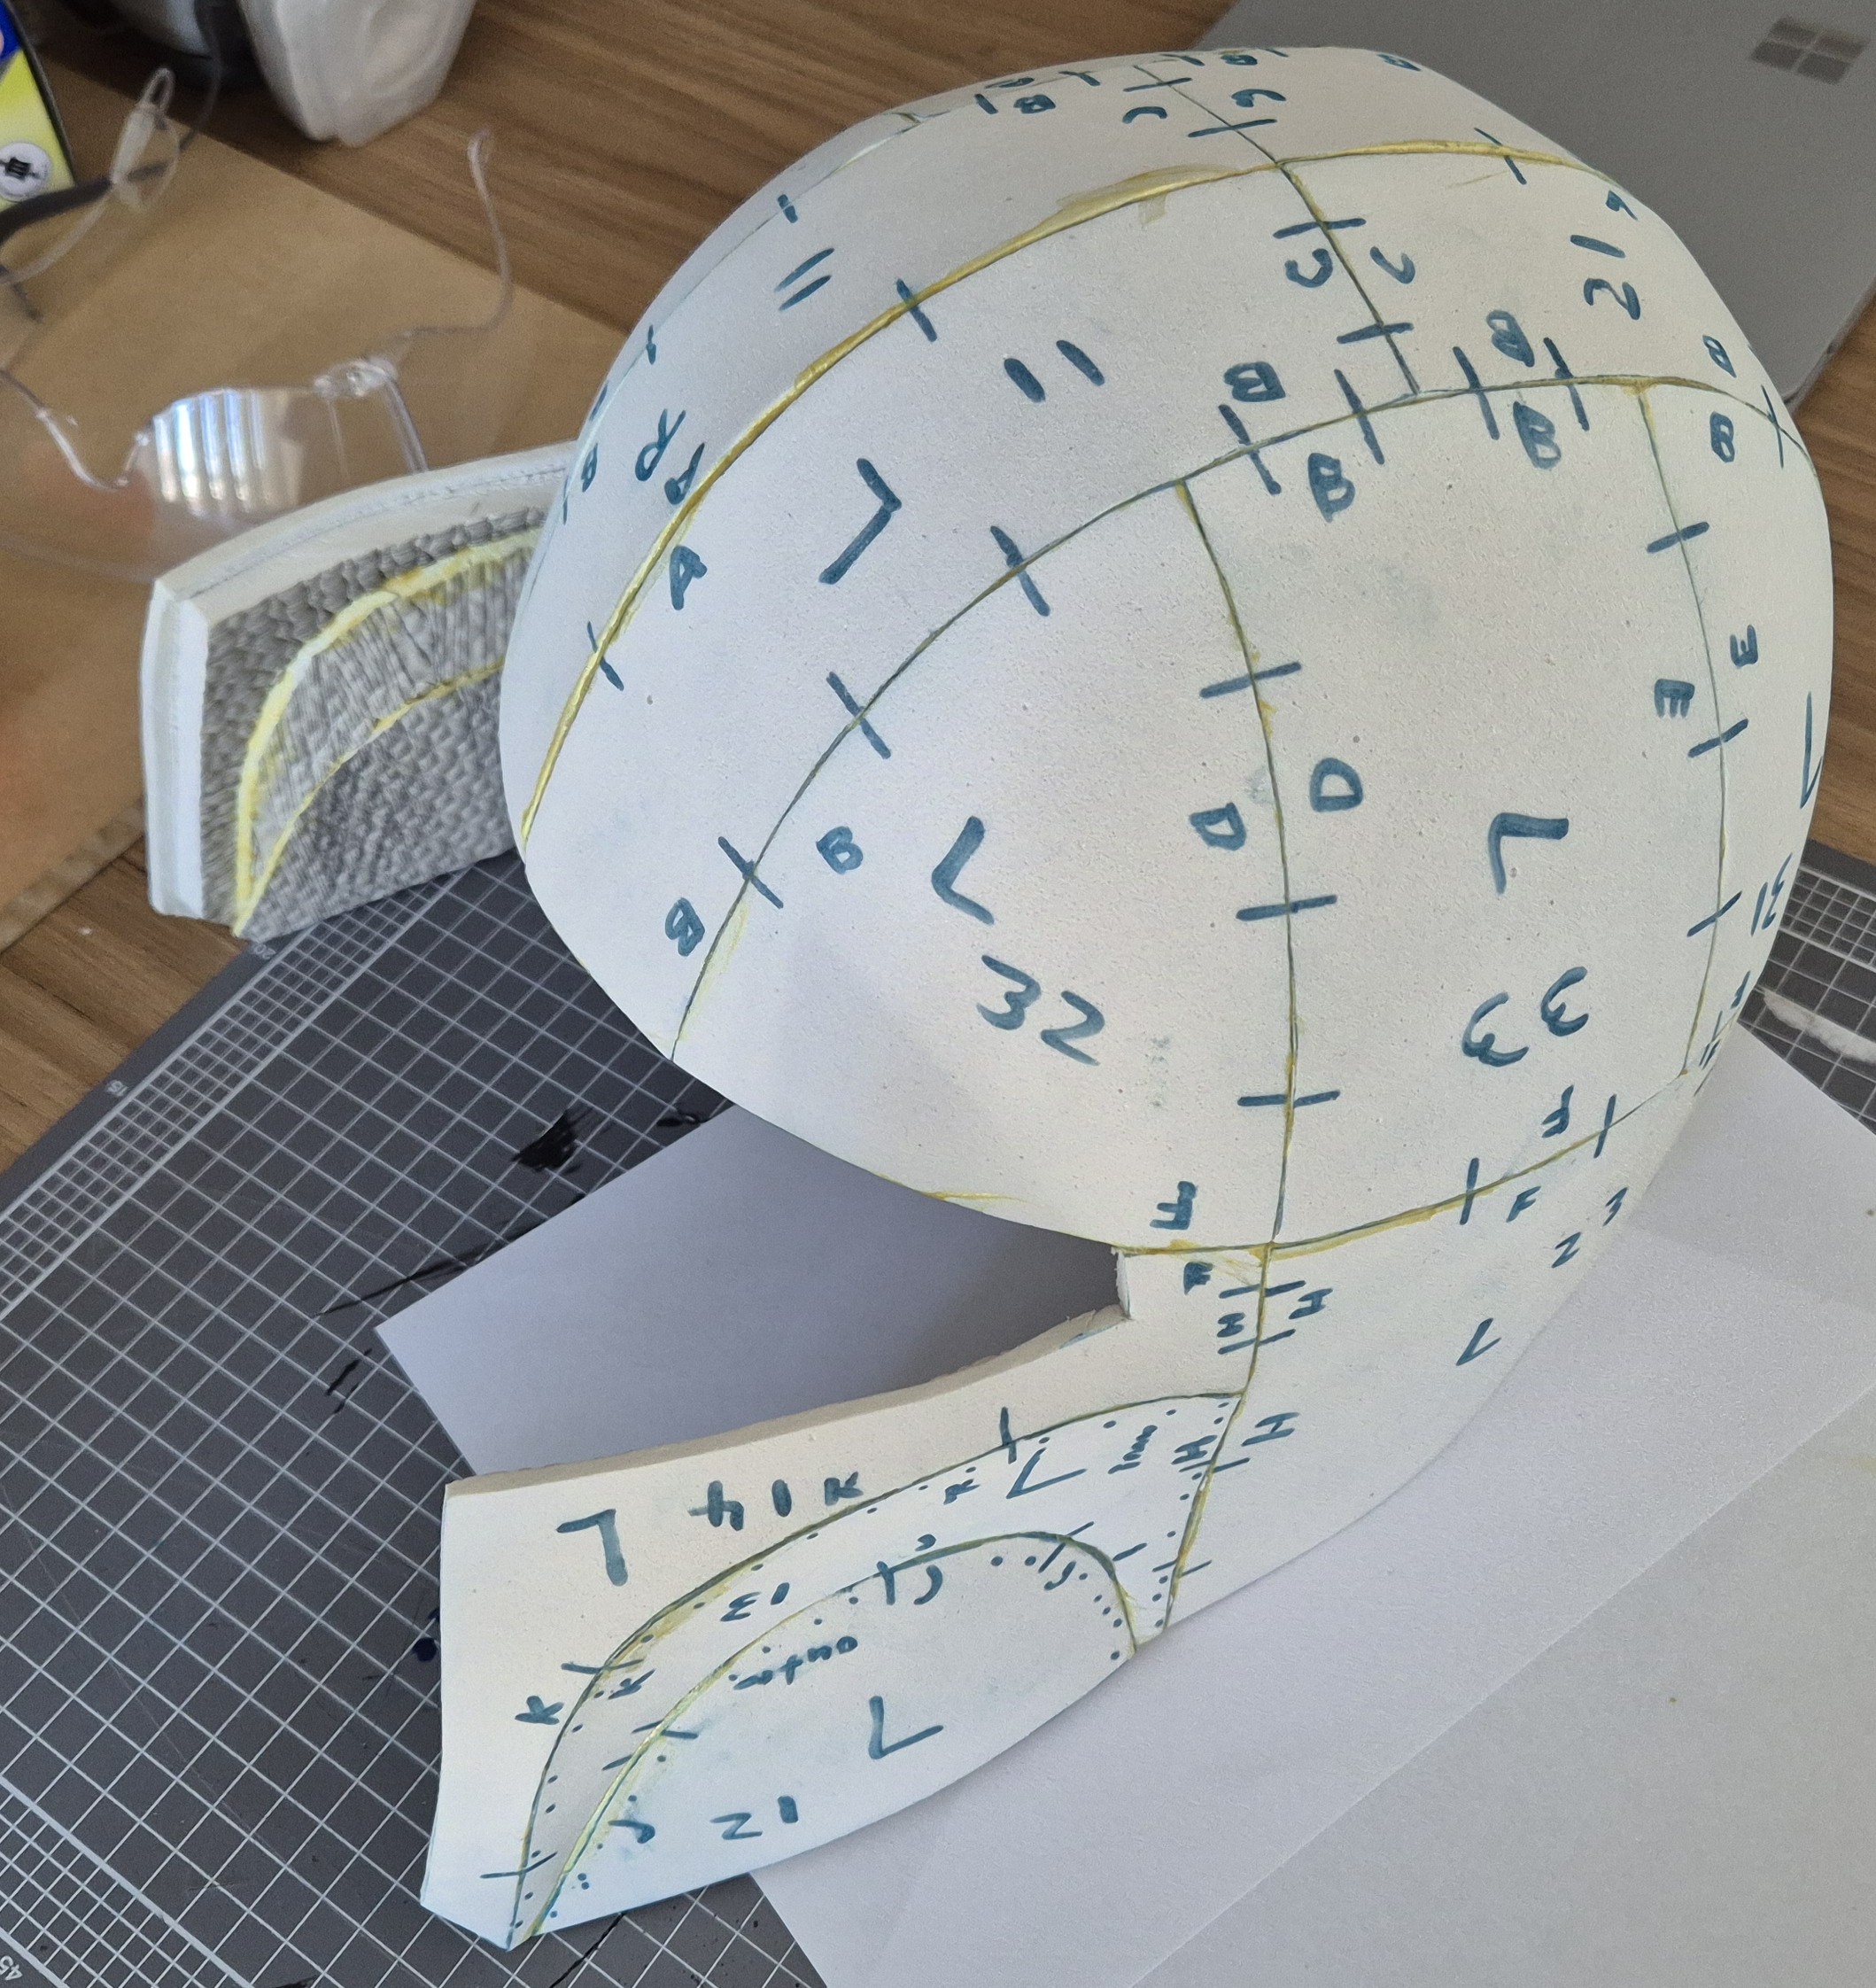
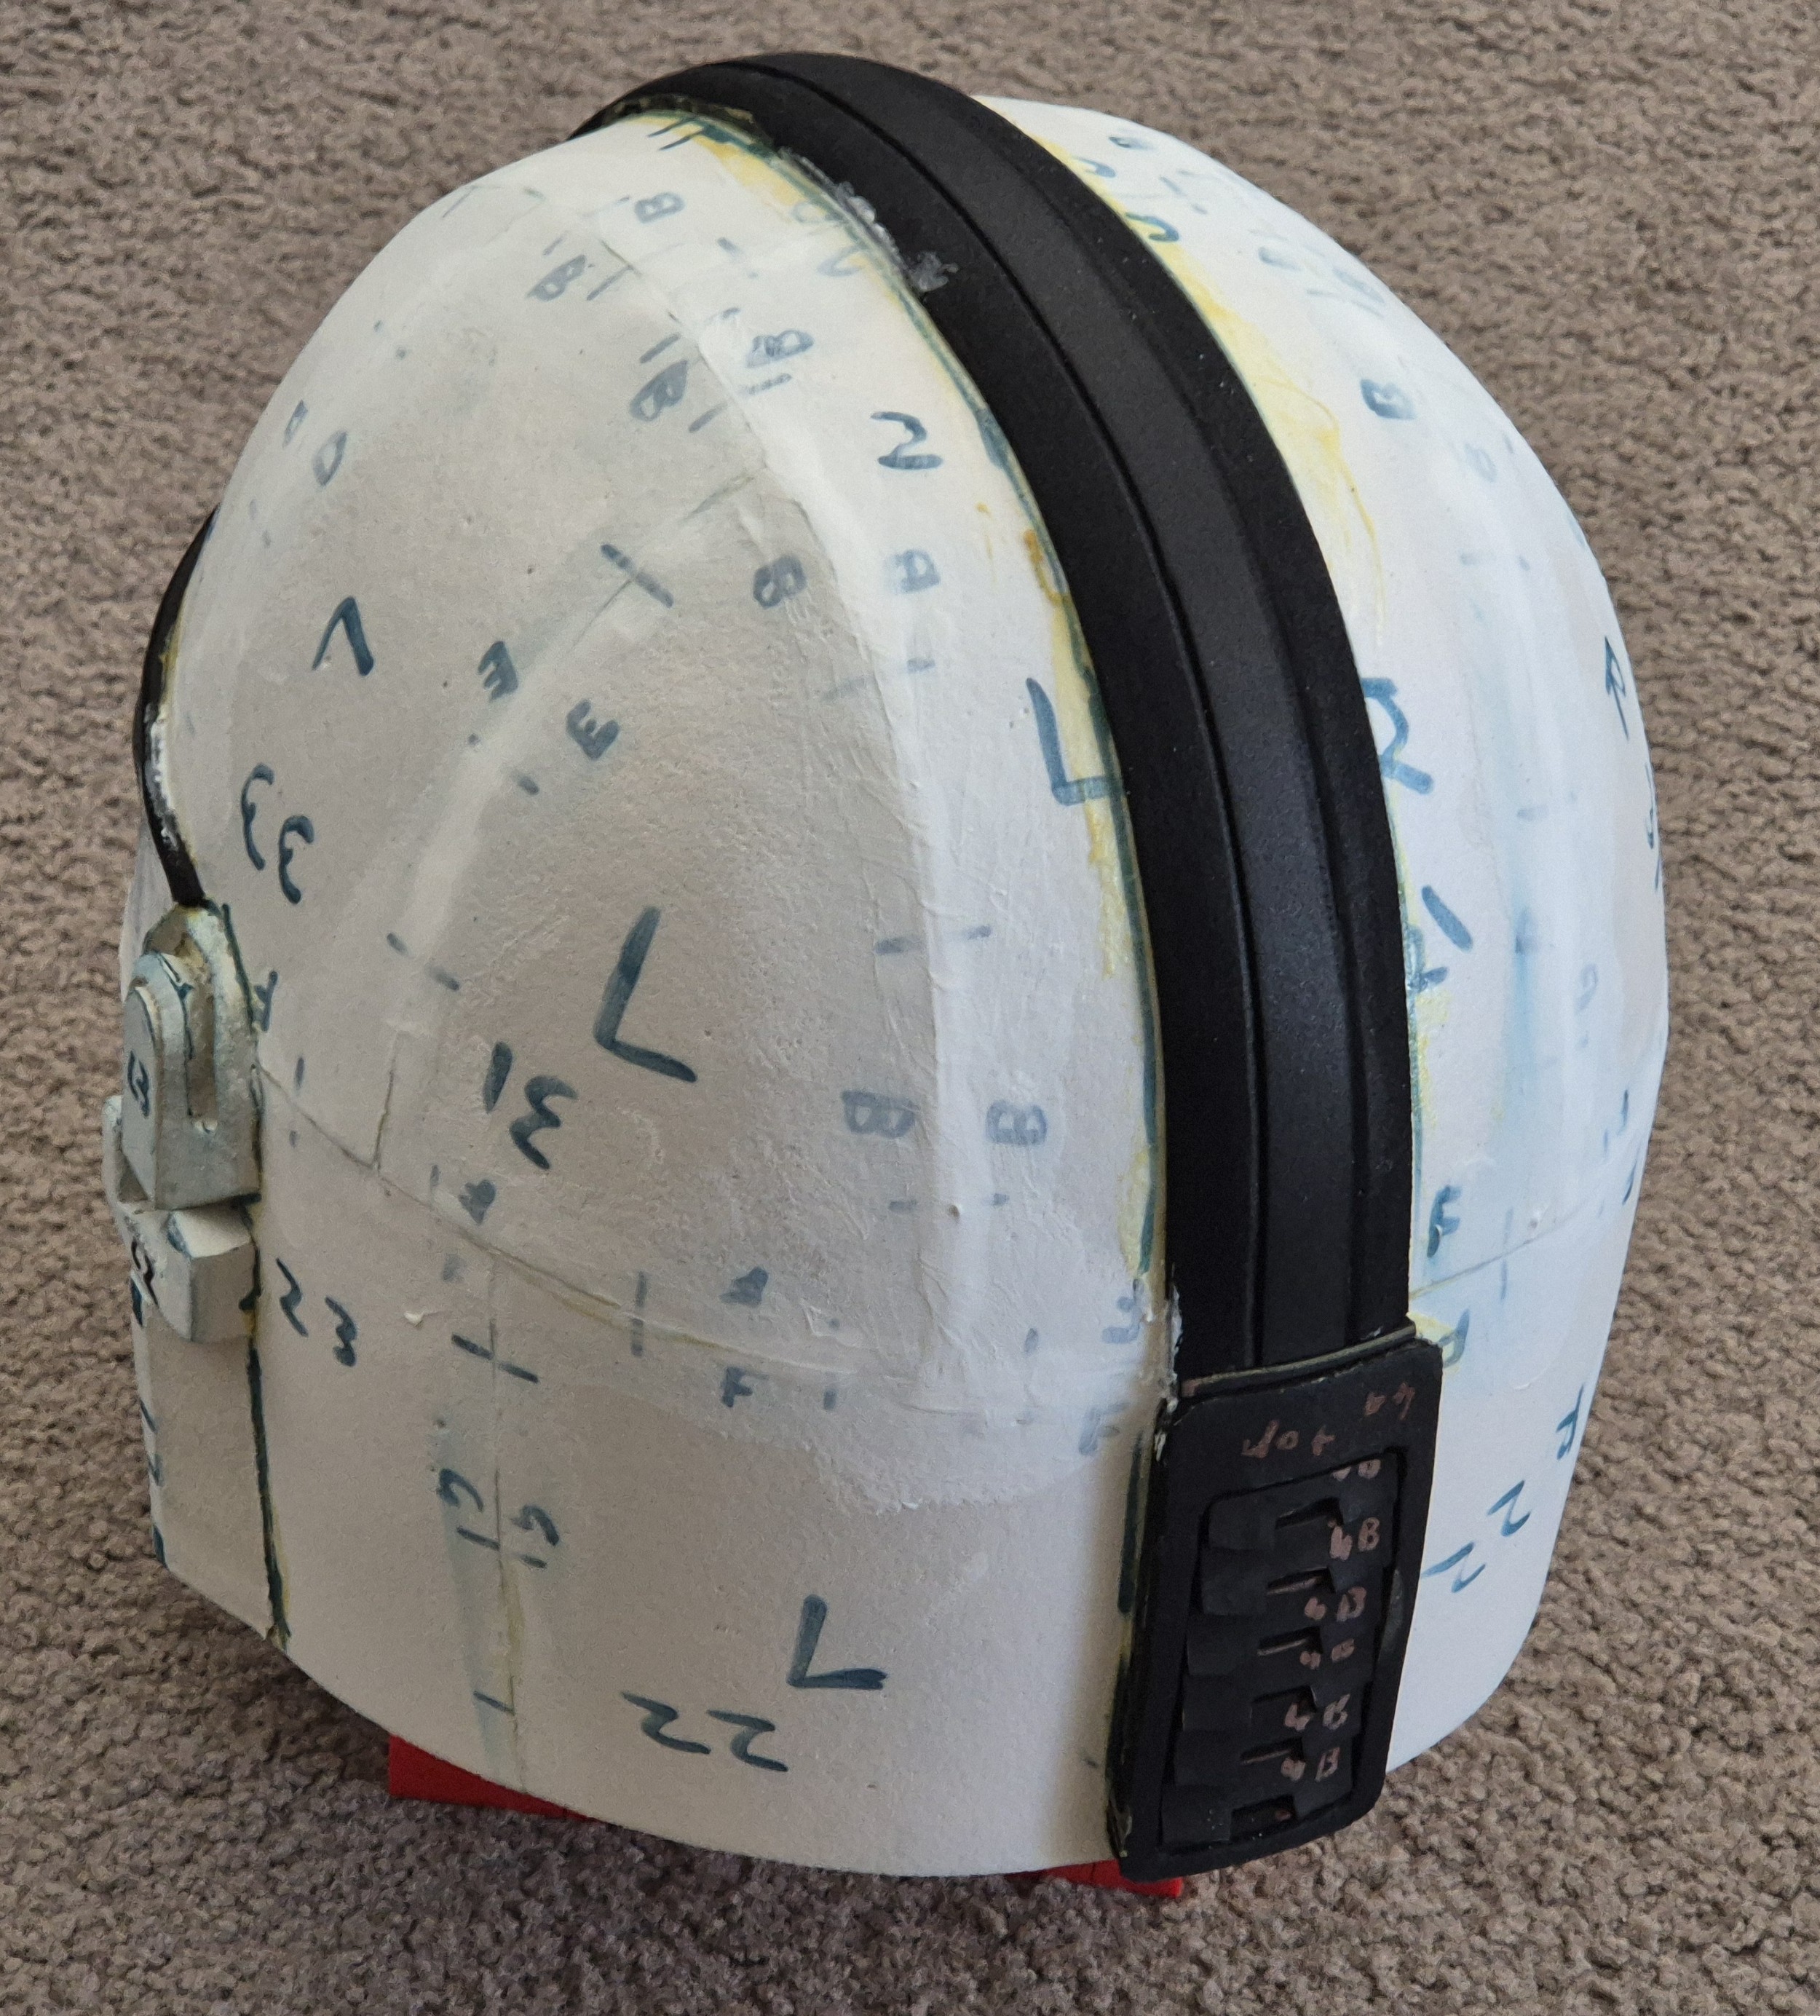
Can also see other elements on the side of the helmet, they were a bit messy and took a bit of sanding, but good enough still.
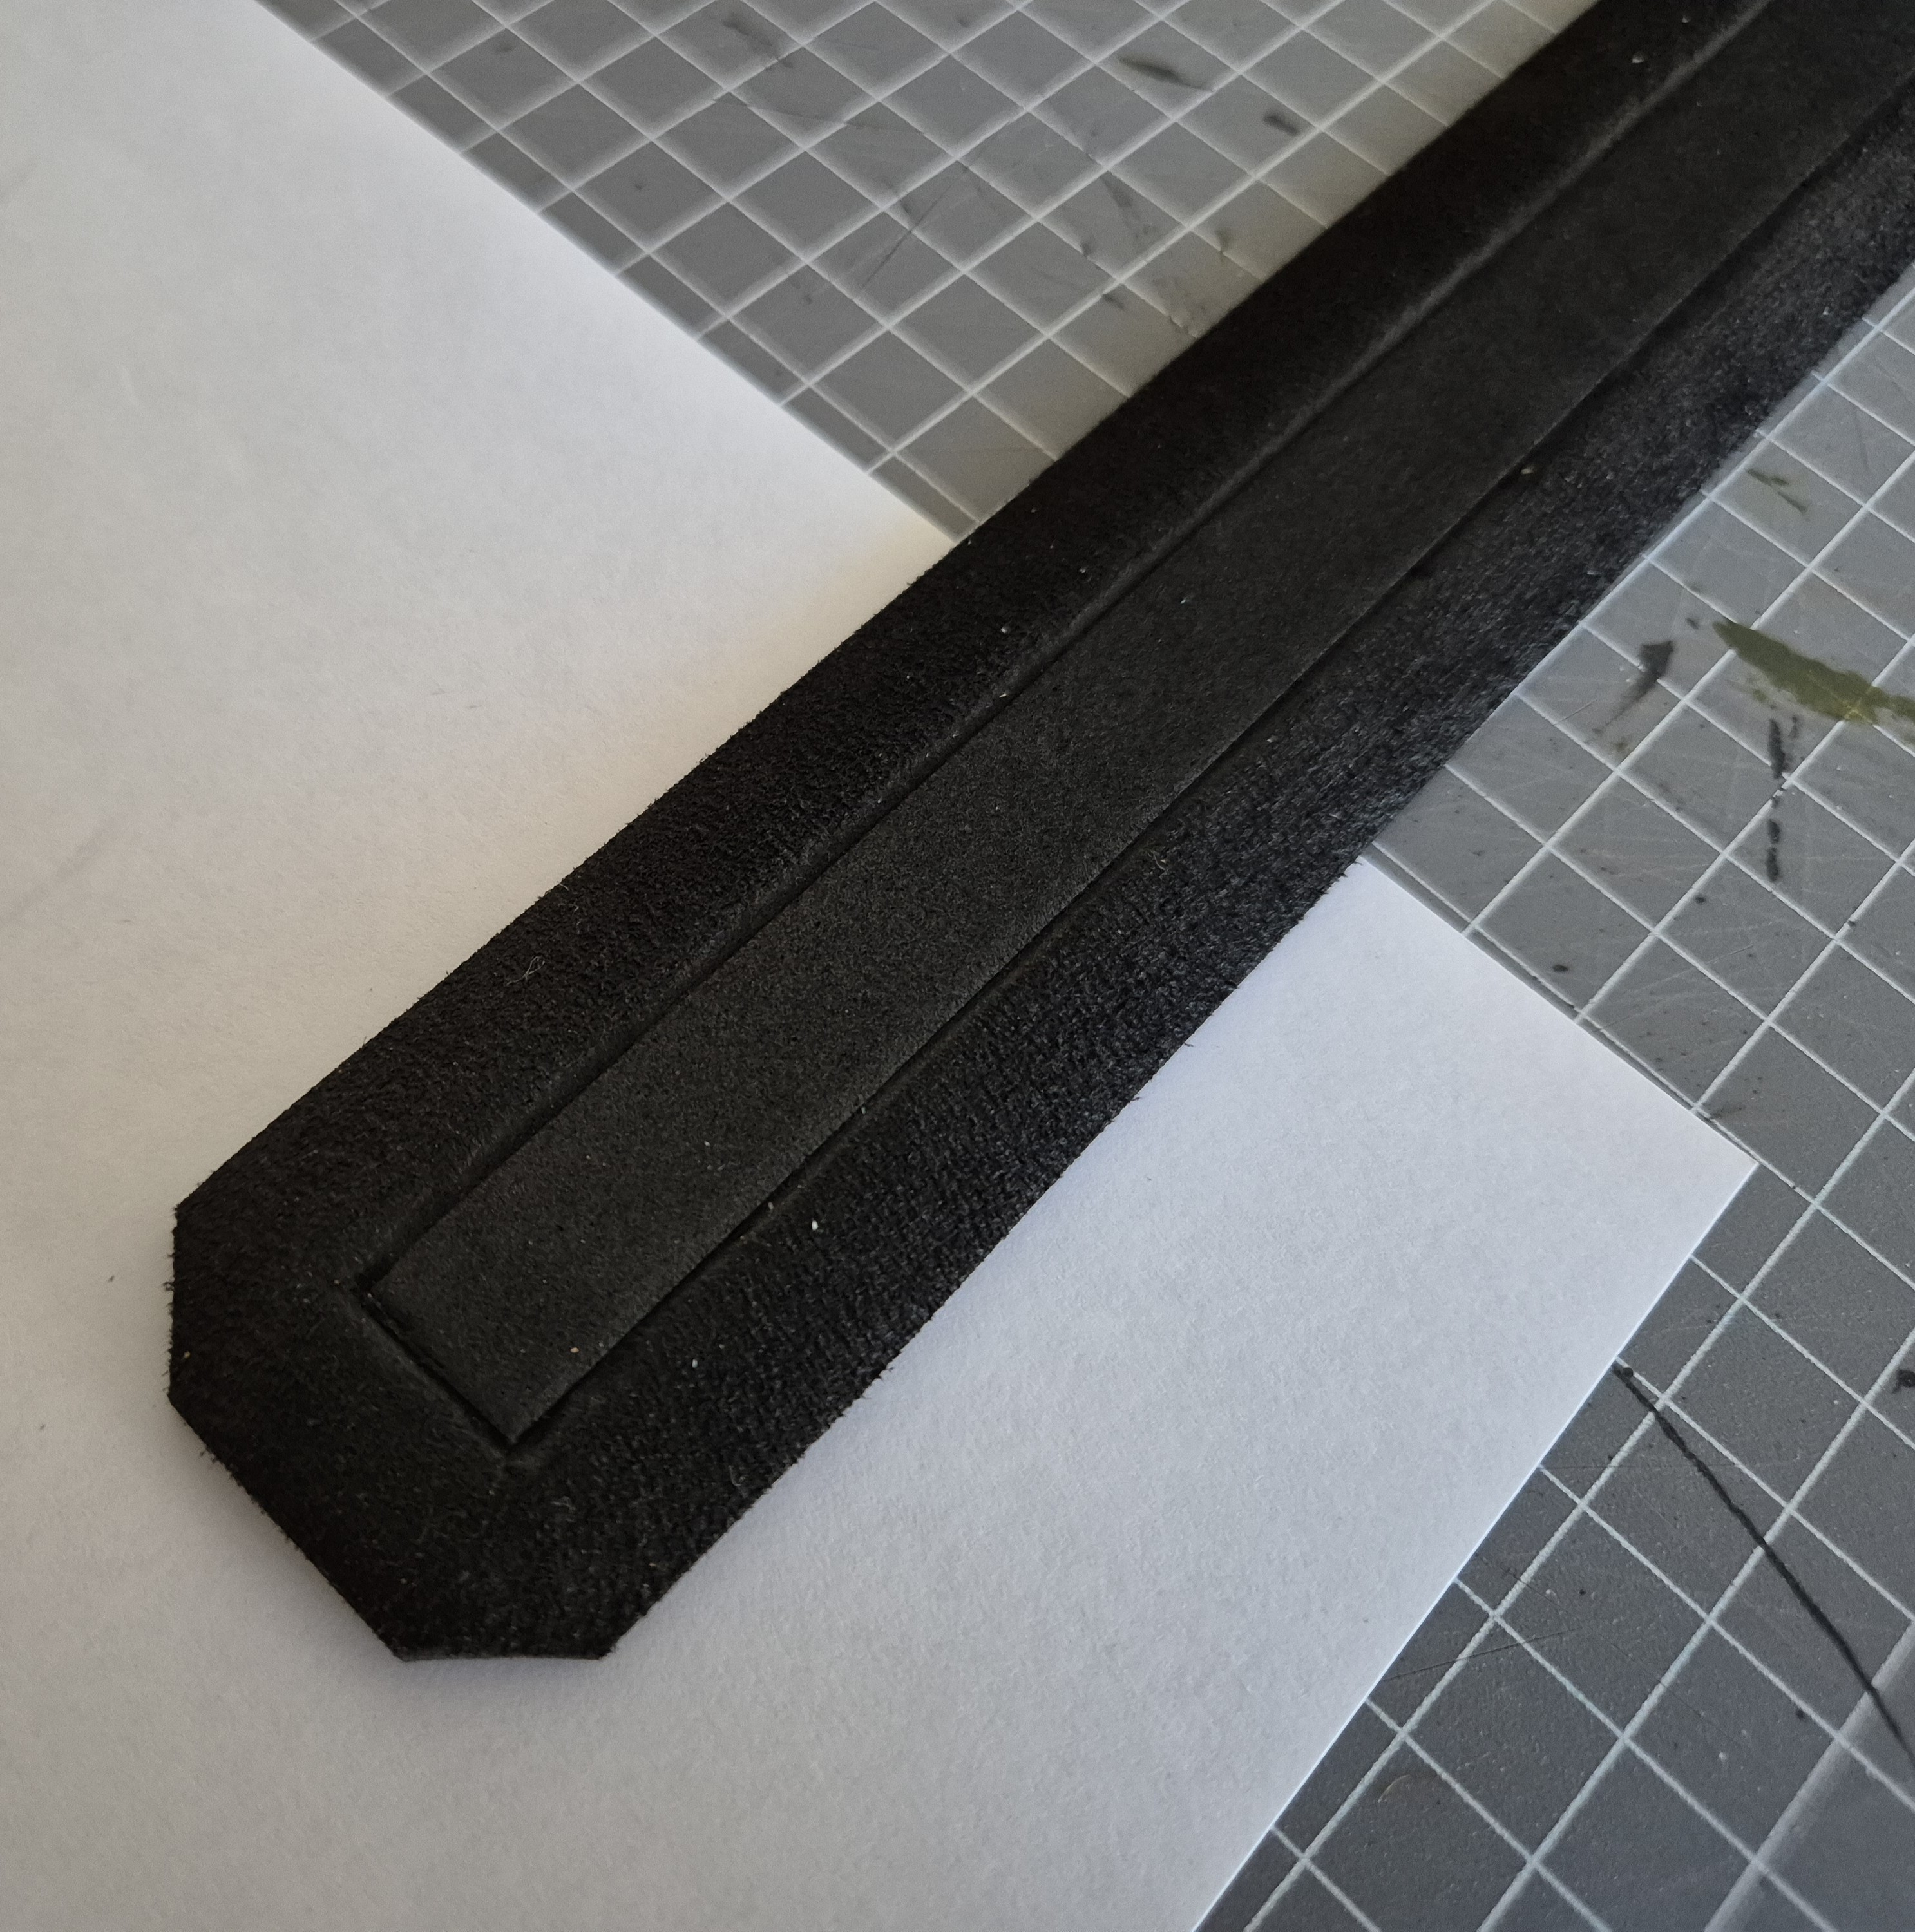
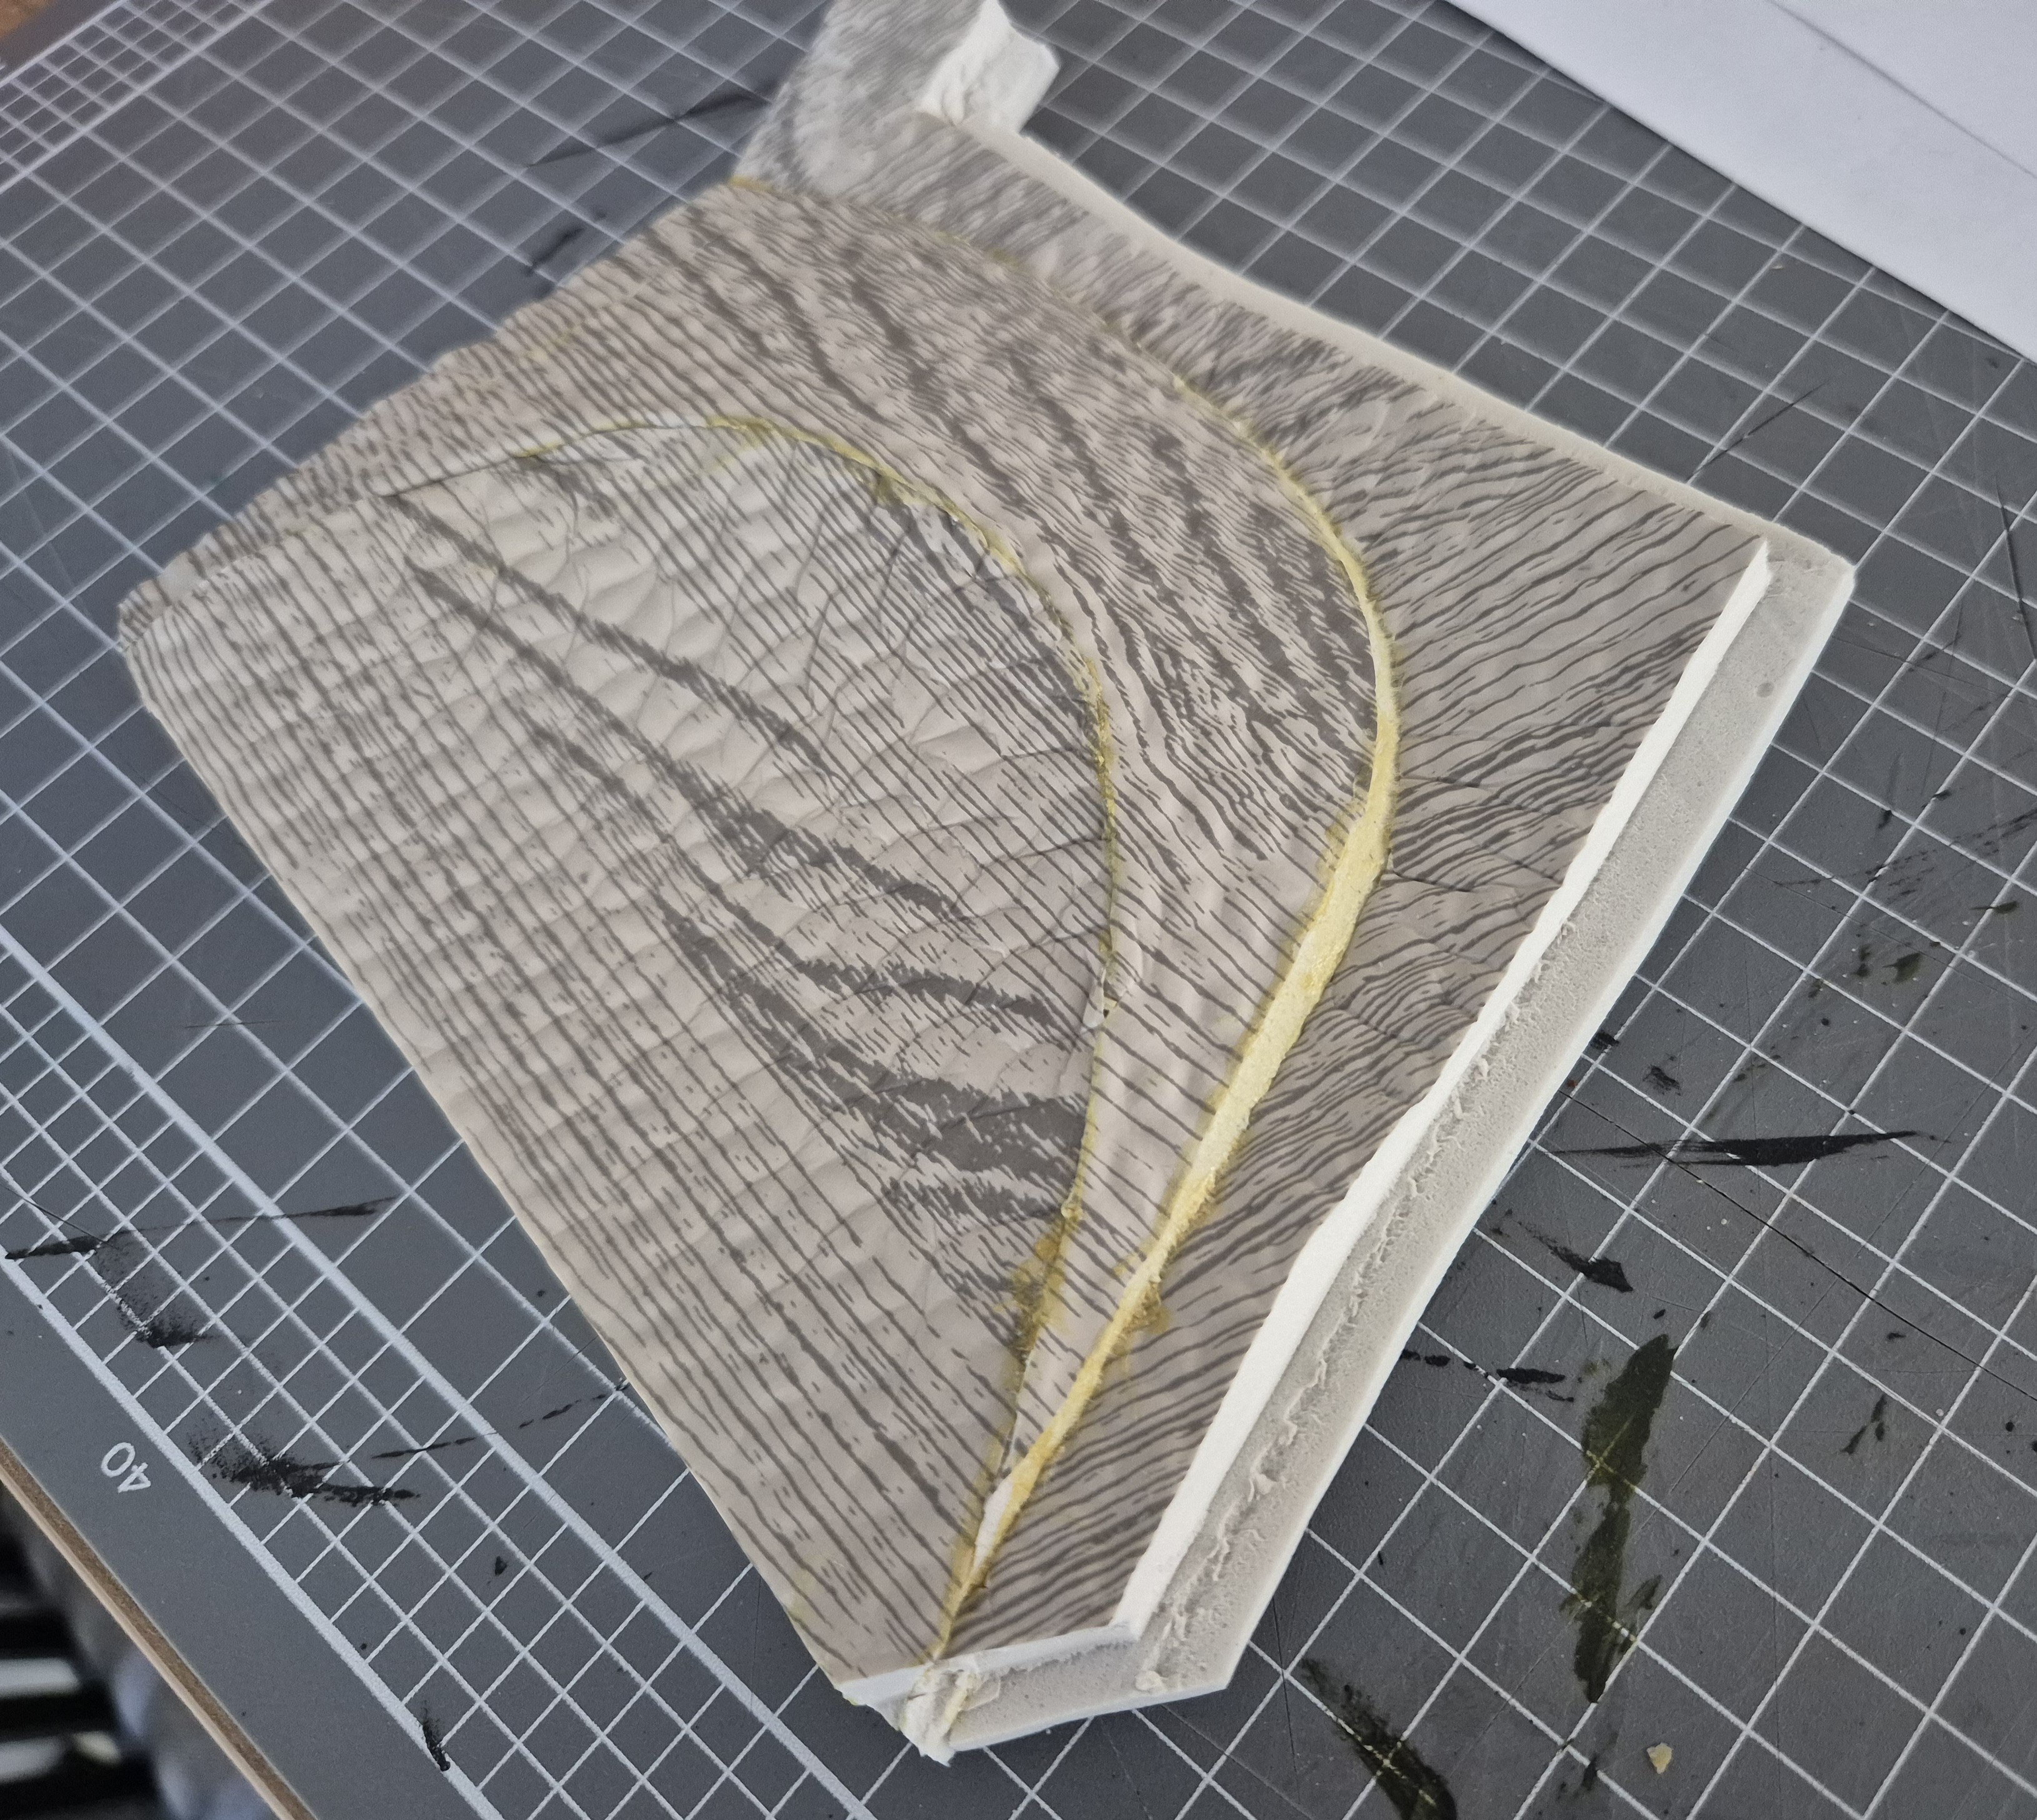
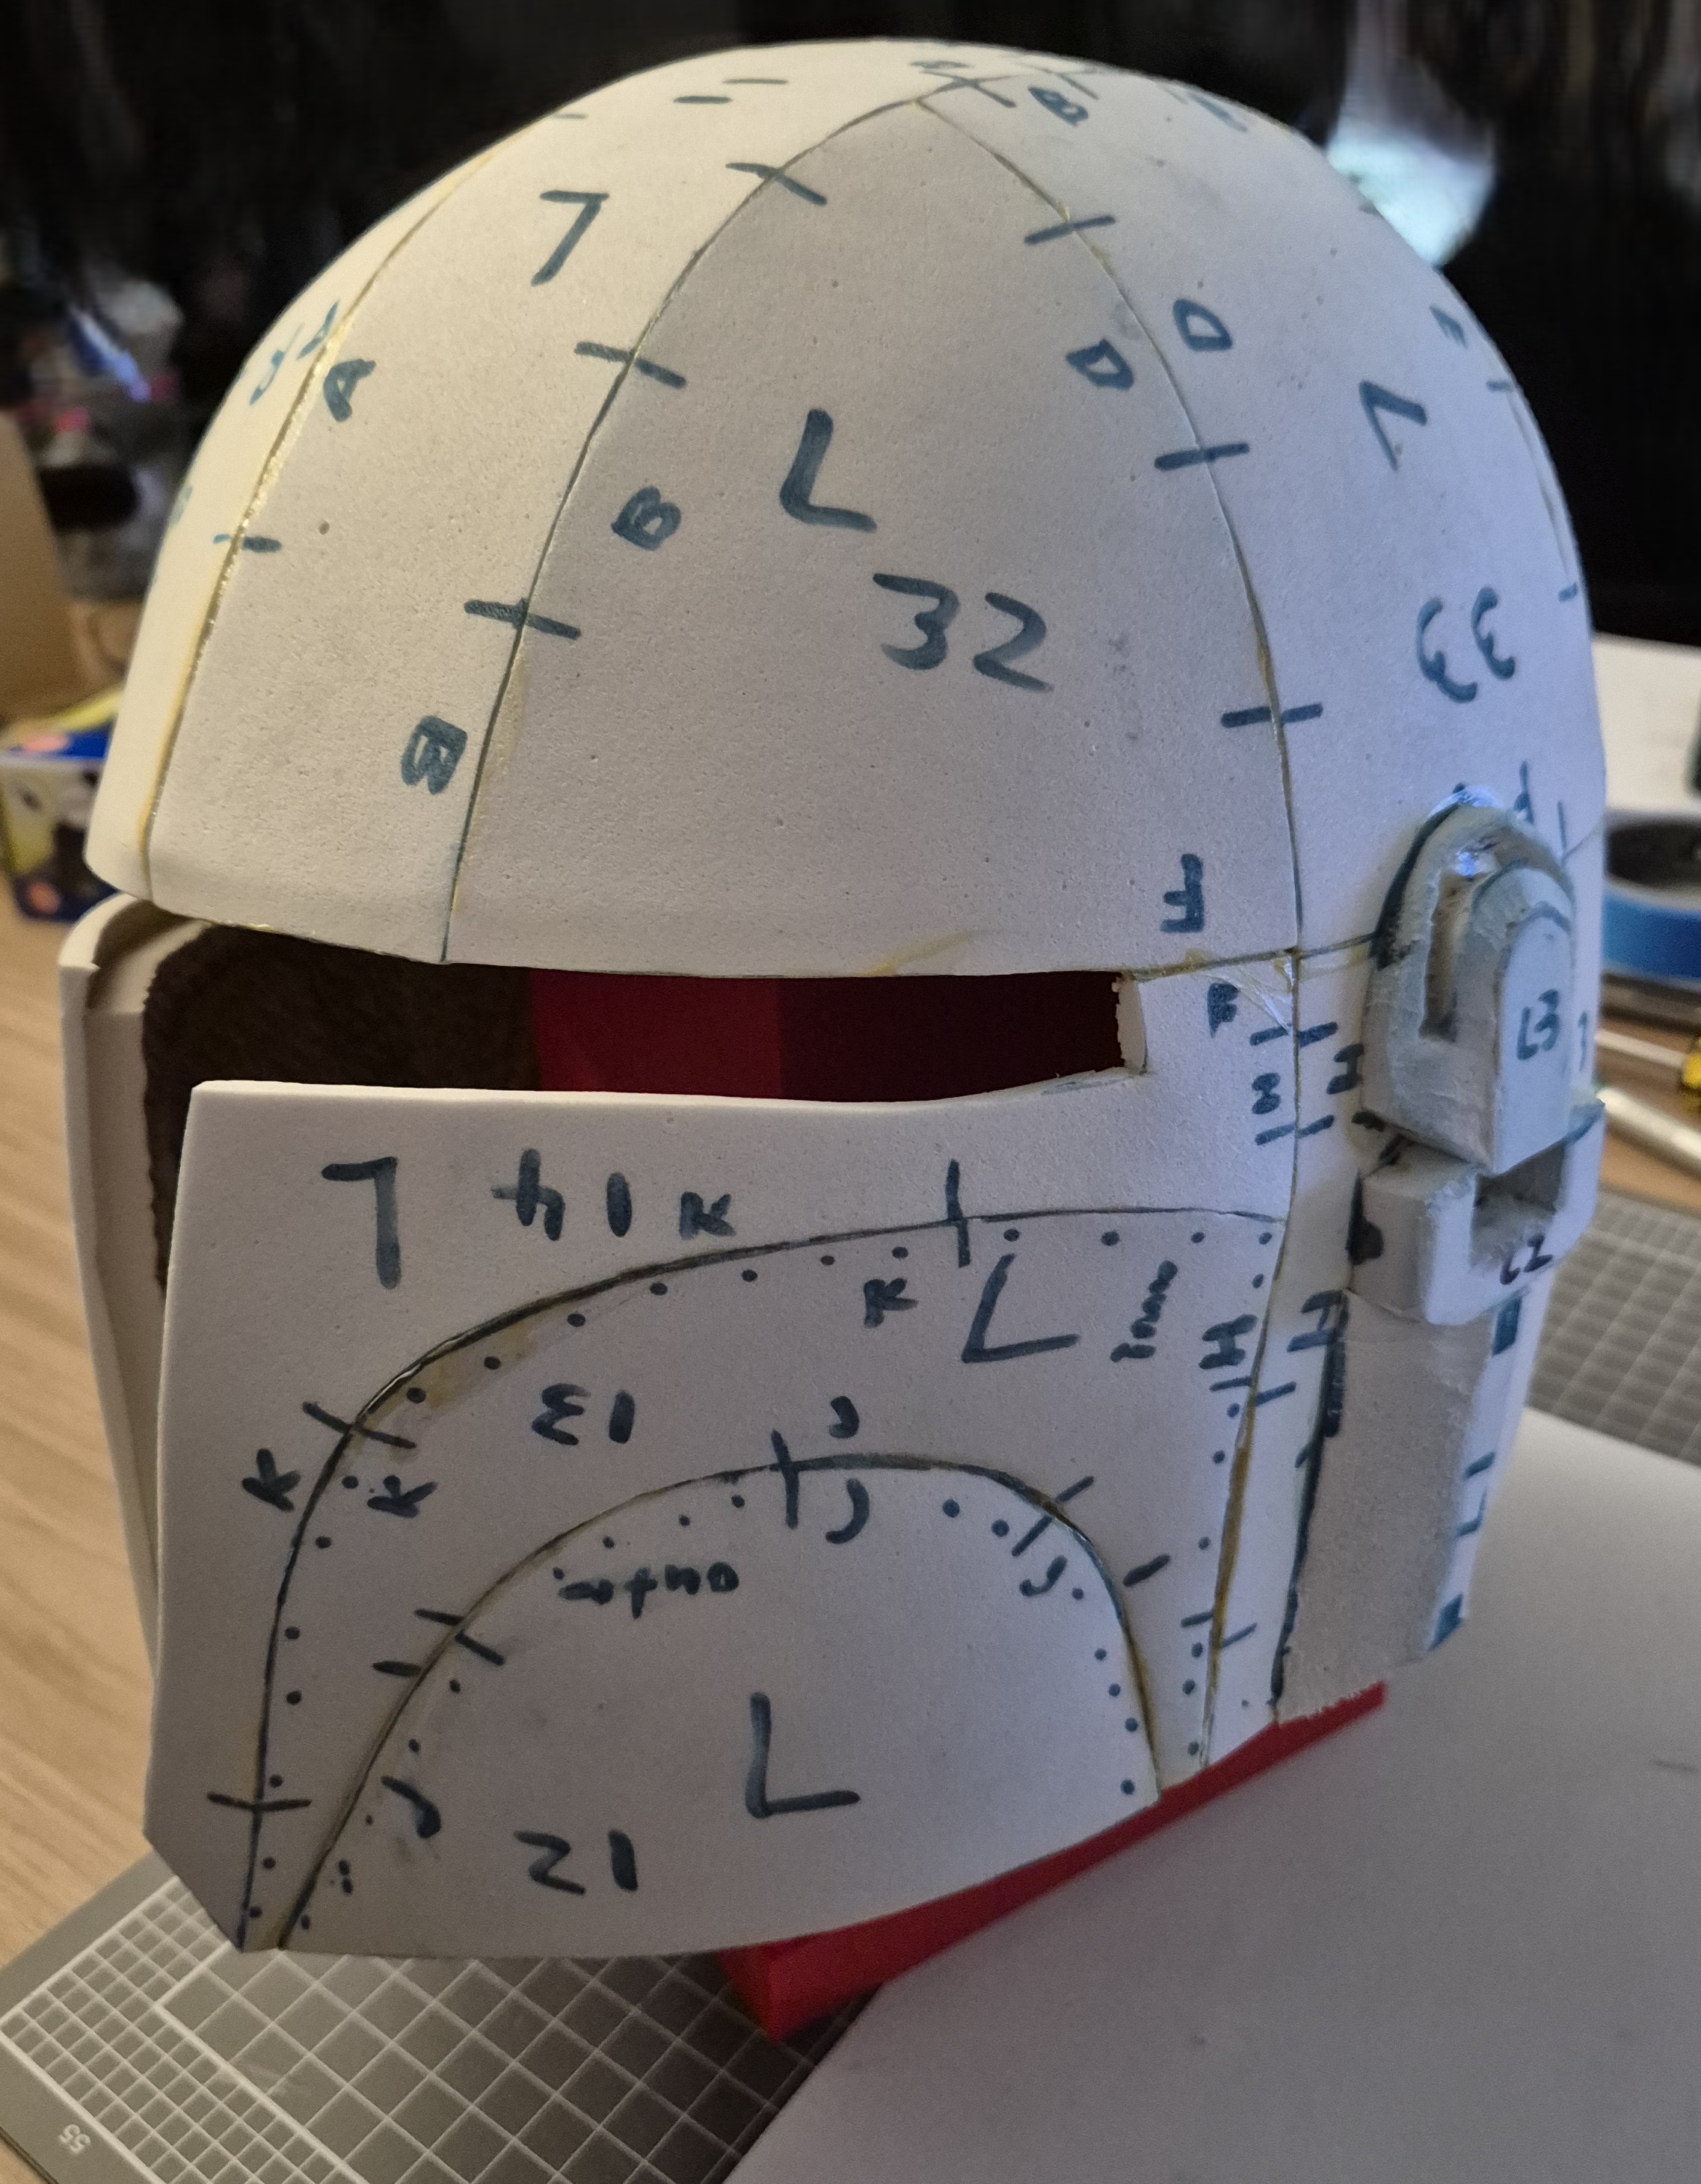
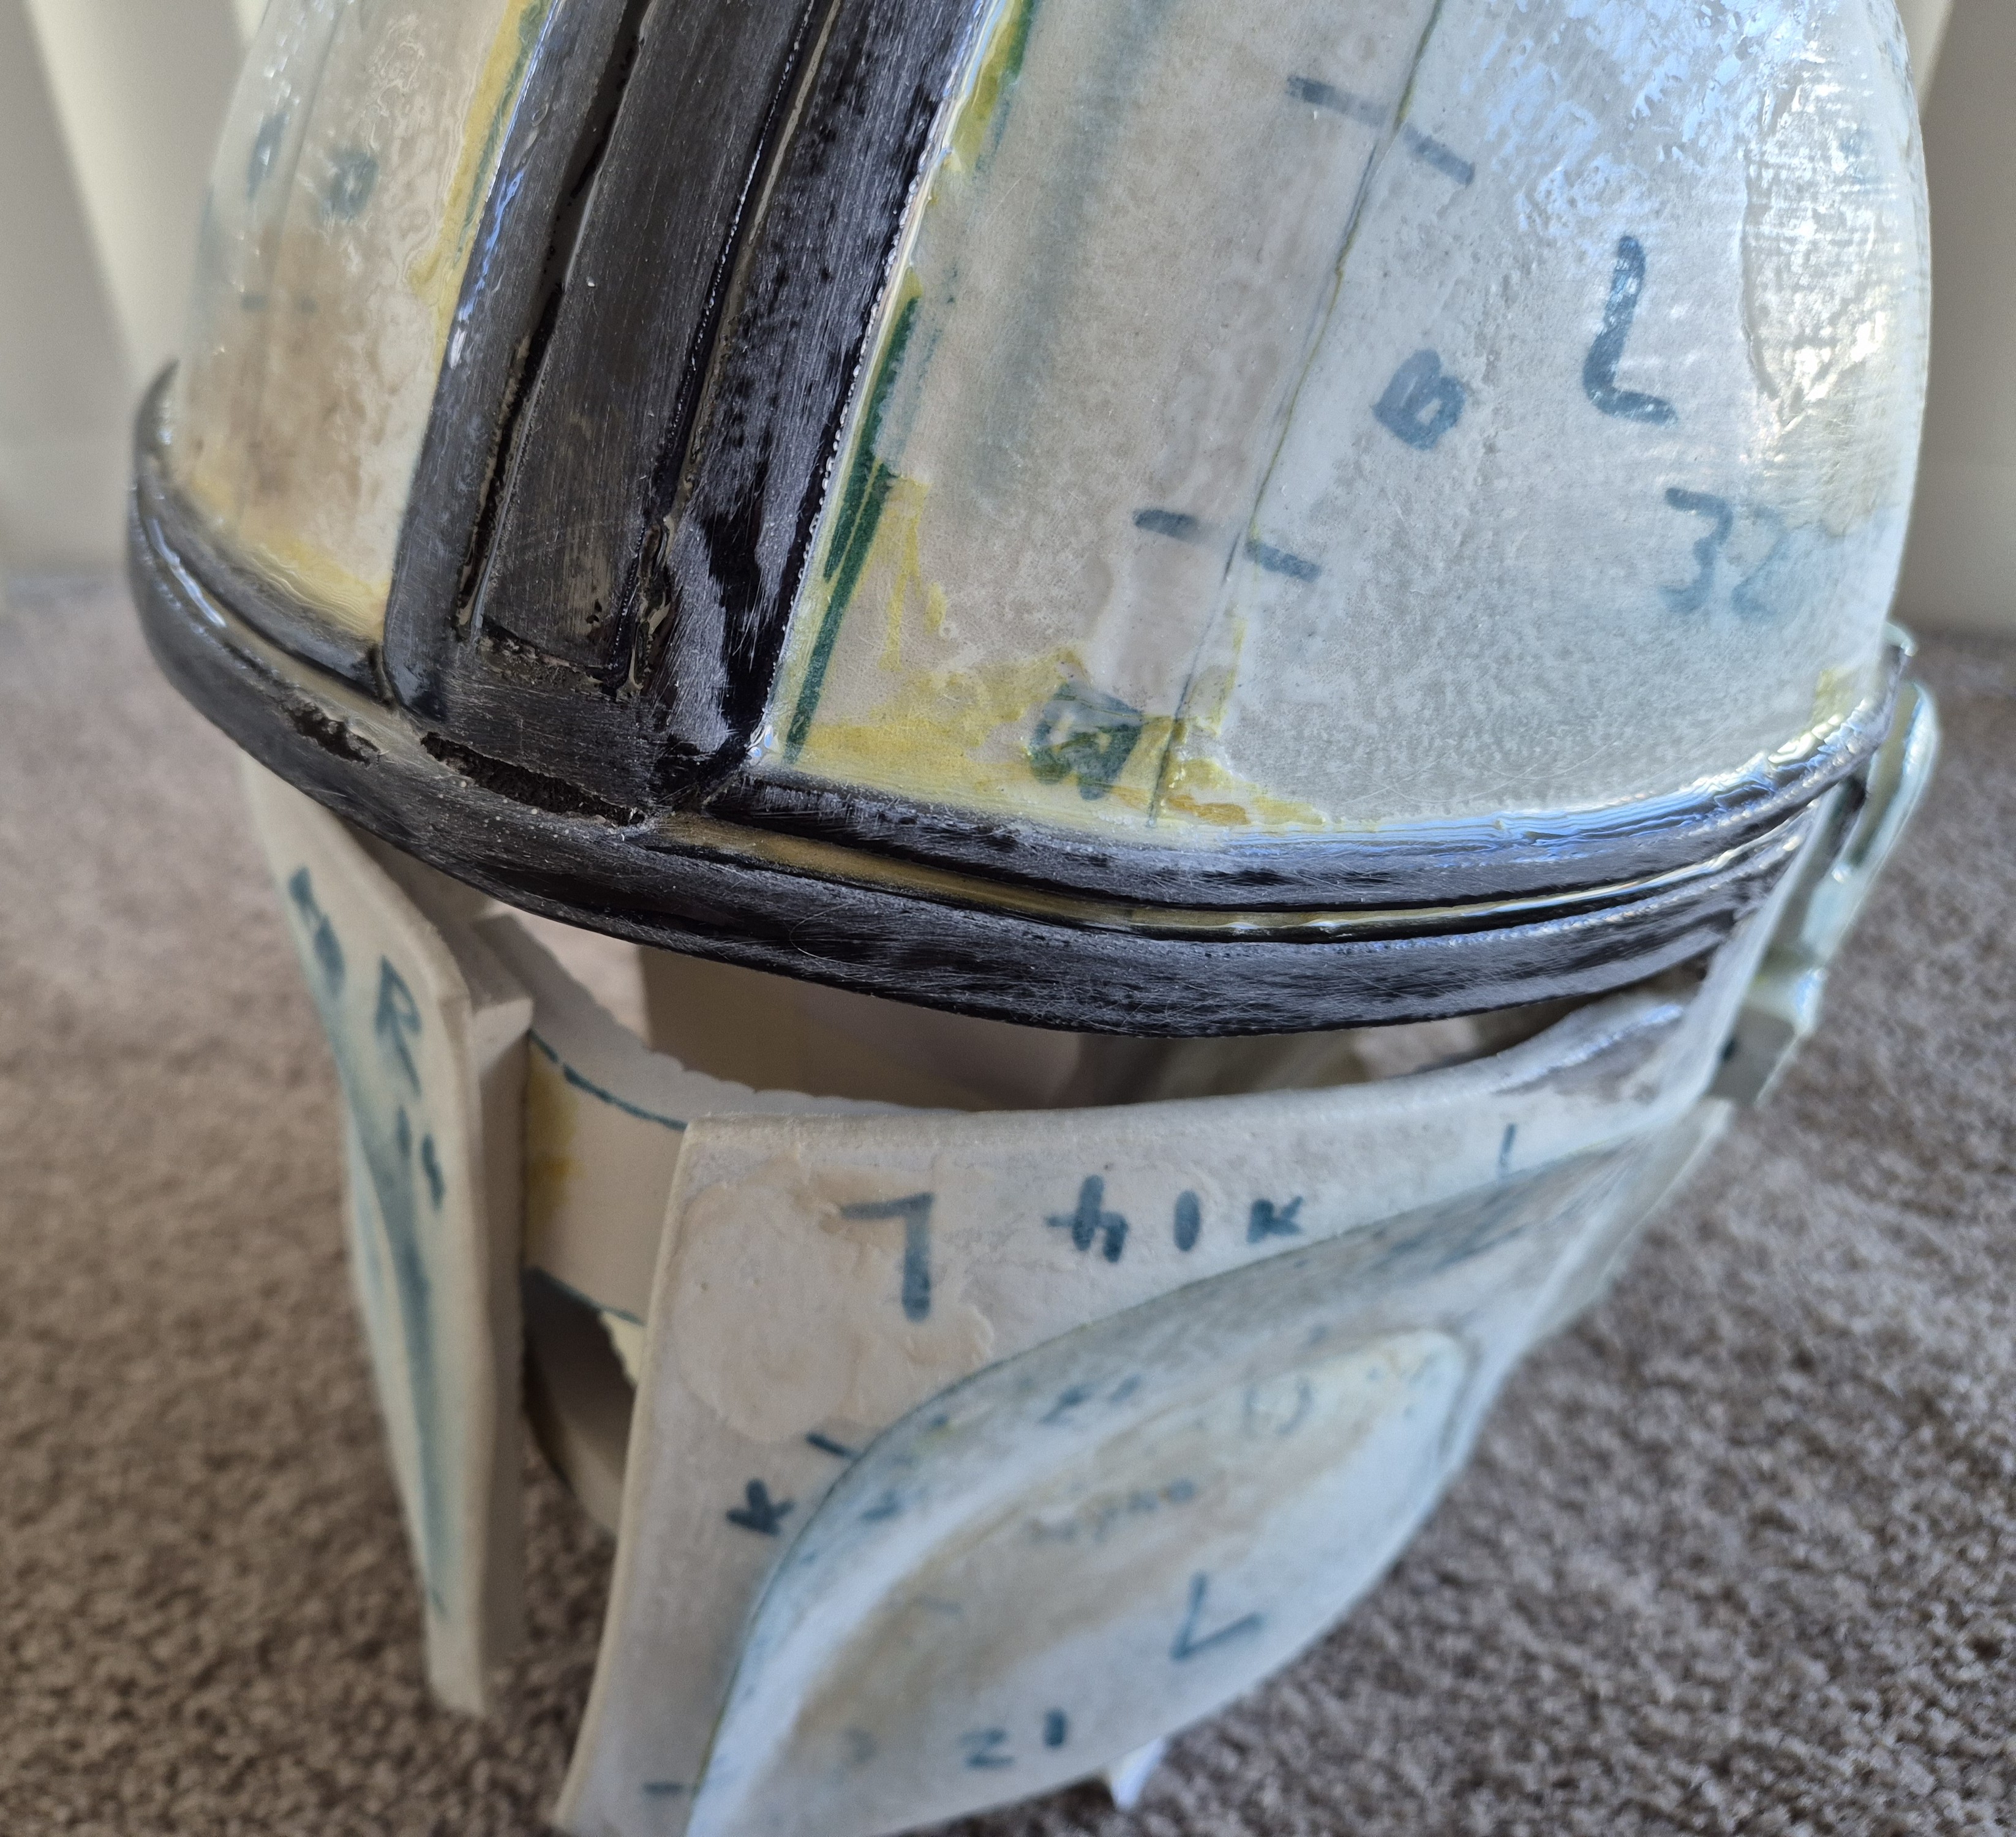
Close up of the strip of foam that runs down the middle of the helmet. Once cut to size, I carefully cut out small gouges to match the reference images. Then roughly cut the from the middle to the edge to get the slant, then sanded it to smooth it out. A dremel would have made this easier but hand-sanding was fine.
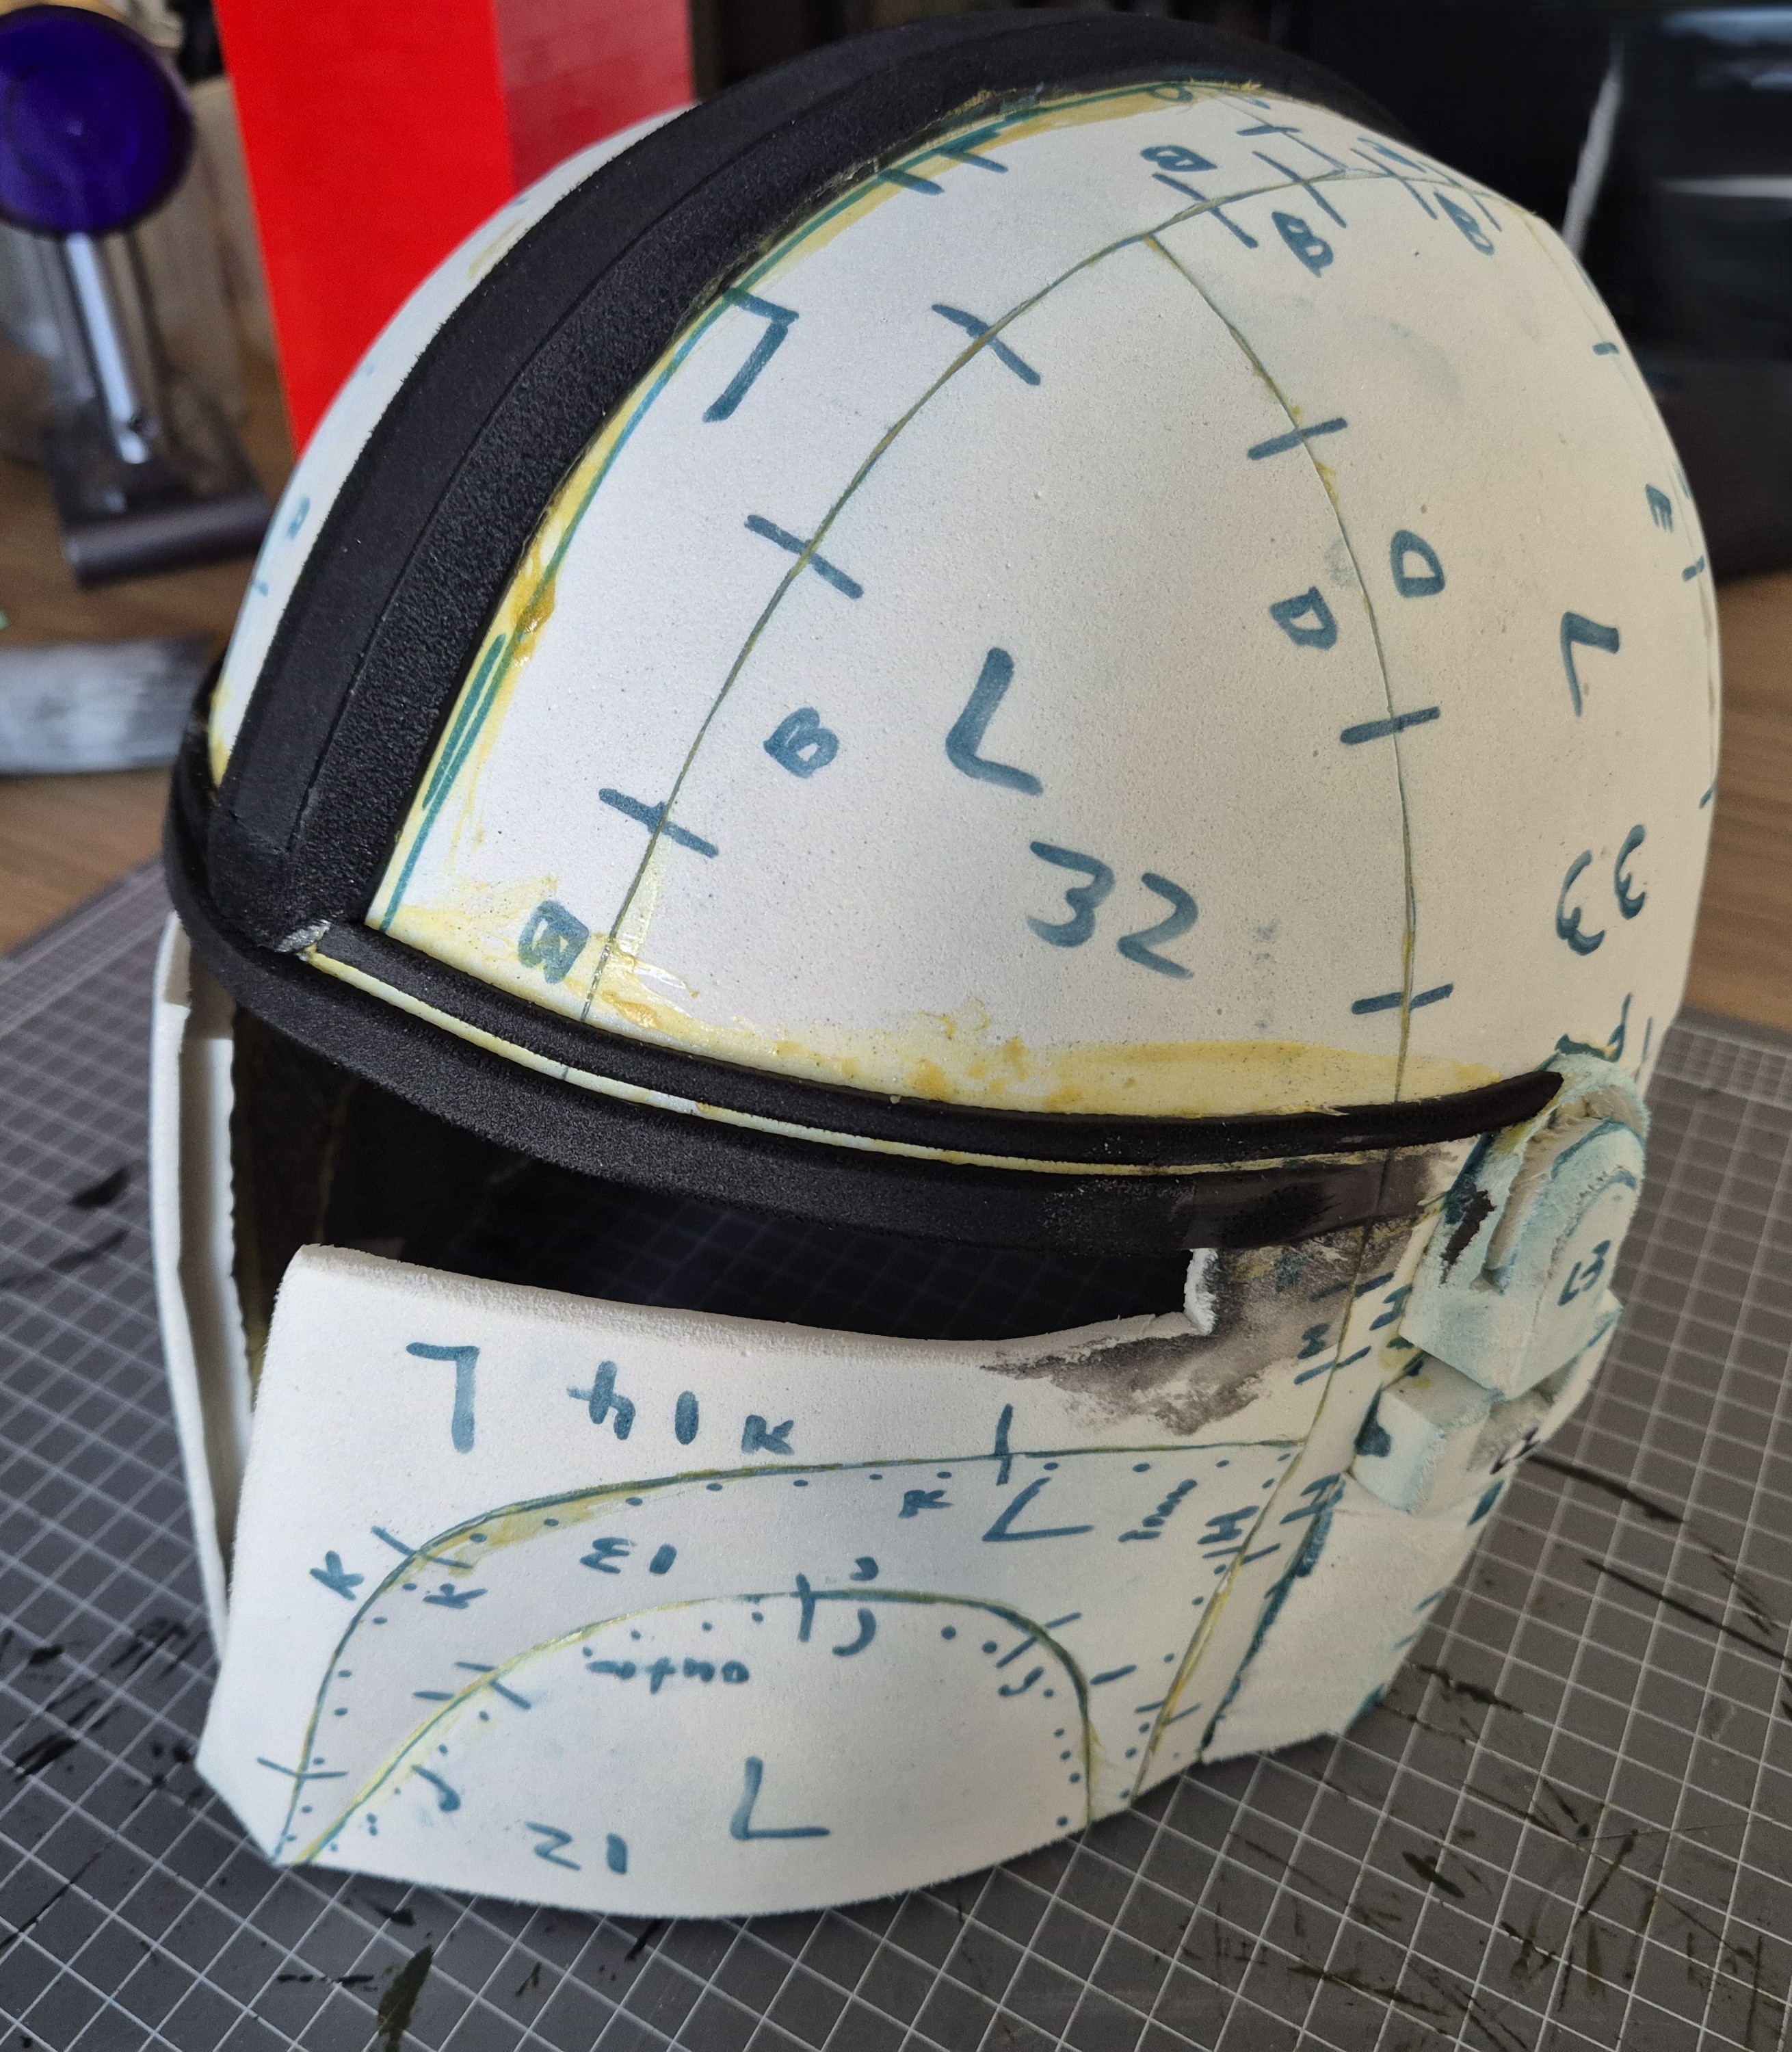
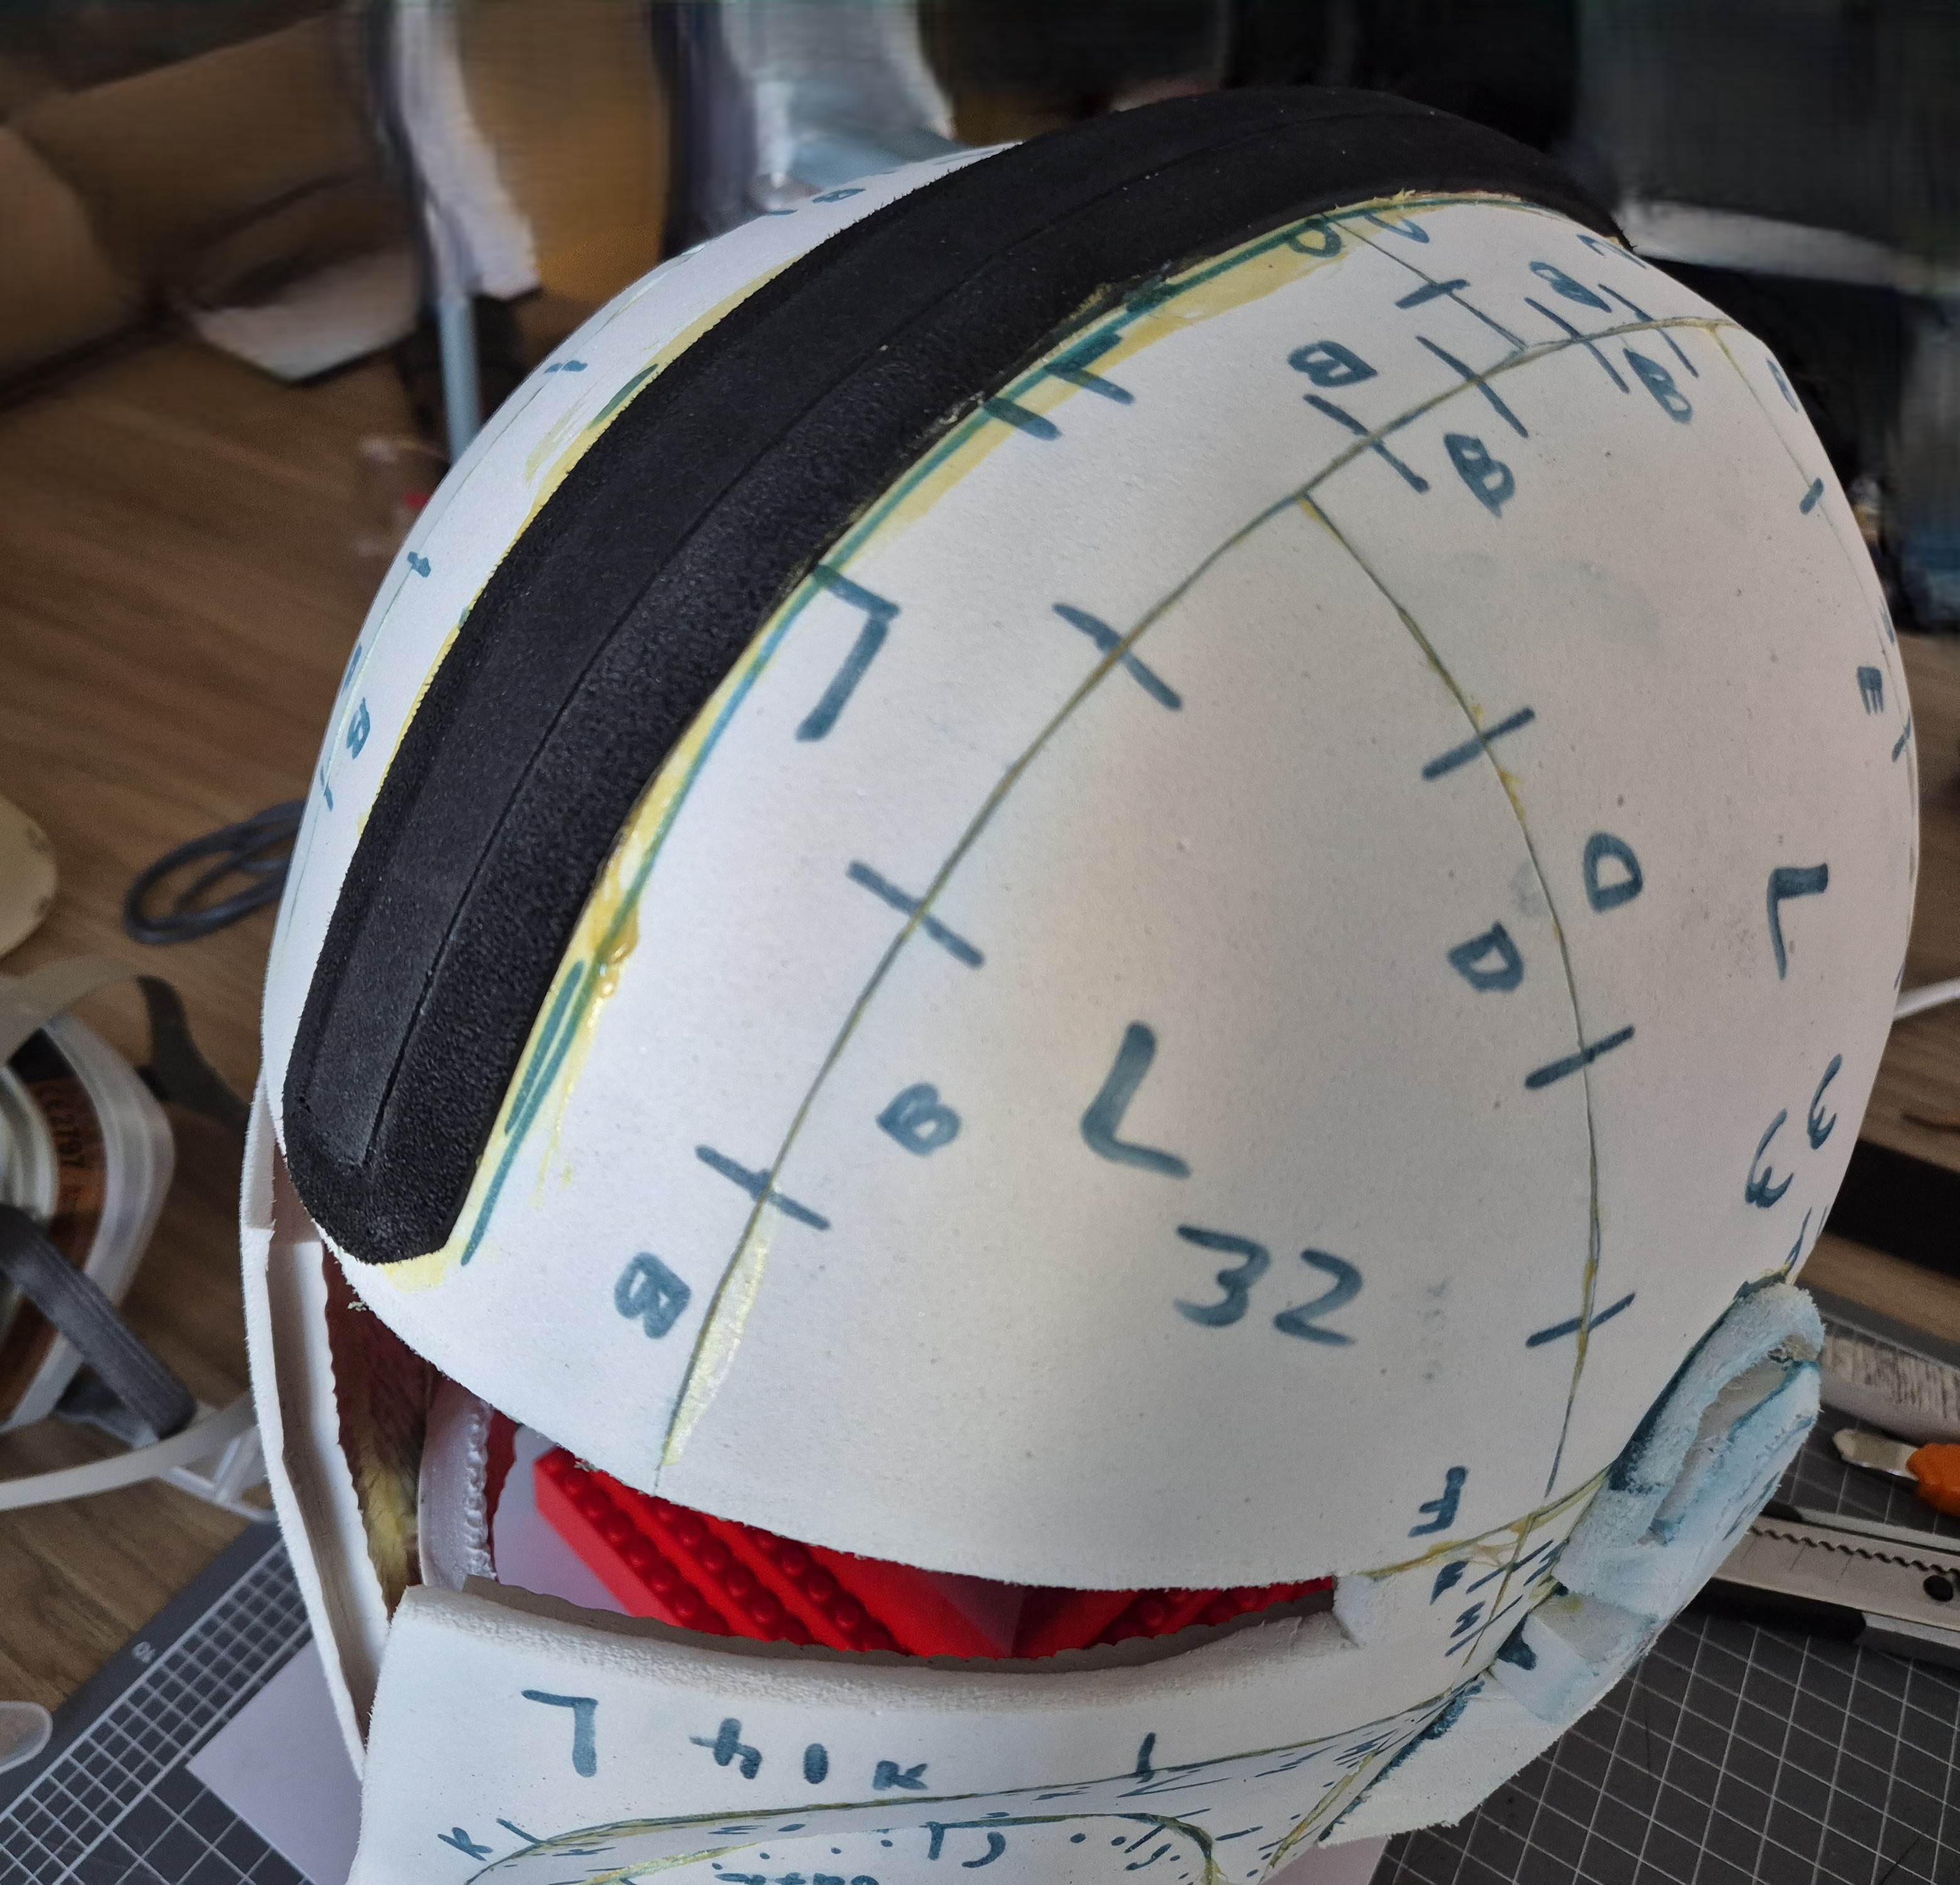
Shot of the middle piece attached, along with the other elements on the front, with patches of foam clay to smooth out the bit just above the visor where it meets the helmet.
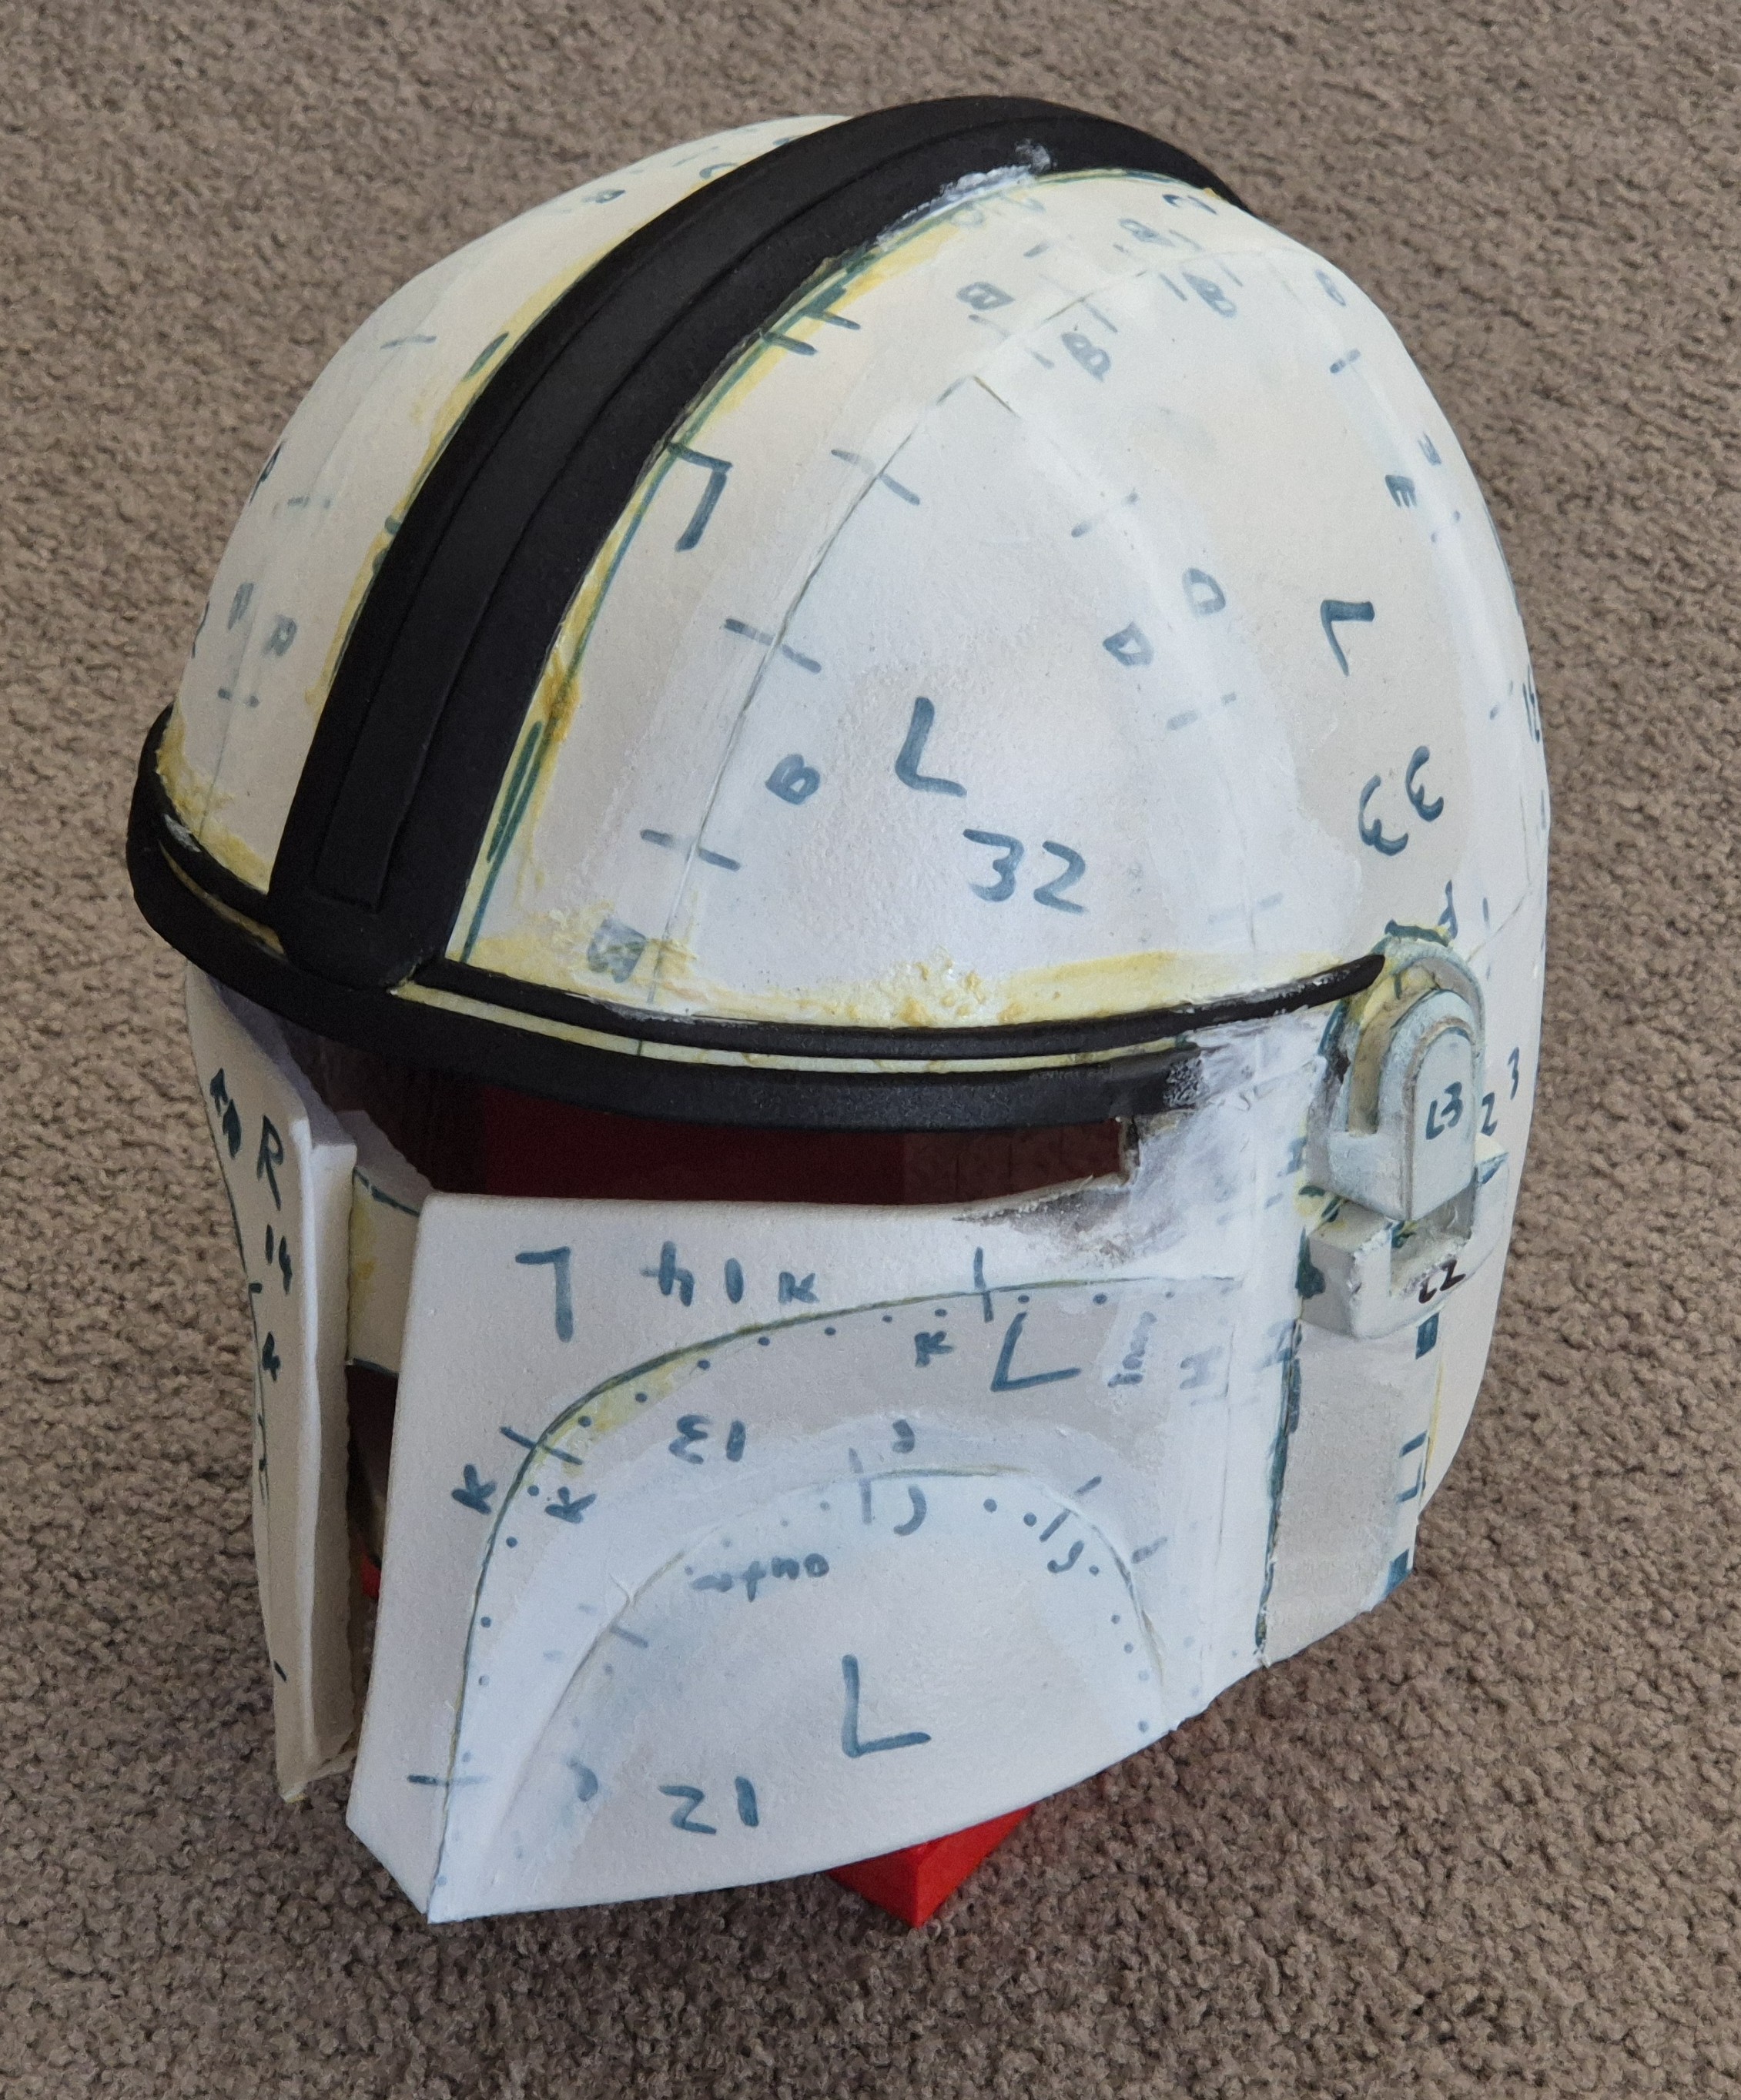
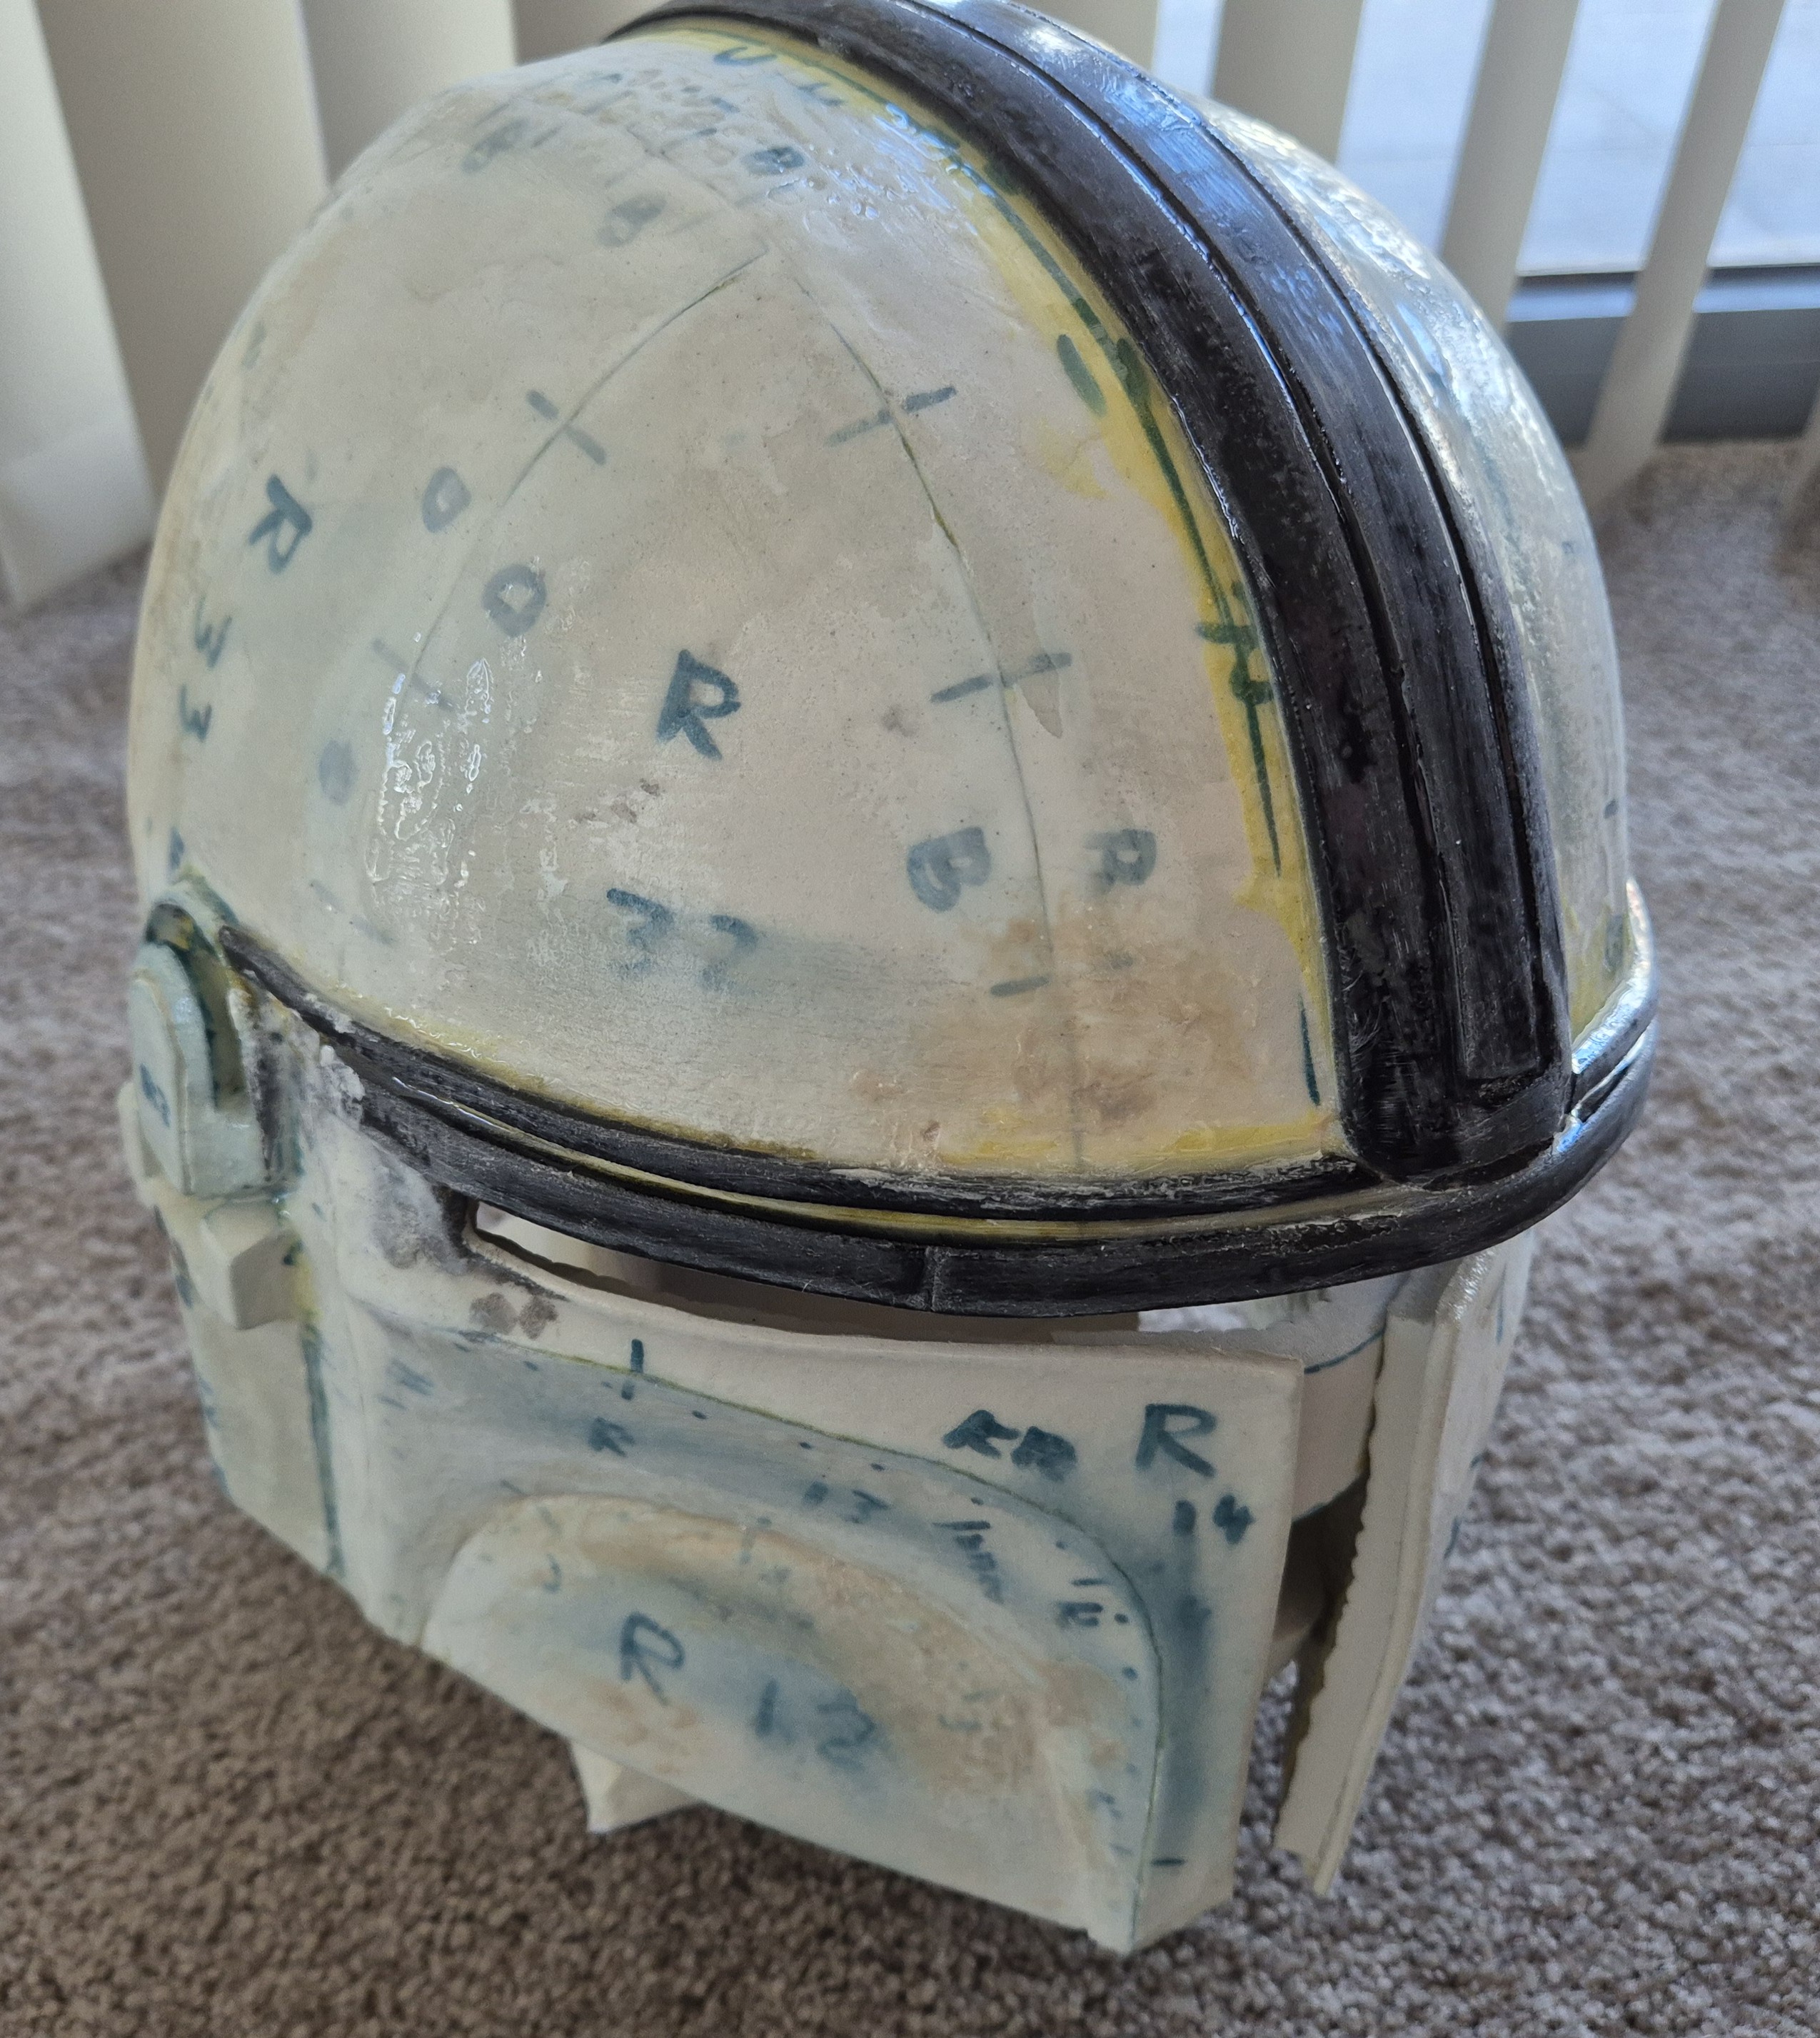
With all the pieces attached, the next step was to start preparing for the resin and paint, which included adding a few layers of Qwikseal into the gaps between the larger parts of the helmet.
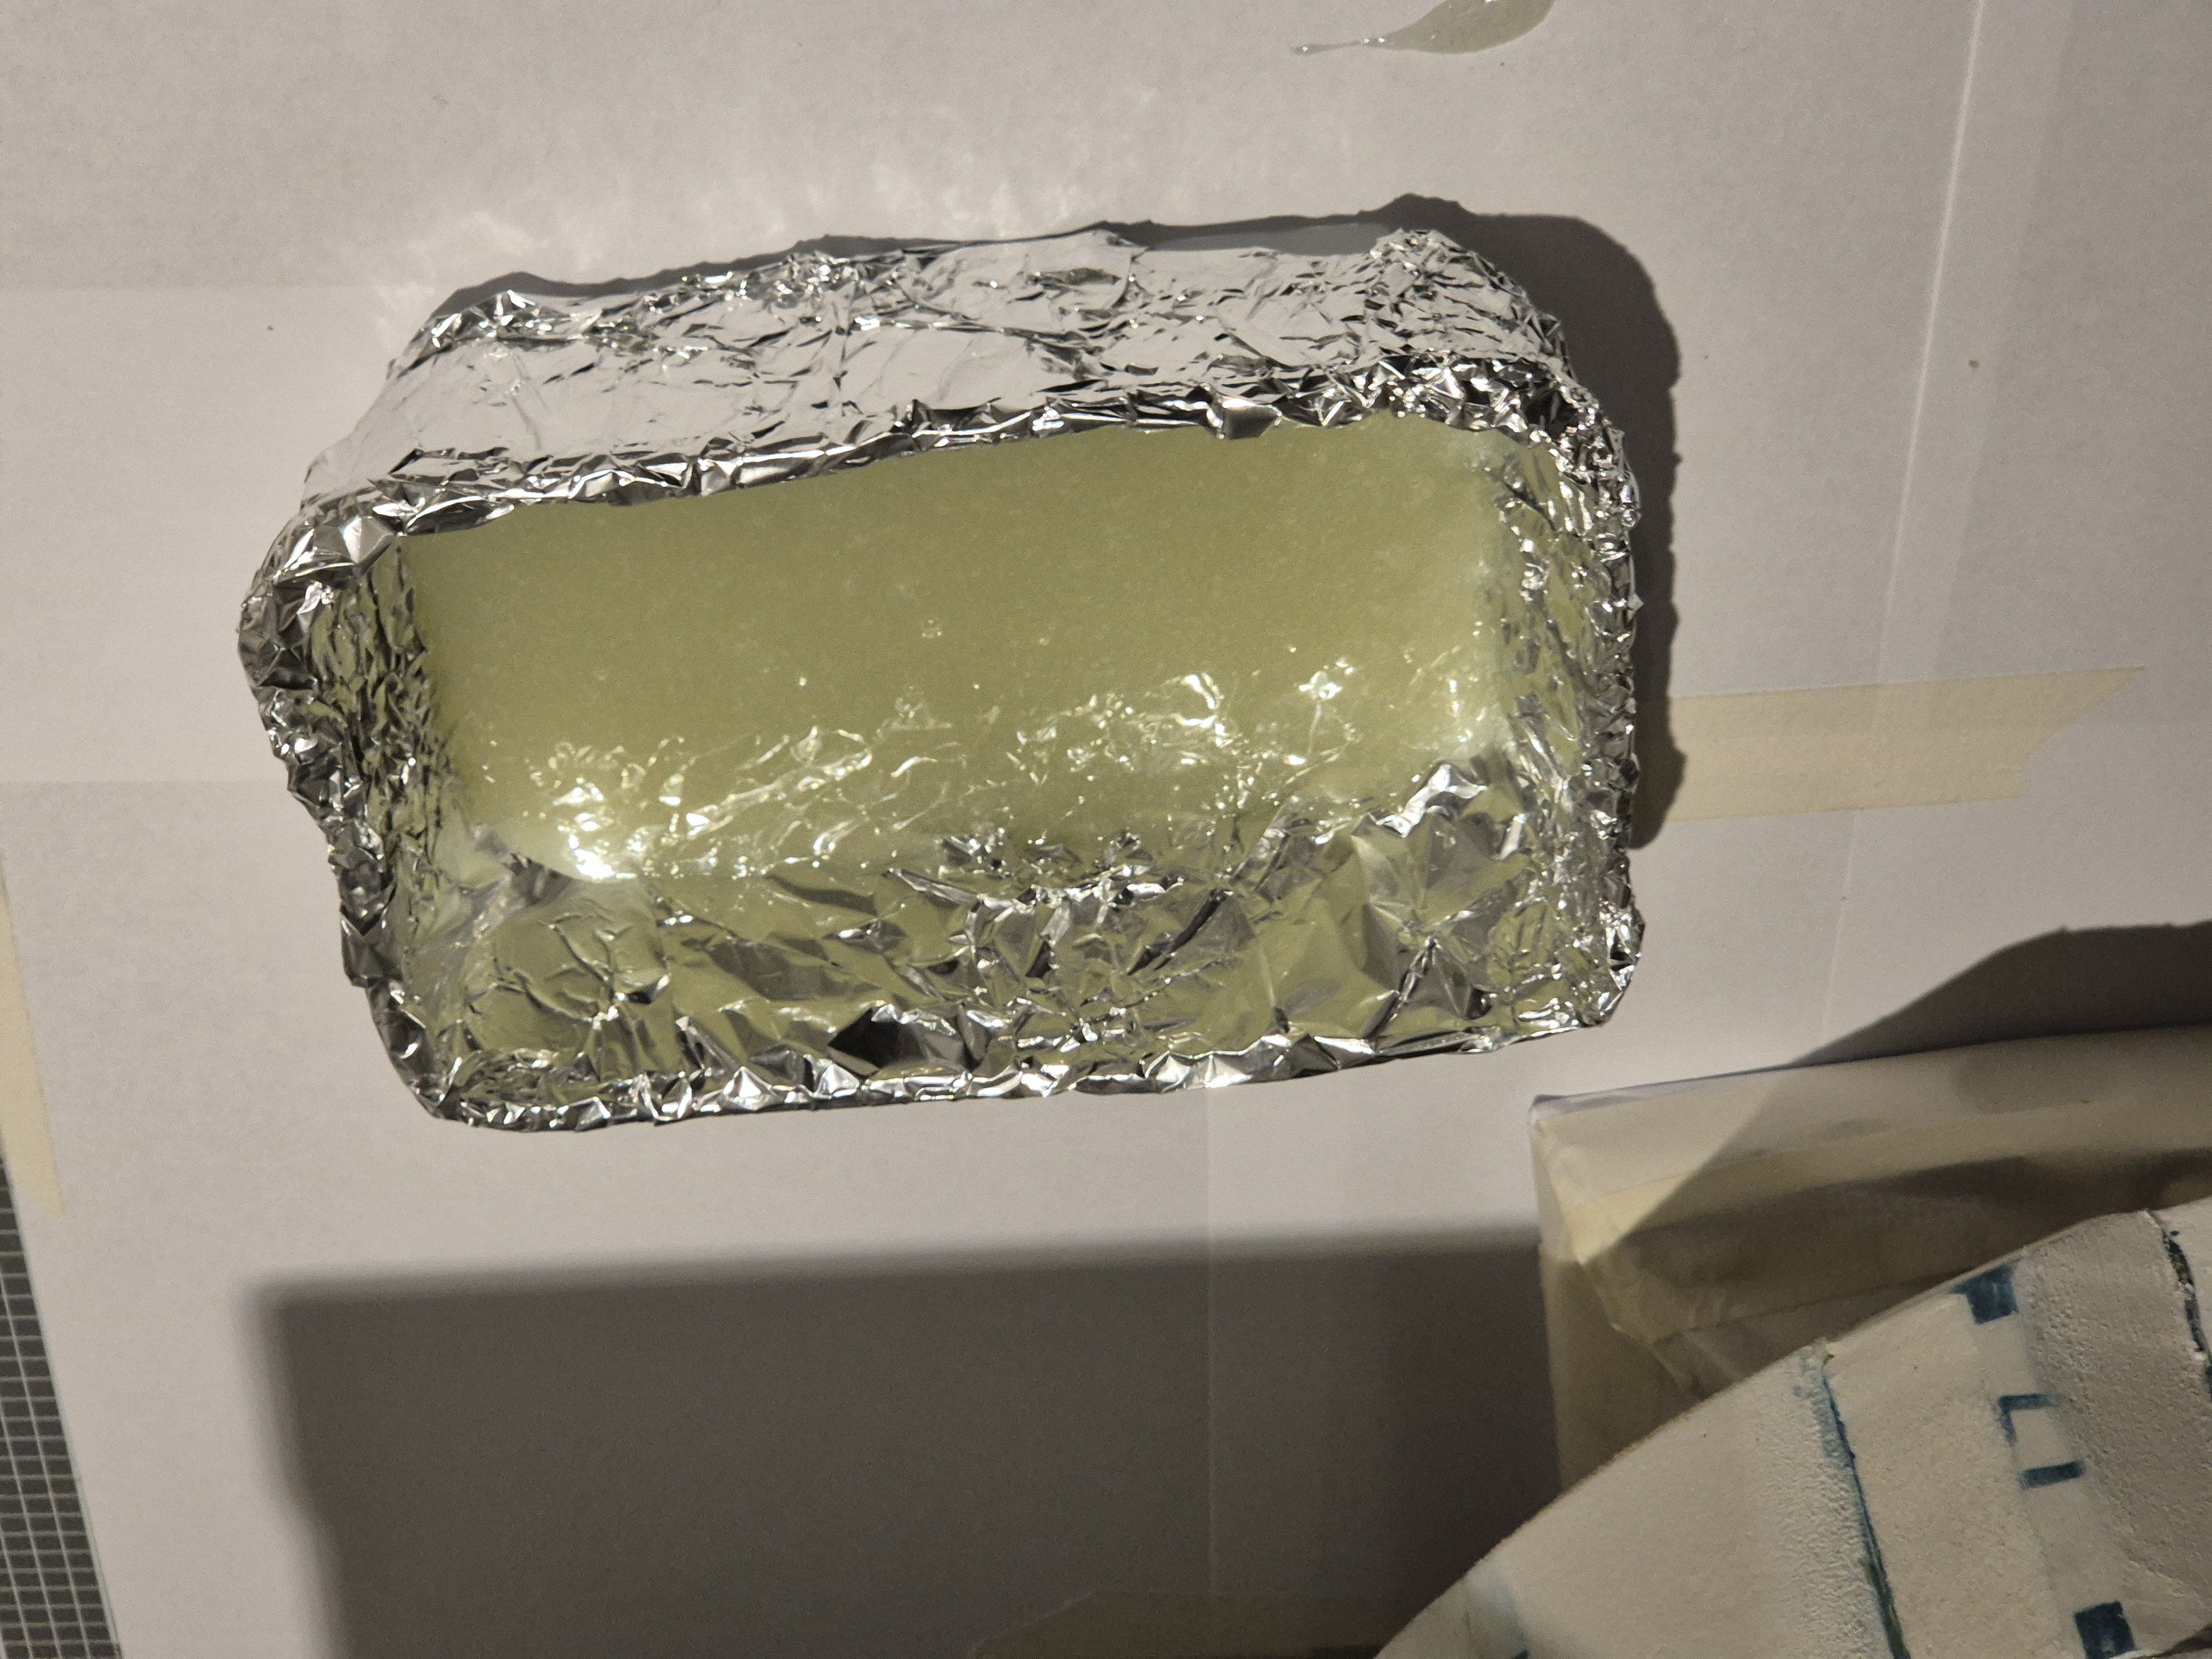
My first attempt at using resin. The goal of the resin is to cover the imperfections of the foam and bits, followed by a bunch of sanding to smooth things out. The tray of resin shows that I prepared far too much for what was needed. This first layer was also too thick, it filled in some areas I didn’t want it too, and as we’ll see later it impacted the surface.
How it looks after sanding the resin. This was after the first thicker layer of resin. I did do a second thinner layer which was applied much better, and with a much smaller batch created. Considering the imperfections even after sanding that, I should have done several more thin layers, then sand, however I wanted to get it finished, and was hopeful the primer would have hidden the surface imperfections.
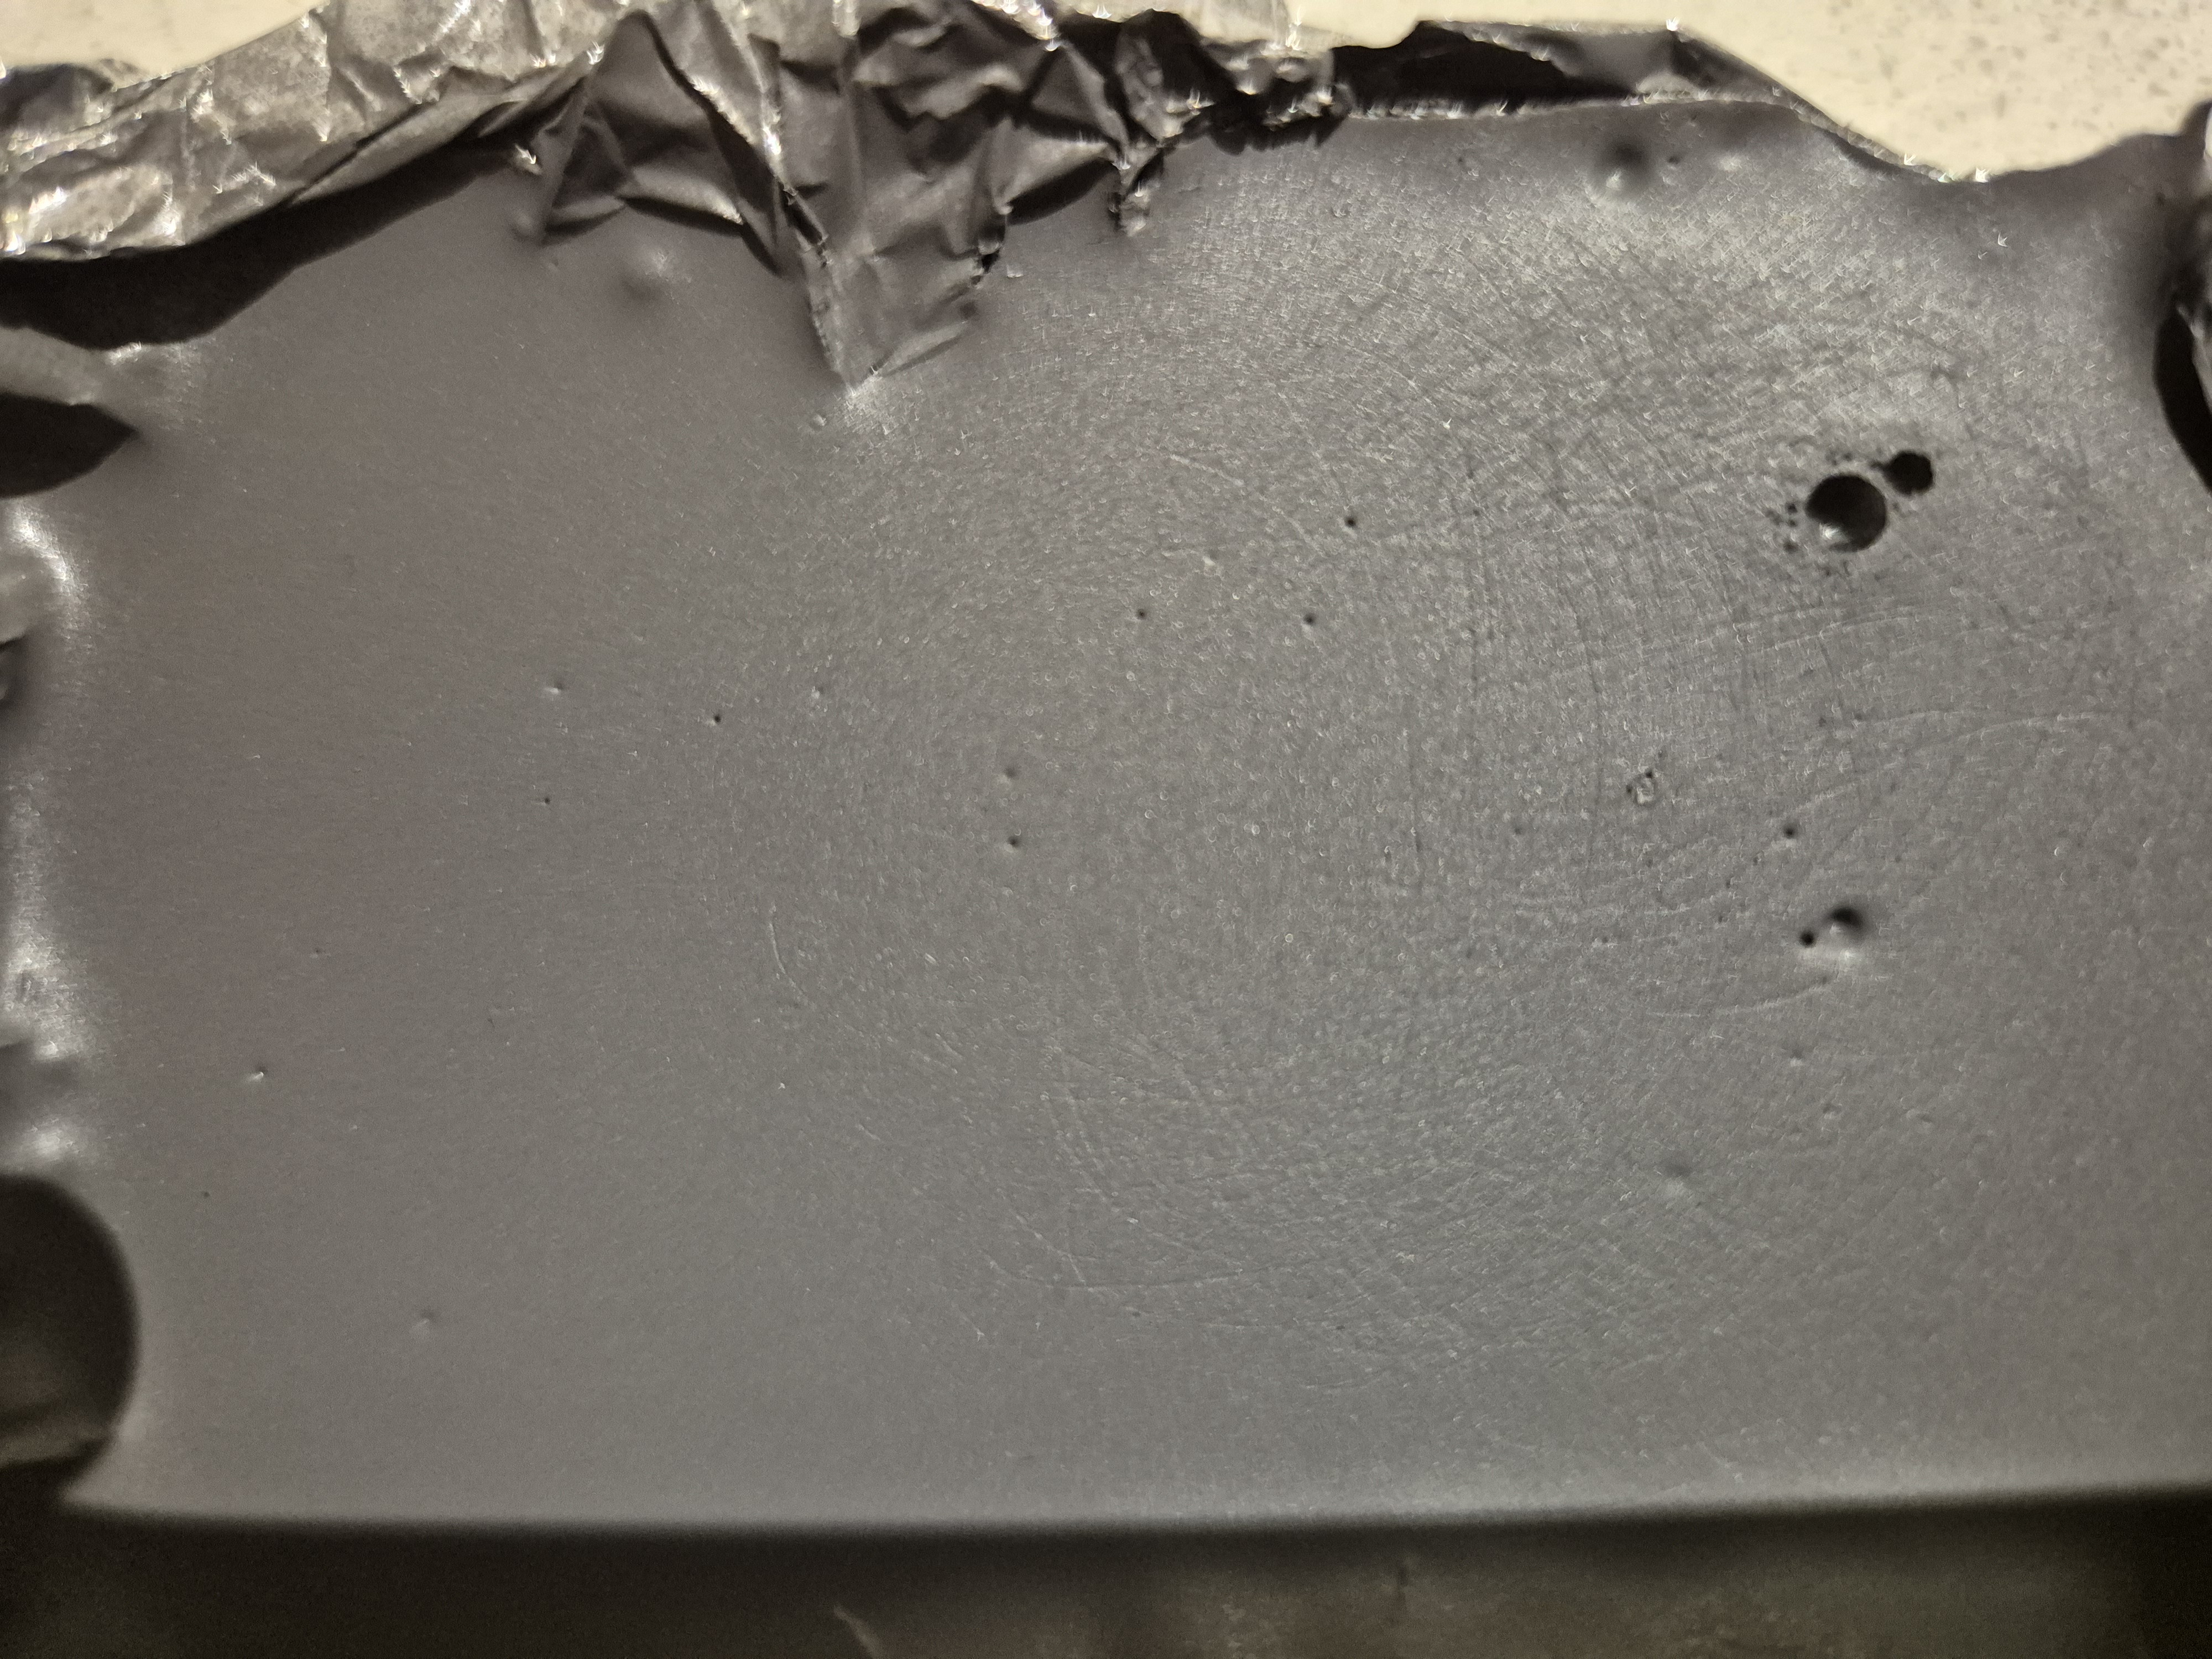
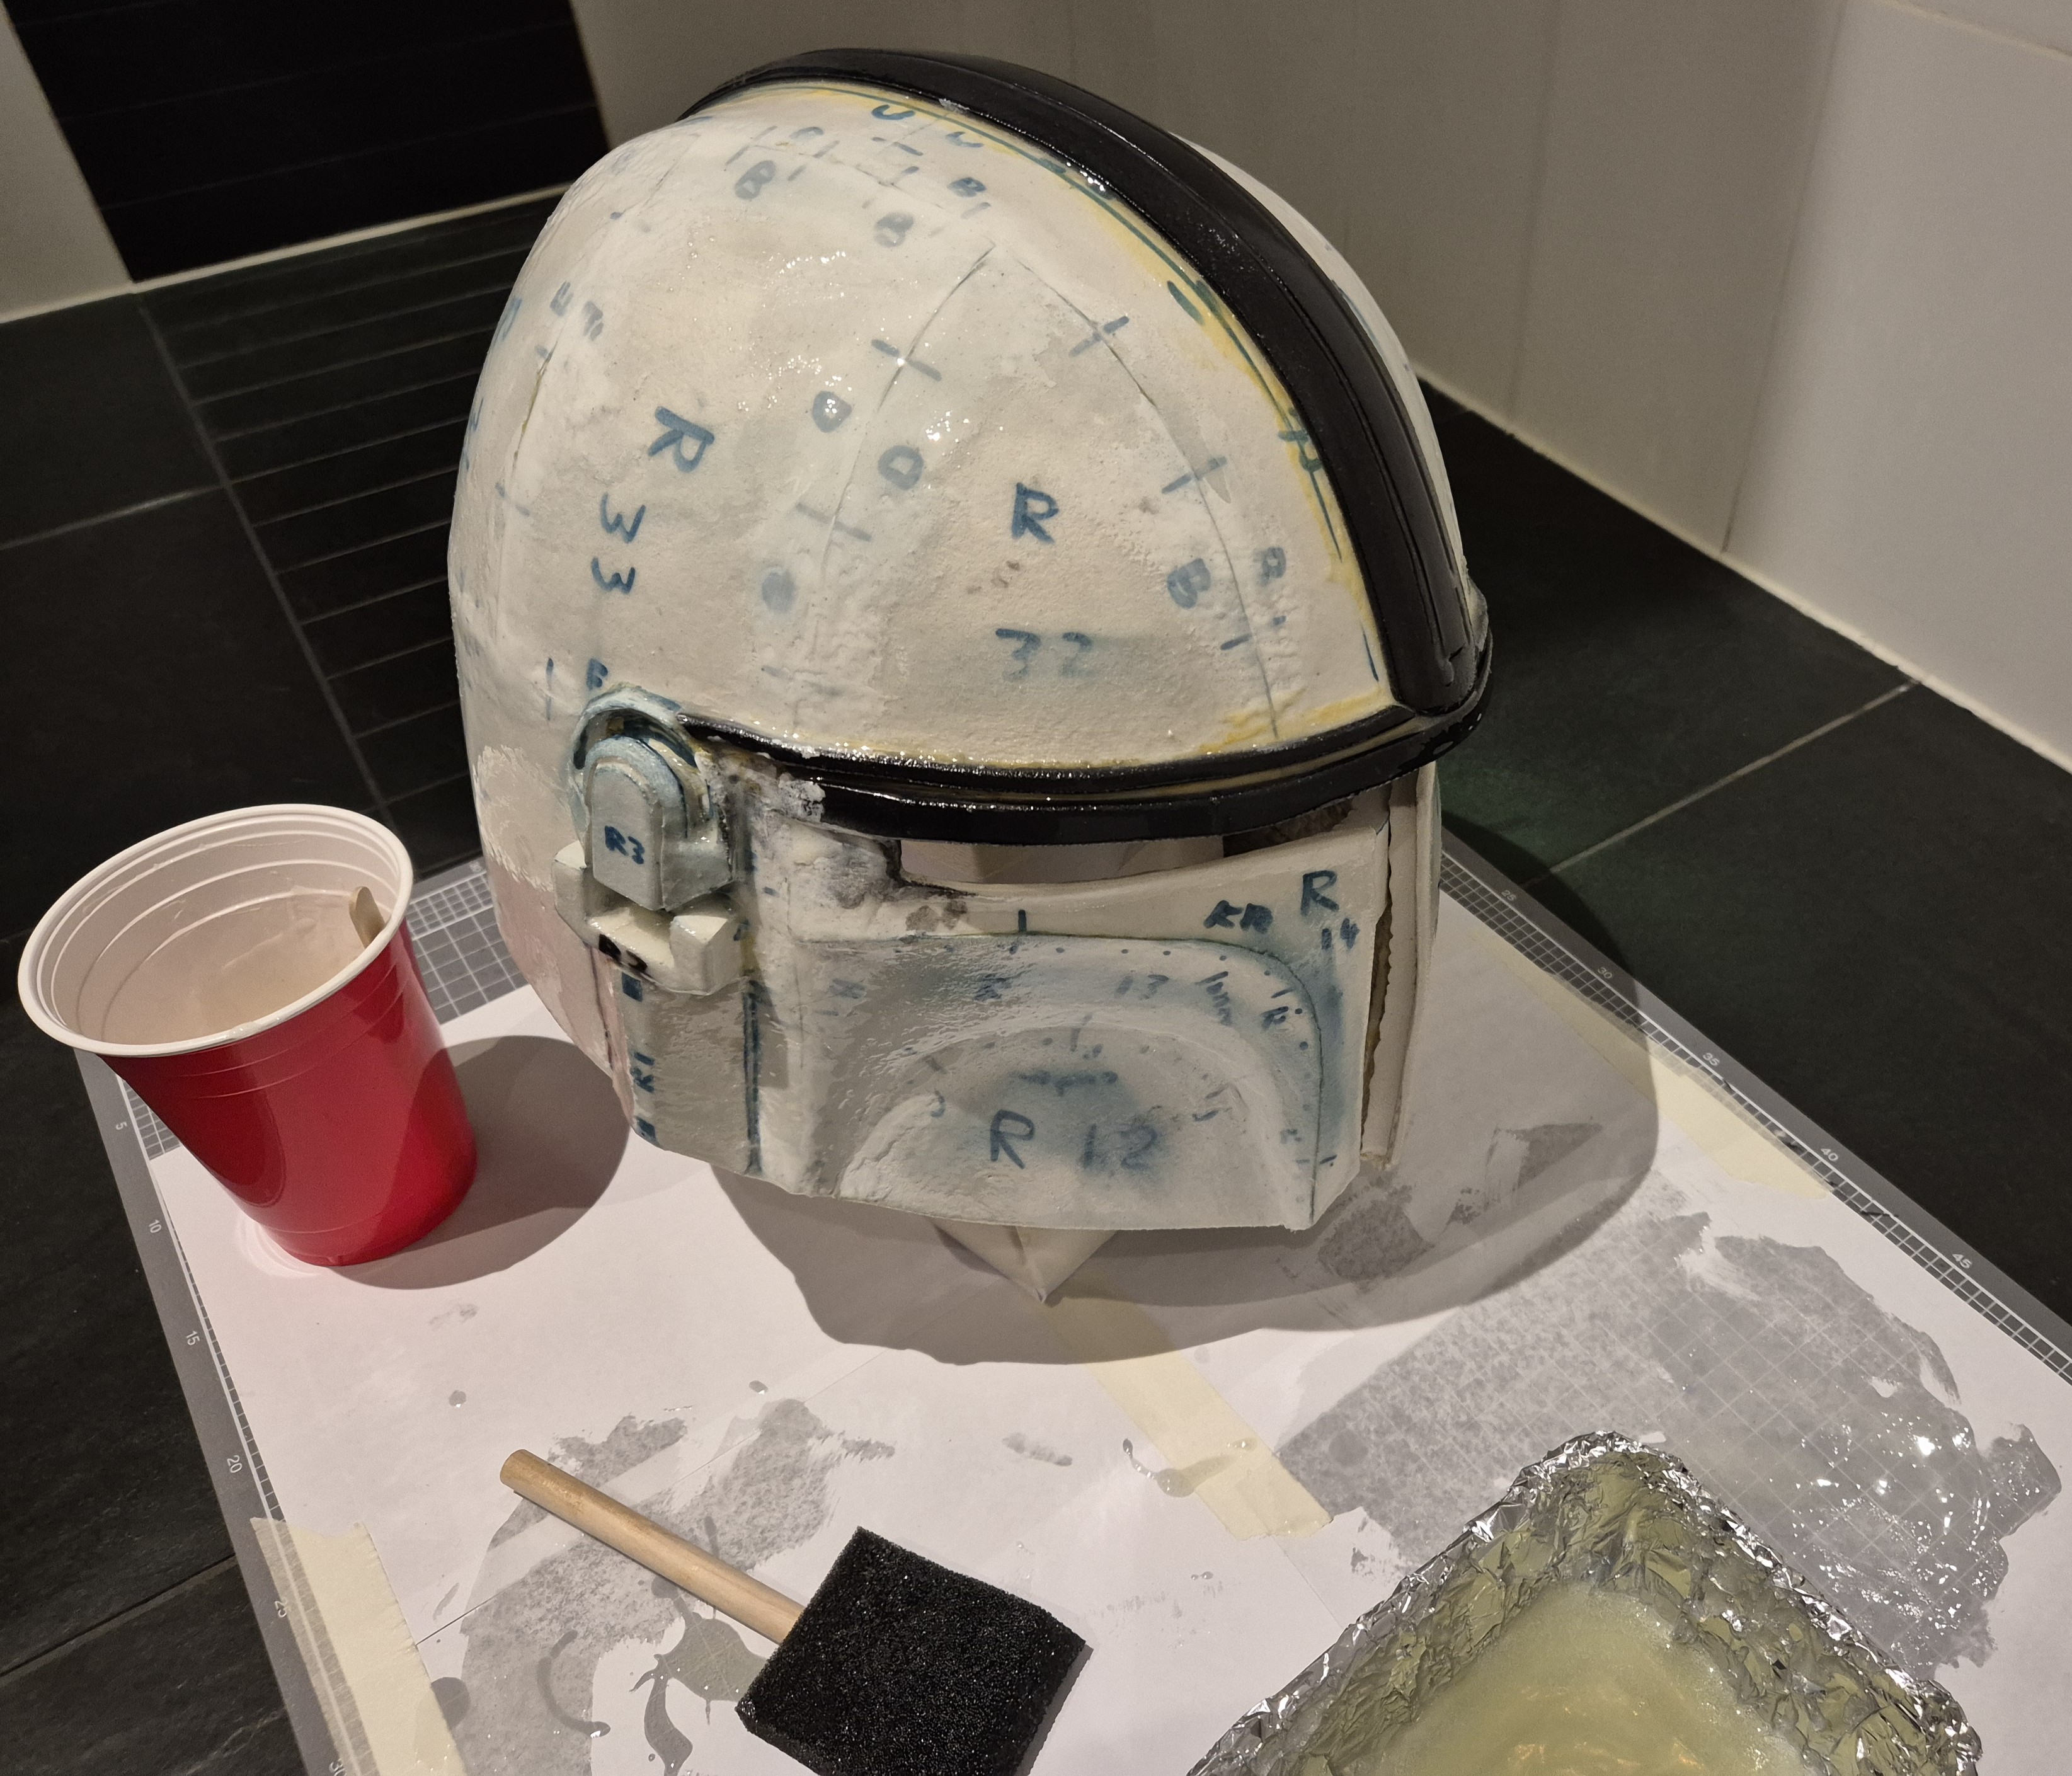
With the smaller batch of left over resin, I sanded it a bit then hit it with the primer, to see how it would fair covering the sanding scratches. A second coat did help, but highlighted various grades of sanding should have been done, to work towards a smoother finish.
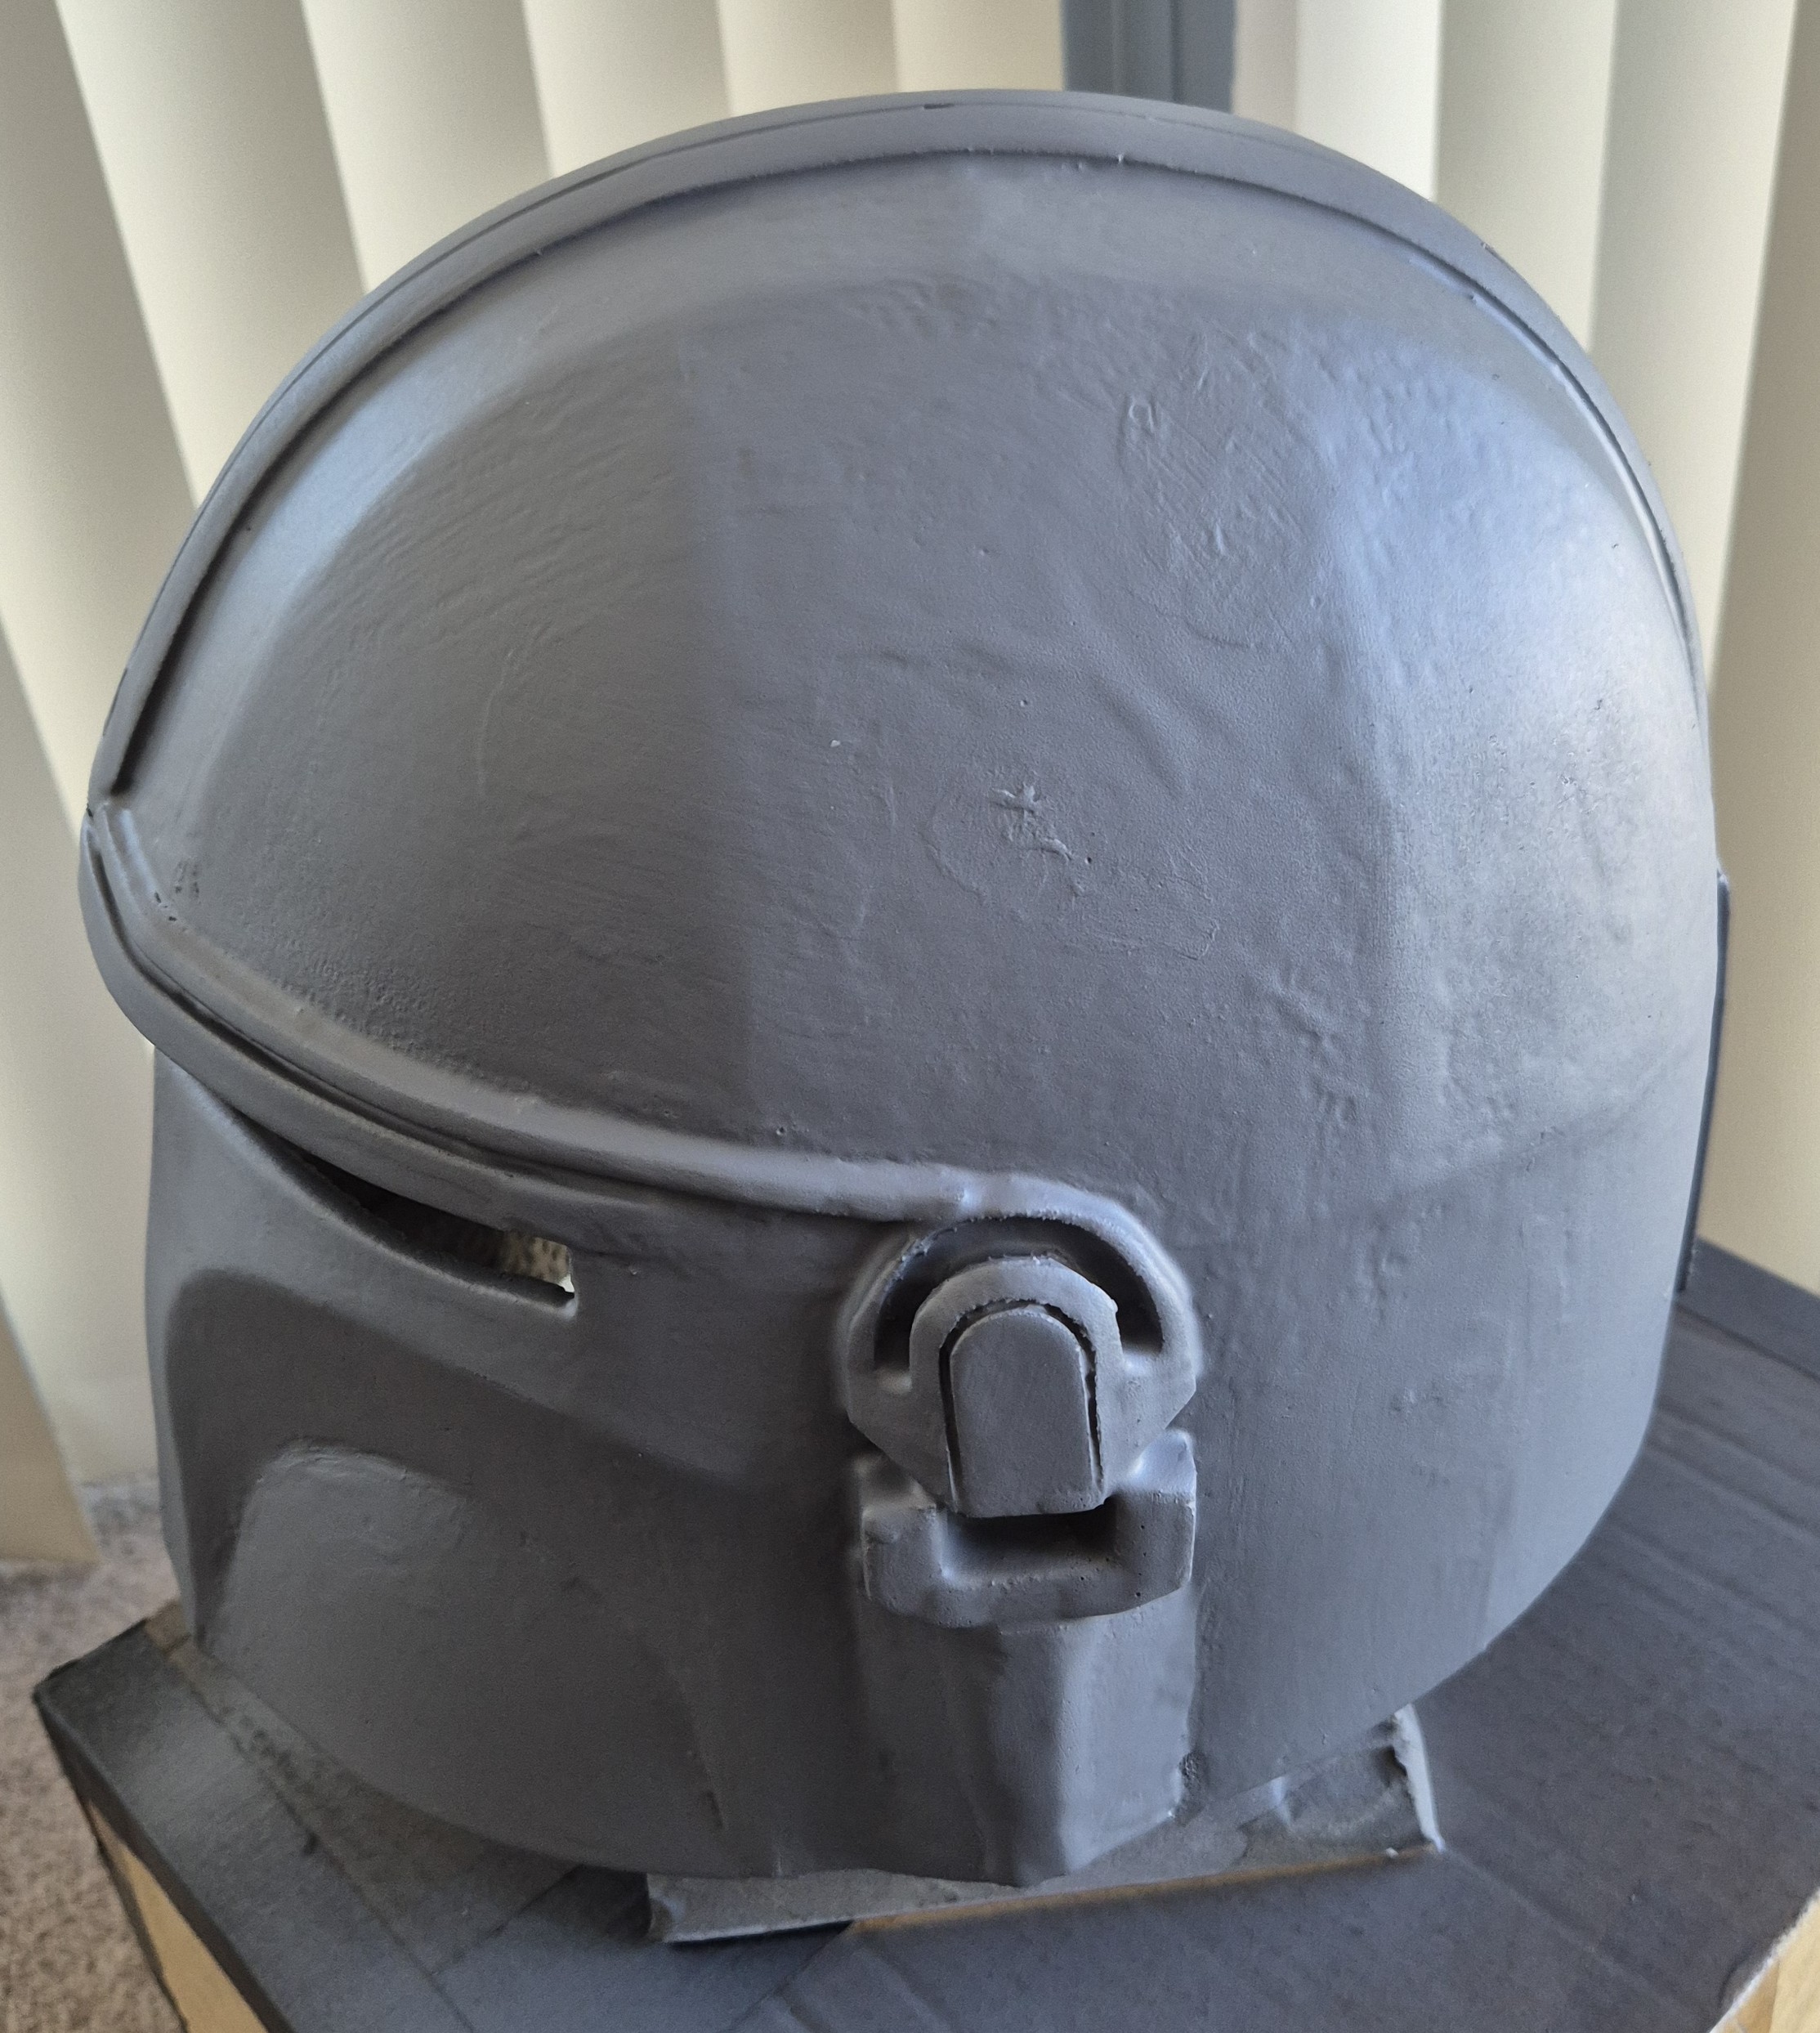
Showing the helmet after applying a few coats of the primer. This was mixed with some sanding and filling with craft filler, but it’s clear the first coat of resin is still impacting the surface. The primer was also important for showing the imperfections since it was very hard to see or feel them on the surface of the white foam.
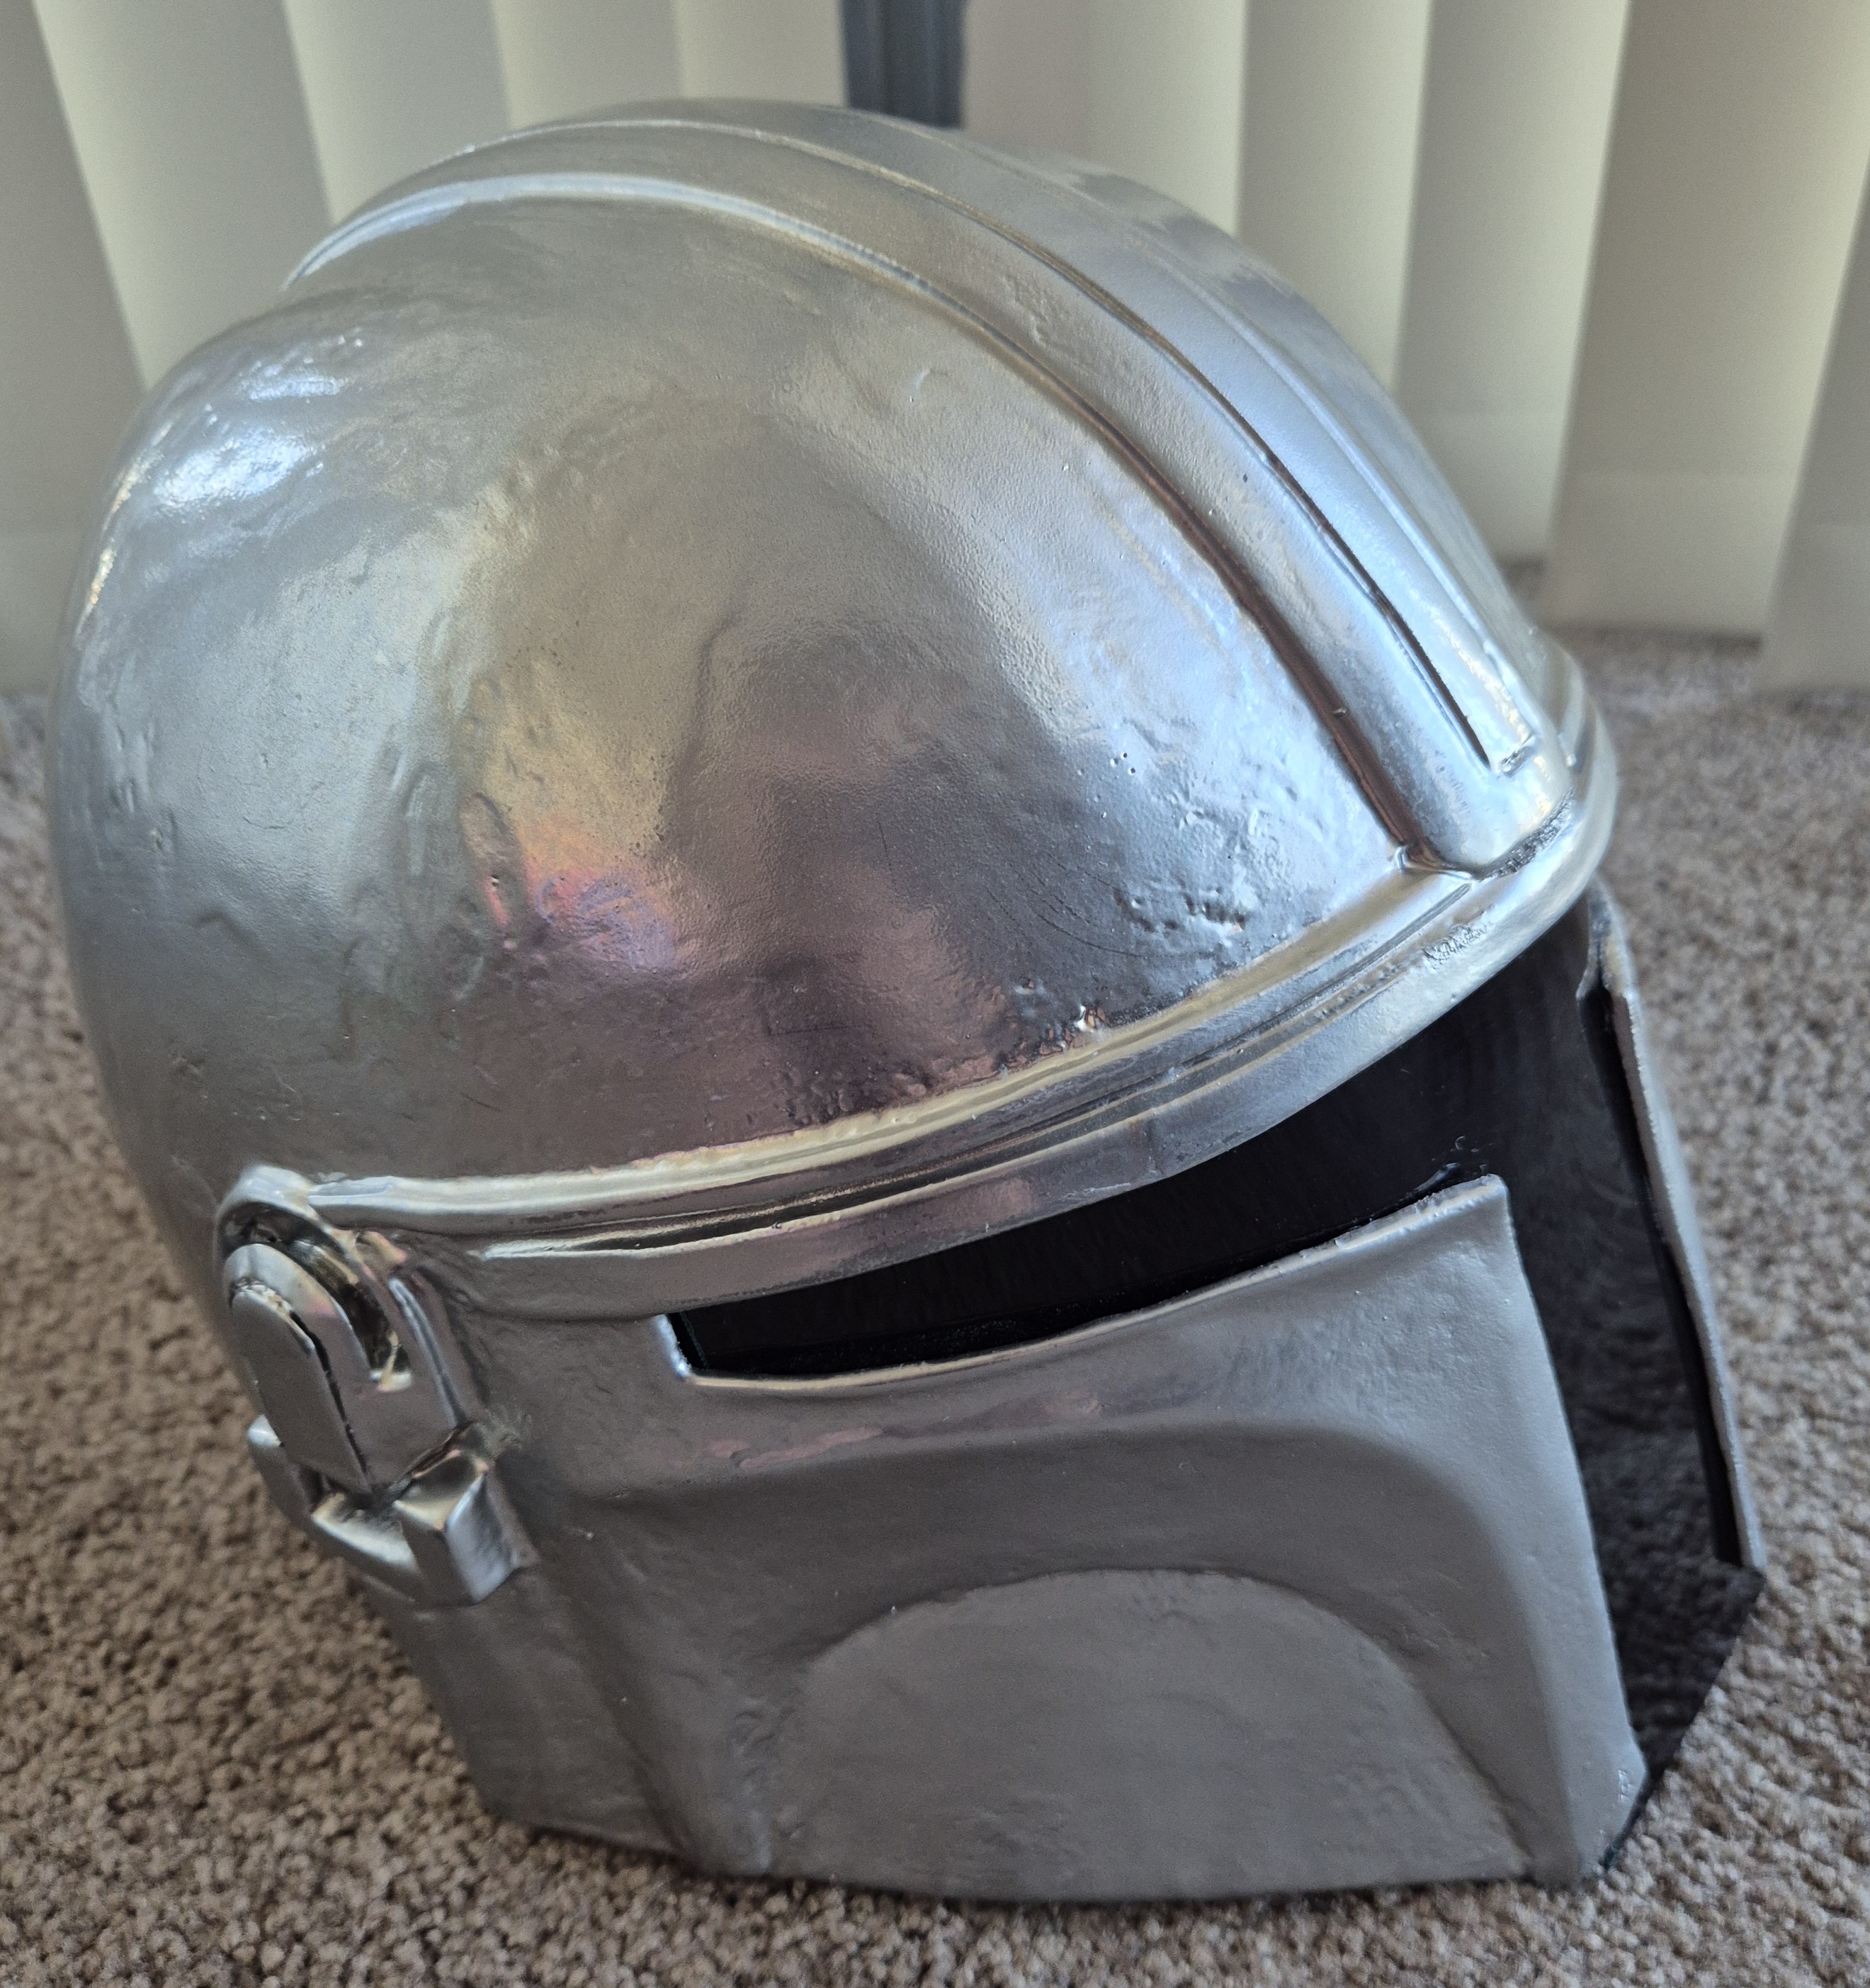
After one coat of the metallic spray, though quite heavy to make sure it was all covered. It was noticeable some areas weren’t as reflective as others, but after spraying them again it then matched everything else. I did this before putting the visor in, as I didn’t want to risk getting paint on the visor.
The visor after being cut out. Initially used paper to get a rough idea of the shape, which had to fit in the inset I cut out around the edges. Then made a few more cuts as I got closer to the actual shape, to the point that it could sit in the helmet just on tension. The left-side is a bit shorter, I accidently cut off a chunk, it does leave a tiny gap when in the helmet but wasn’t too fussed for this project.
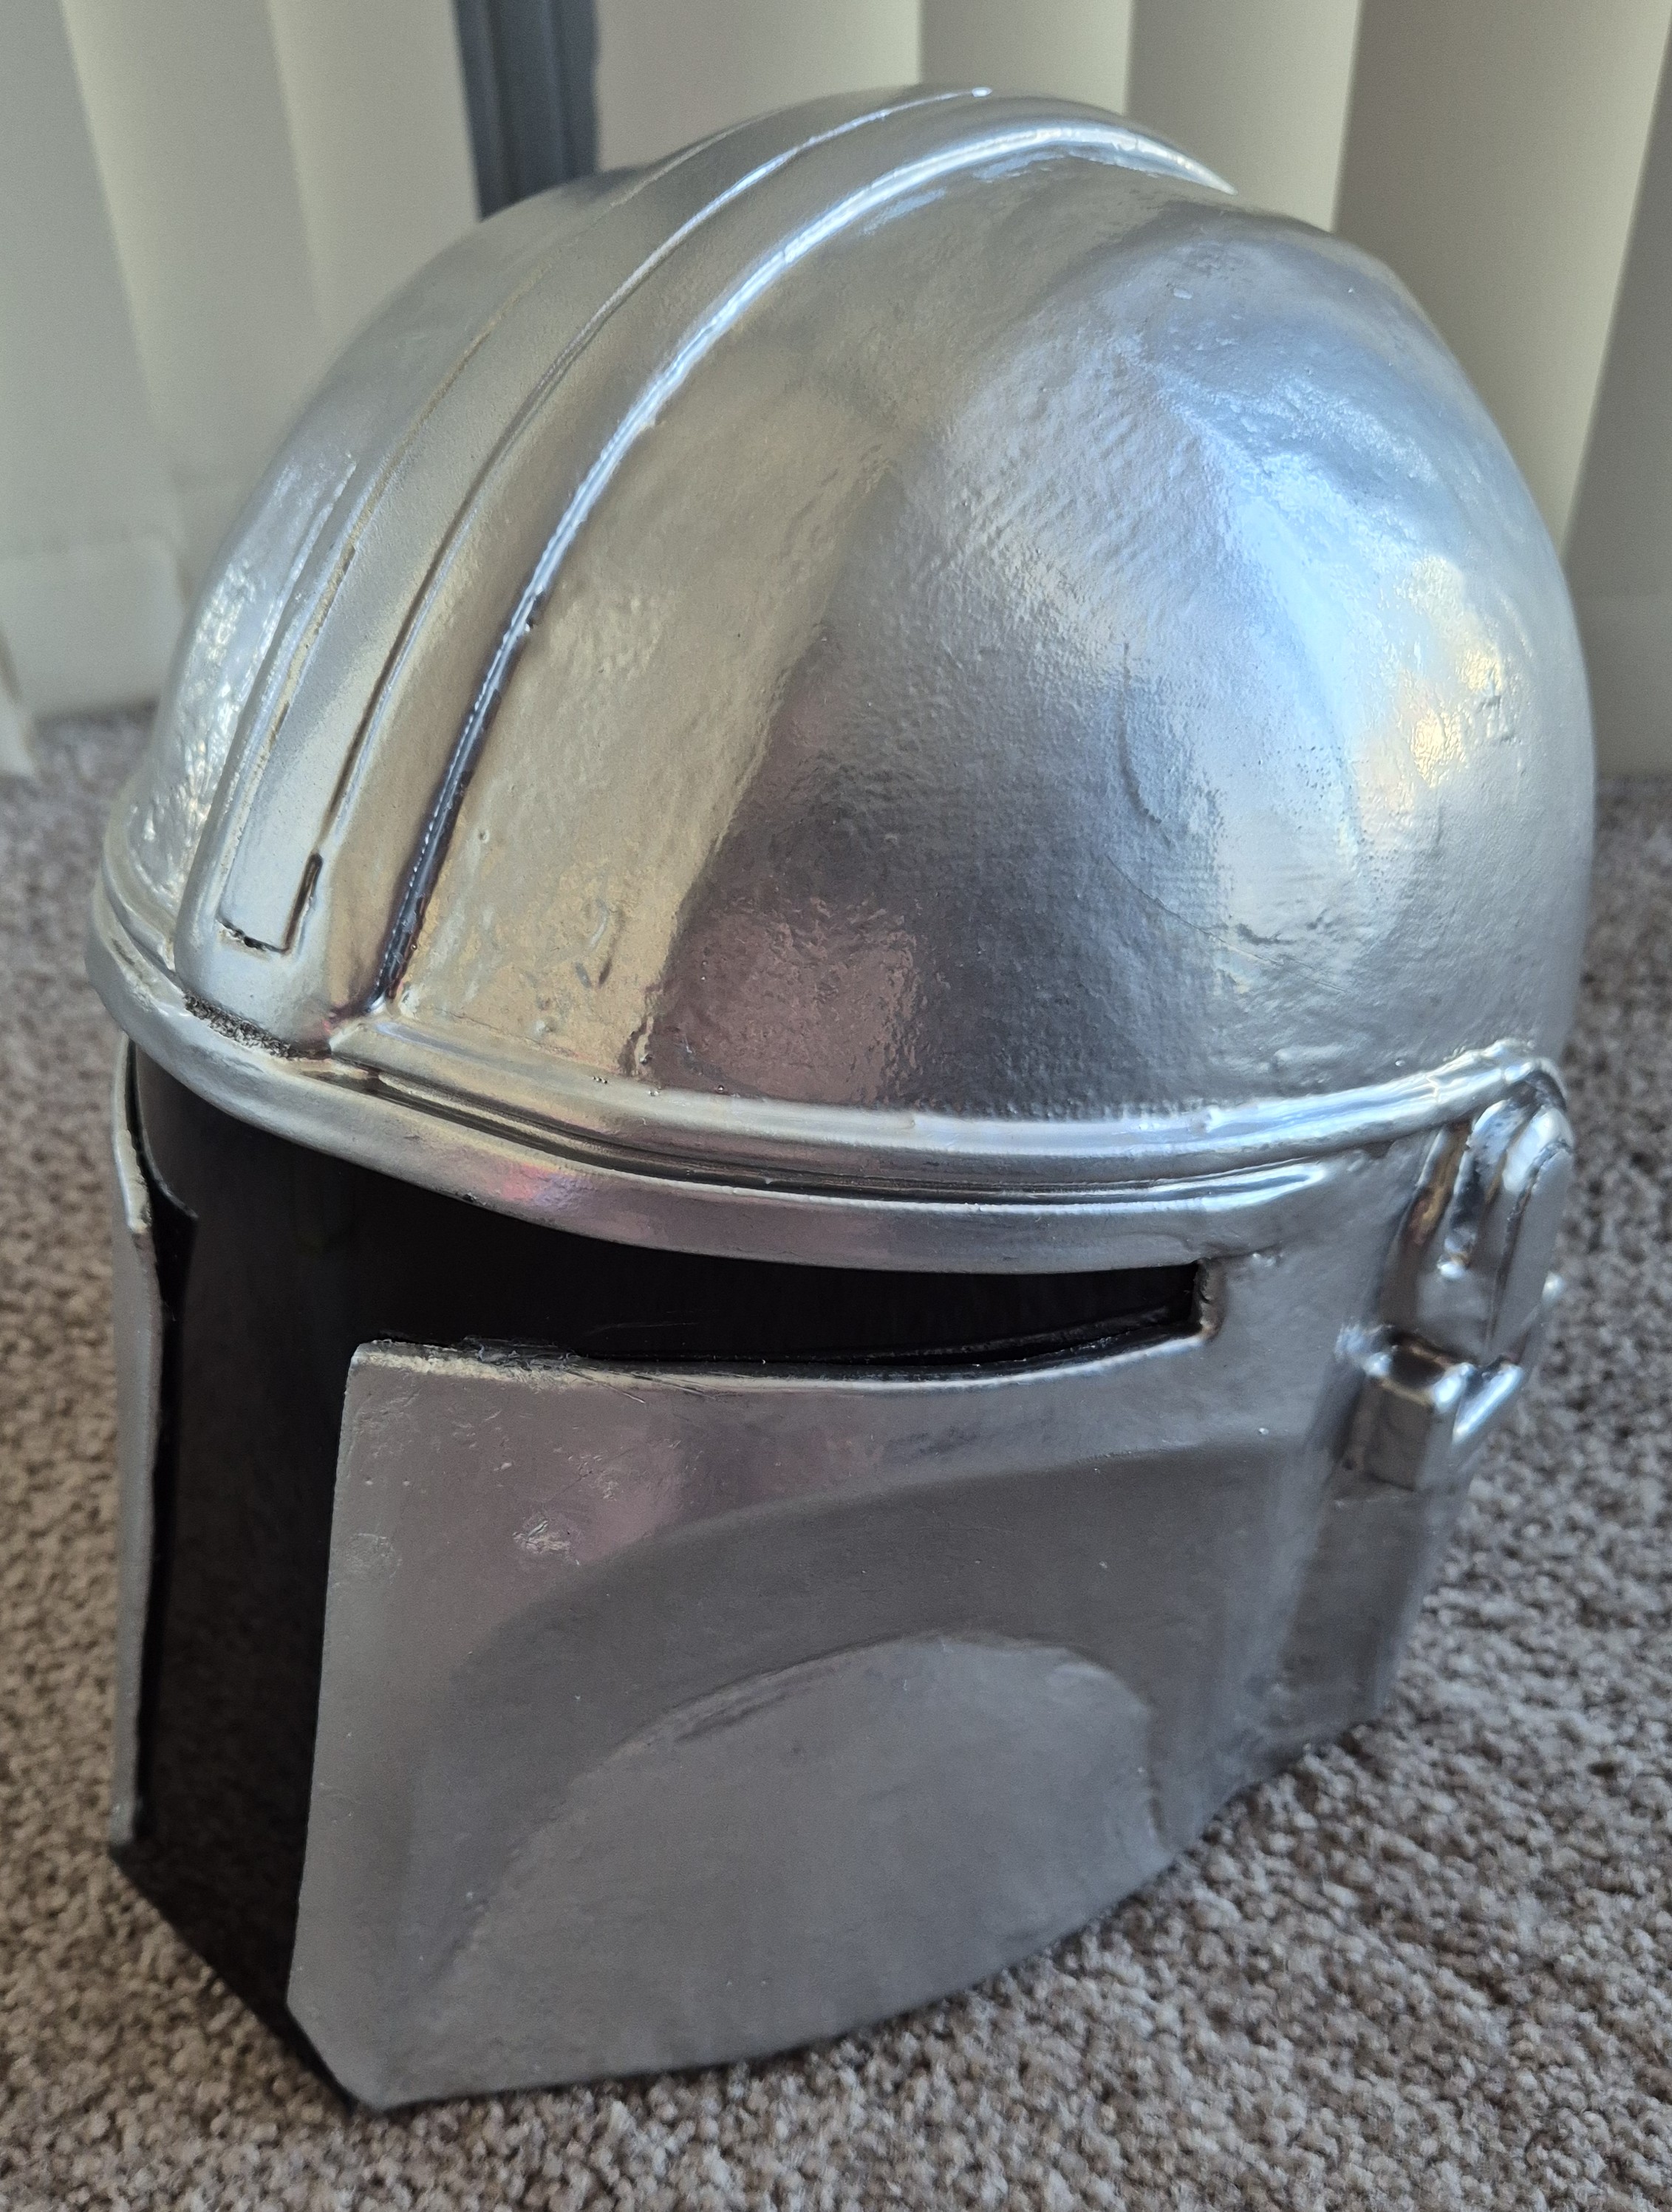
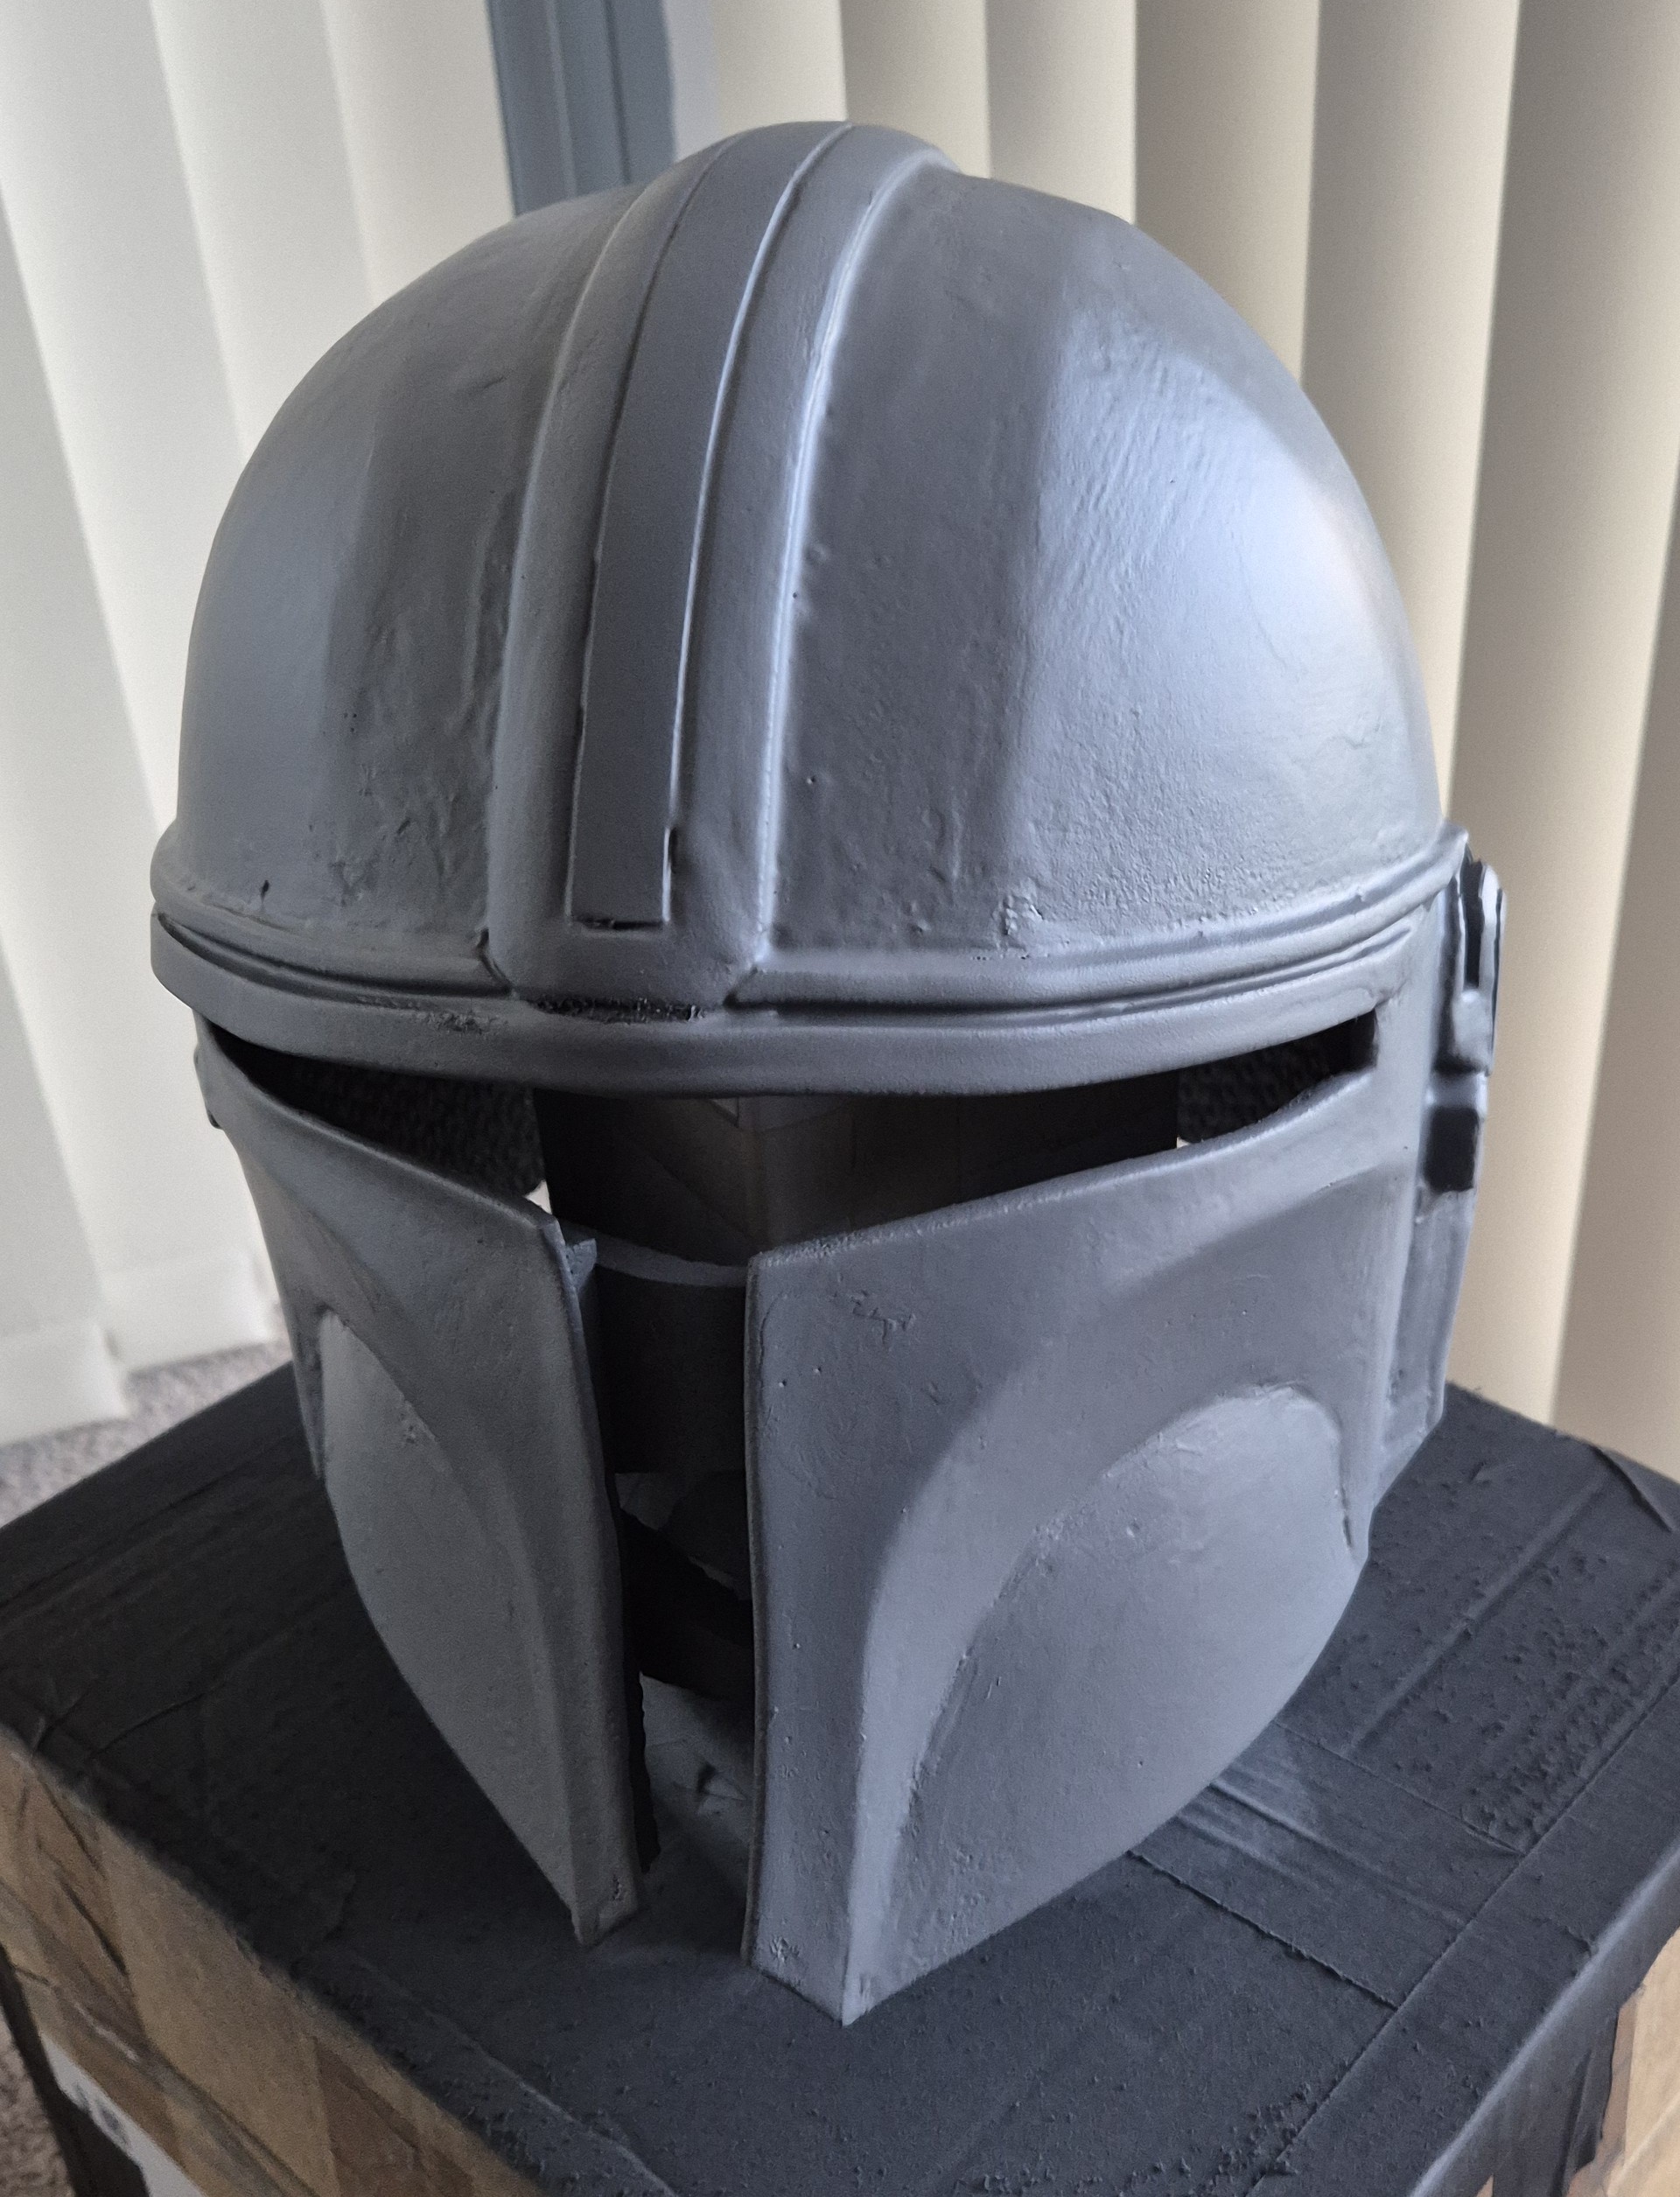
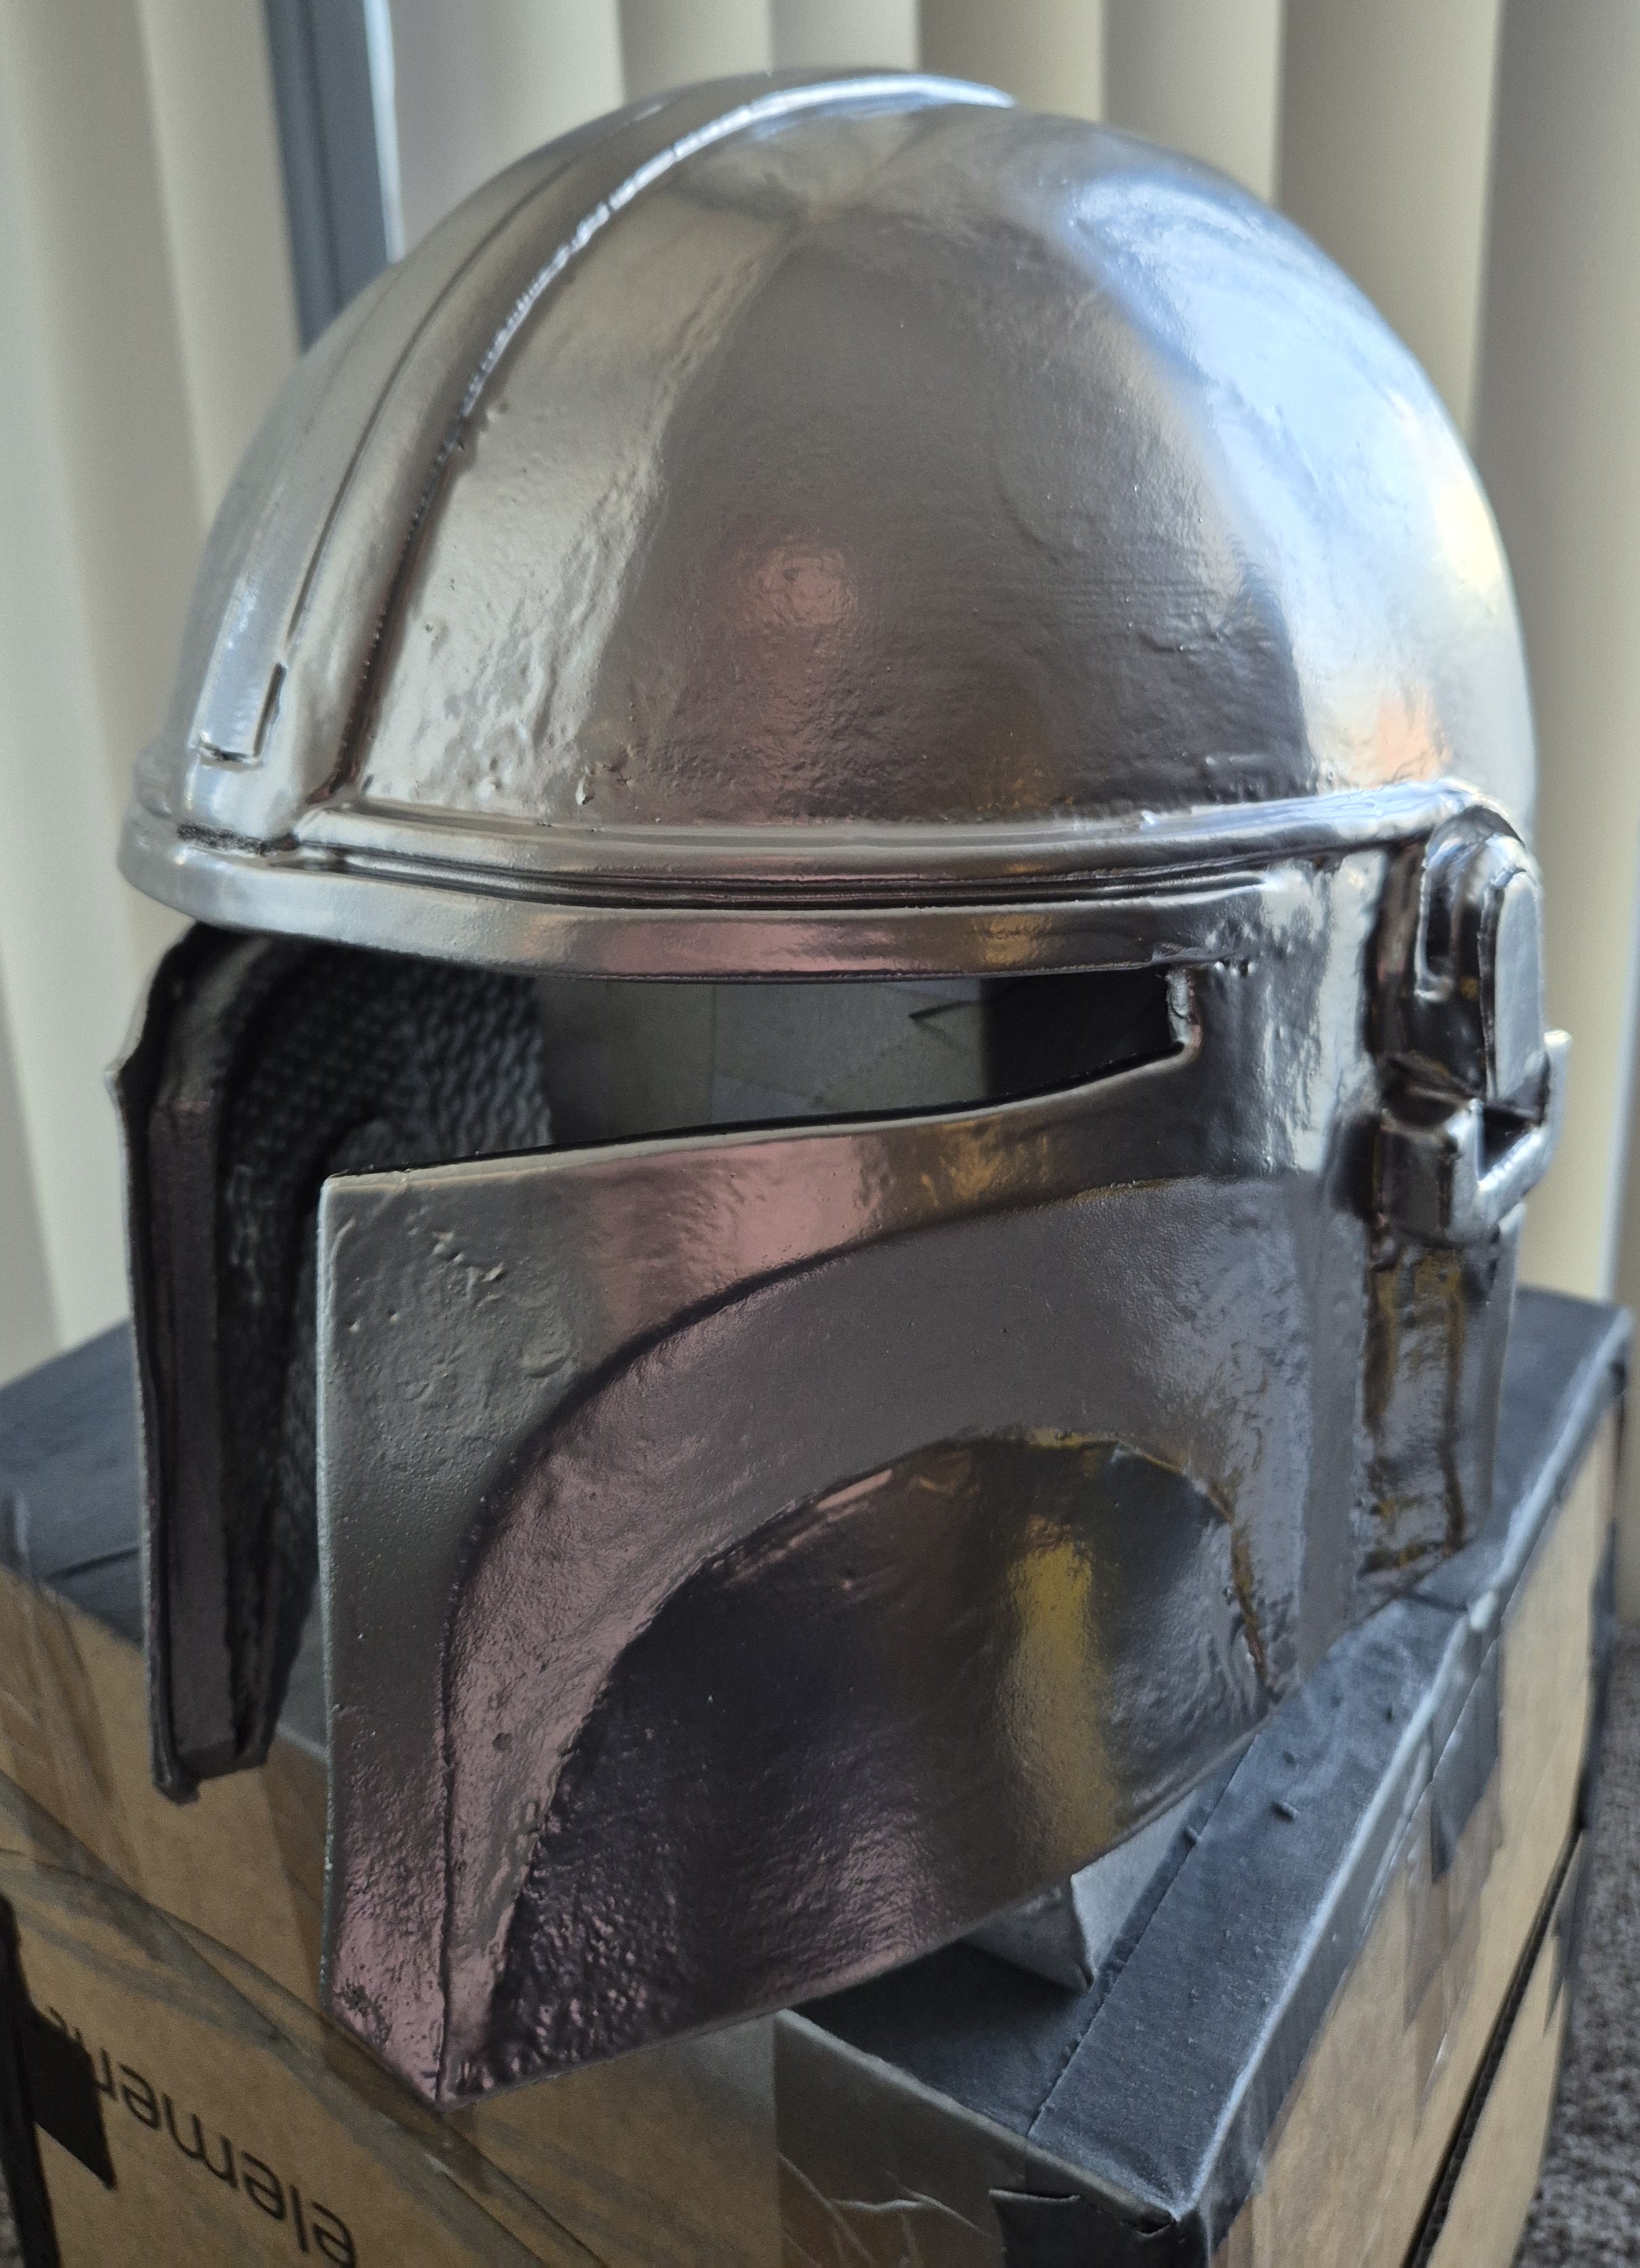
And the finished helmet. A coat of the polish was applied and let to dry overnight before inserting and gluing the visor in place. I think it lost a tiny bit of the reflectiveness, but the metallic colour still looks better than the video. I sanded around the edges on the flat part of the visor to help the hot glue hold onto it better (after taking the protective film off).
Overall I’m happy with how it turned out, obviously my biggest annoyance is that initial thick resin coat and the clear seams between the foam pieces, which both stand out and impact what is meant to be a clear, smooth and blemish free surface. But I’ve learnt a lot from this project, and definitely not opposed to attempting this again, perhaps with a different template, but definitely with more (thin) layers of resin, which would have helped with sanding away the bumps and make it smoother. I can then consider painting the inside and adding foam pads to help with the fit on the head, but considering how little use this one will get outside of a display piece, I can leave that for that future attempt.
Learnings
- Apply resin in thinner coats, prepare a bit less resin, around 50g Part B to 22g Part B
- First coat was too thick, and even with another thin coat on top with heaps of sanding, it wasn’t enough to correct it
- From this point could have done several more layers inside of one
- Would try at least 4 thin coats next time, ideally it would have been a noticeably harder surface, and more conducive for sanding
- And even after apply the primer and seeing some issues, can still do further cleanup, but getting the resin done properly initially should handle the bulk of the issues
- First coat was too thick, and even with another thin coat on top with heaps of sanding, it wasn’t enough to correct it
- Use black foam, it was hard to see how the sanding is going of the clear resin on white foam
- I suspect the Kwikseal contributed to the budges along the seams
- Getting the resin done well would have helped, otherwise could have used less Kwikseal, especially where it was spread around the seam too much and could have been cleaned up
- Or only use the craft filler, much the same in the end but may have been more effective
- With the visor and the with bottom triangle bits, they didn’t line up the best on the helmet, so there’s a small gap
- Just need to gut the top of the triangles higher, and have them stick out more, but it would be tricky to fit flush anyway
- Explore other templates for the helmet, this one was good but required a bit more effort having to work things out, including compensating for the visor sitting closer to the front
- Getting the front cheek parts a bit closer to be a bit more accurate to the actual helmet, I feel they’re quite wide, only a minor thing
- I guess to address that they would have to be slightly longer