Prop - W40k Bracer
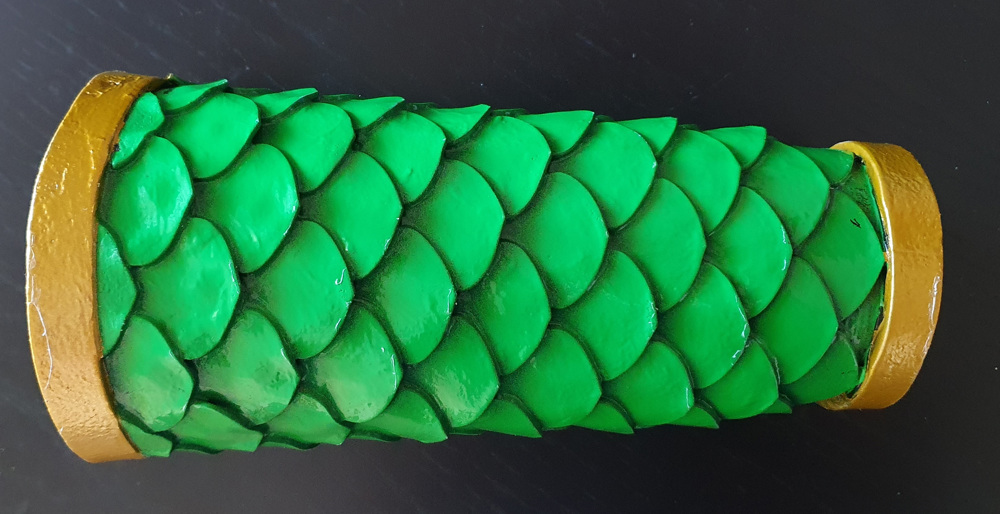
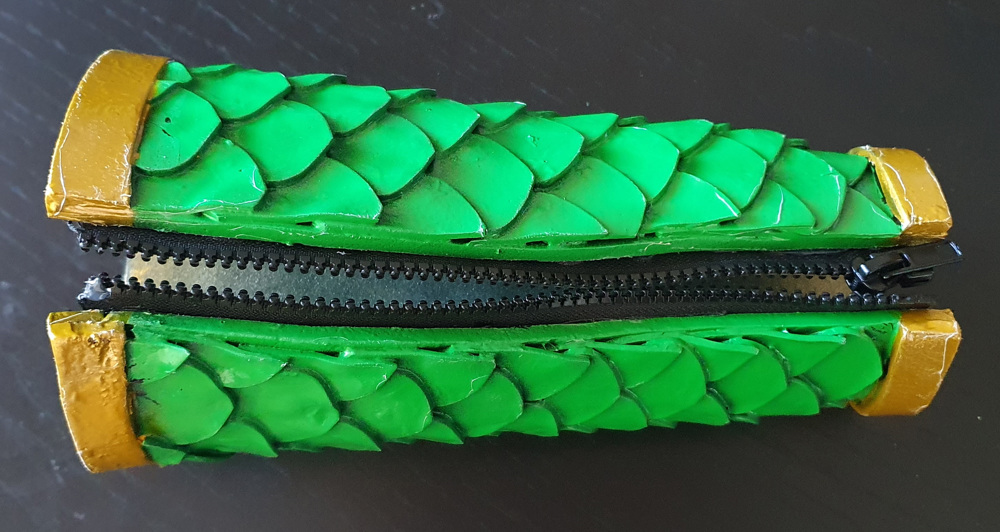
I love Warhammer and I enjoy making things so I’ve been keen for a while to create something Warhammer-themed using foam. In this case I’ve created a Bracer armour piece for a Space Marine, specifically from the Salamanders chapter which is one of my favorites!
![]()
How
I largely followed a set of instructions from a sample kit of foam I got a while ago by Kamui Cosplay. It was a good entry point to prop making because it goes through all the key steps in the process. I did a similar prop like this previously following those instructions but made some mistakes, which I made sure not to do again!
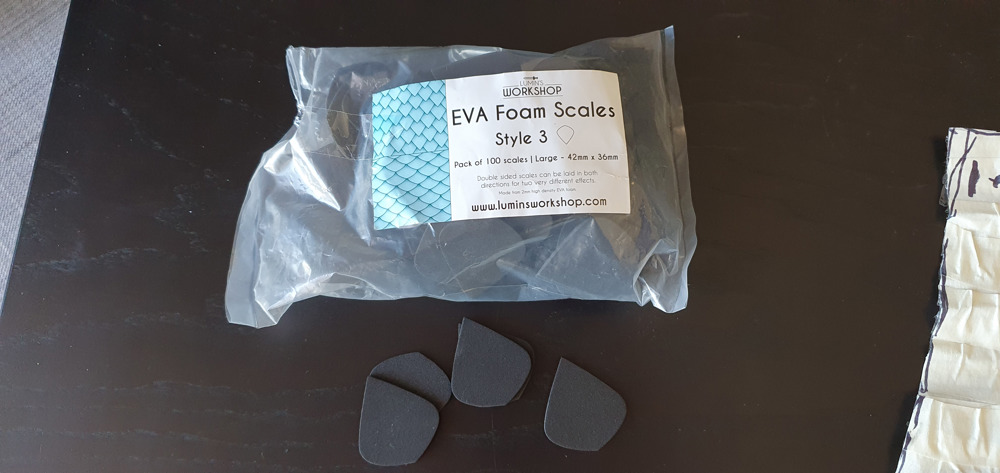
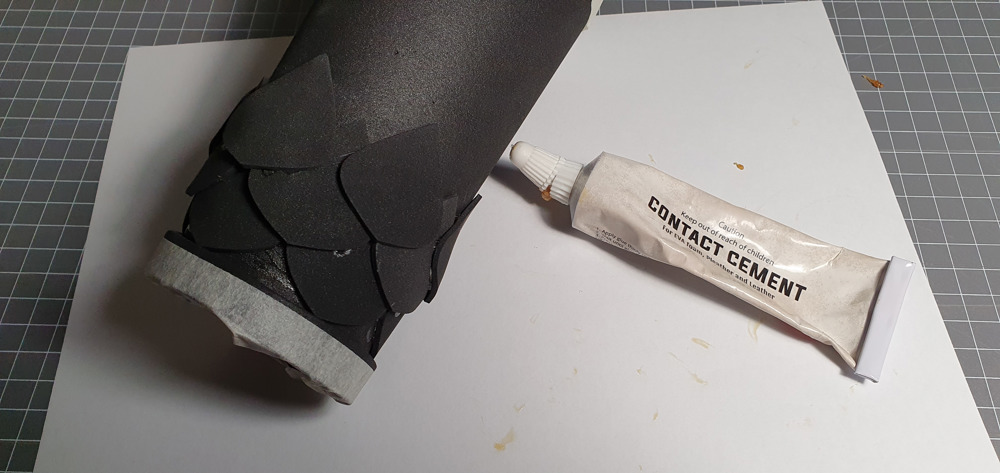
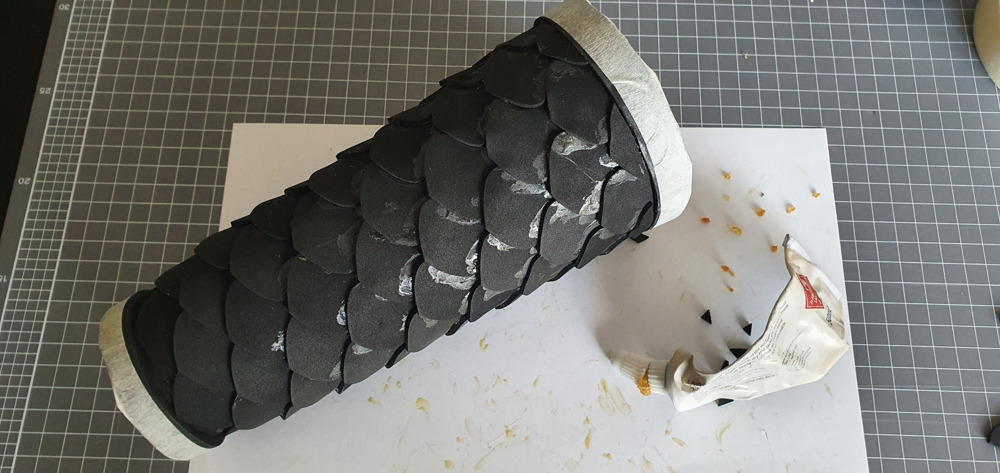
The major change in this project from last time is the addition of the foam scales. Lumins Workshop has a pre-cut pack of these, so I just had to glue them all on. Though it was a bit of a mess with the glue, it was mostly covered by the spray paint.
What I learned going into the project
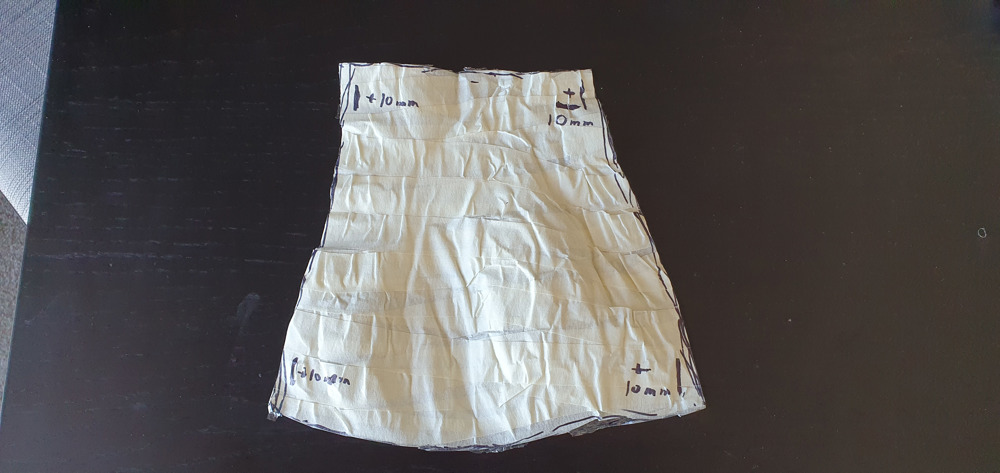
- For the edges cut them out extra long, because heating and molding them will cause it to shrink. Once glued on the excess foam can be cut off.
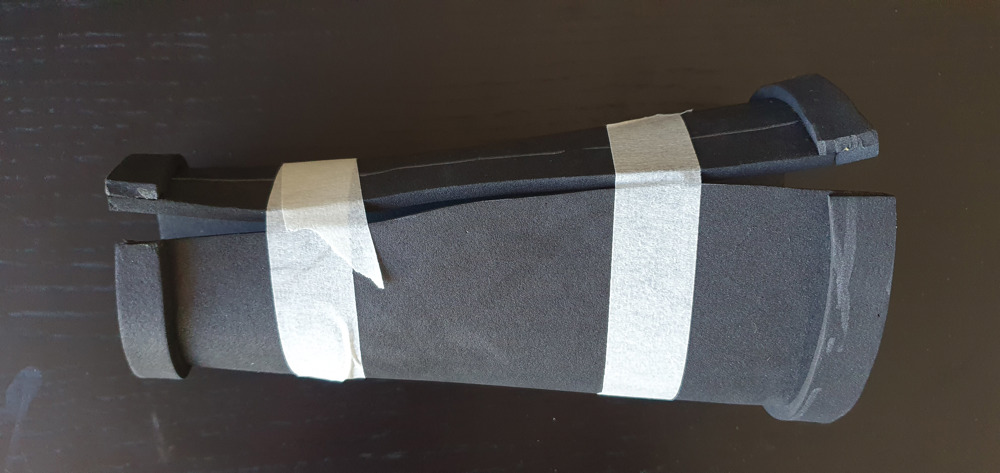
- Spend extra time to heat hold the foam into shape, using plently of heat to mold things properly, otherwise the foam will try to flatten itself.
- Once in shape, keep the foam in that shape for as long as possible. I used masking tape in various spots the entire time to make sure it didn’t try to flatten itself out.
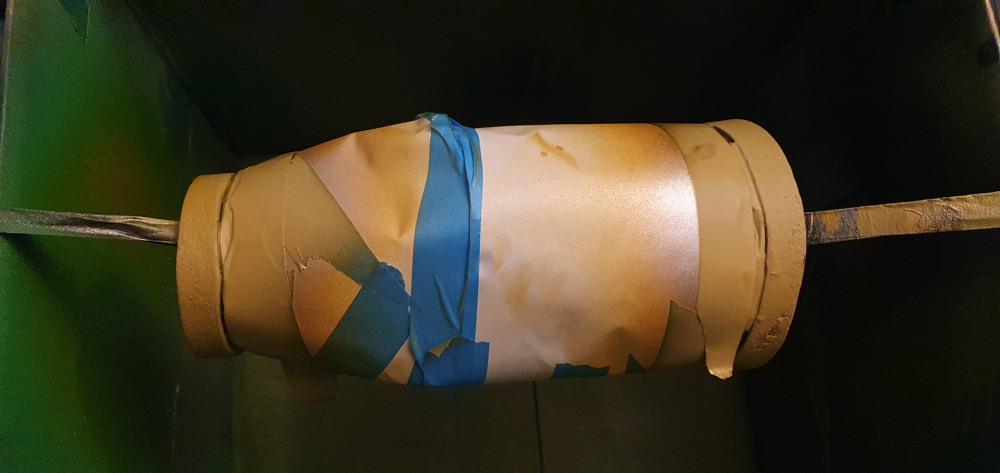
- Using spray paint instead of acrylic paint, makes it easier to have shaded areas and doesn’t leave brush lines. I achieved this by spray a darker green from one angle then the main lighter green from another.
What I learned during the project
- Don’t spray paint when it’s raining! The moisture impacted the paint a lot, so the metalic gold paint I was using ended up being matte browny-gold. I was able to fix it just by spraying again in dryer weather.
- When cutting out the foam from the template, add at least 10mm either side to take into account the width of the foam when it is heat molded. I had to cut a second piece once I realised the foam wasn’t fitting my arm properly.
Click on an image to checkout the build process (mostly) step-by-step