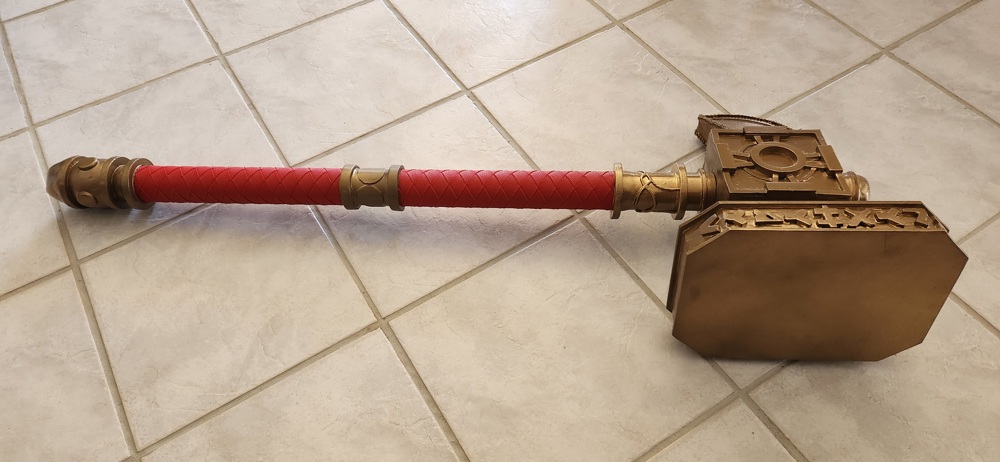
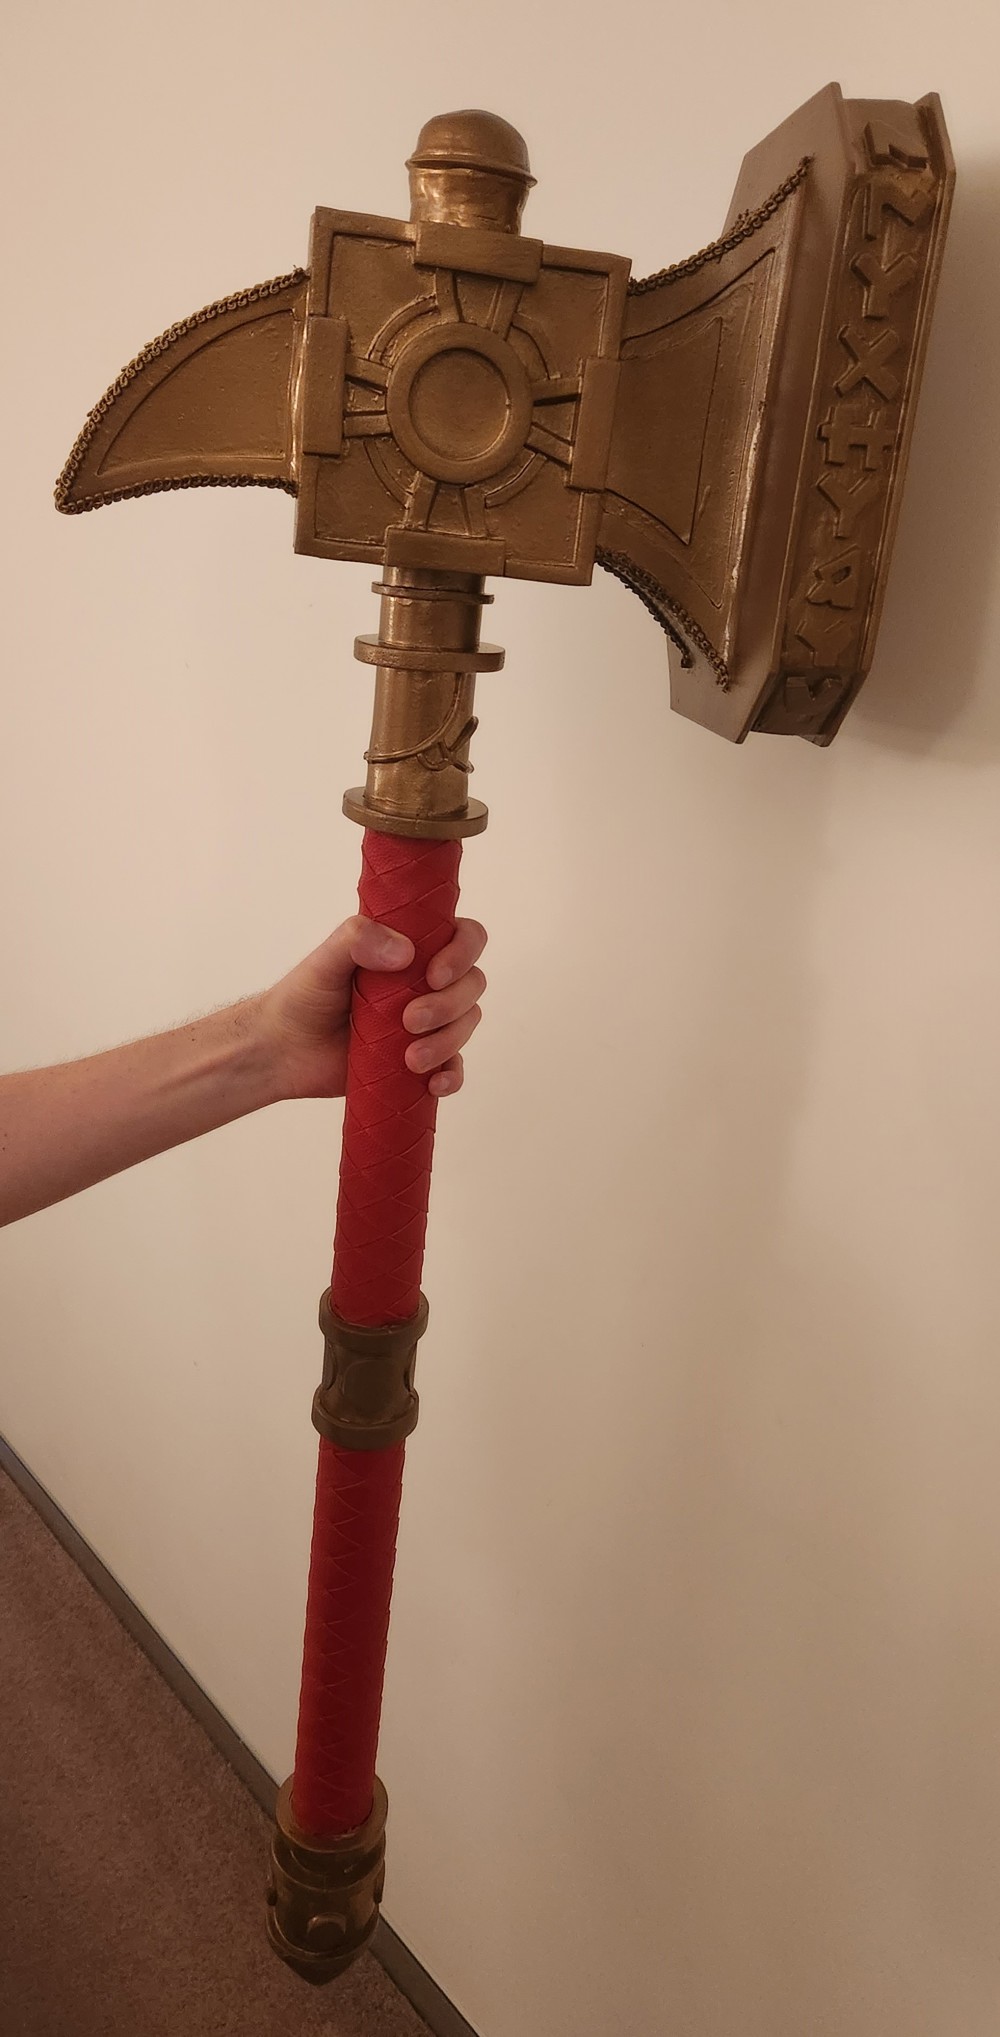
Prop - Warhammer - Ghal Maraz
I’ve been wanting to work on a larger prop project in the Warhammer space for a while so I started looking around for ideas and stumbled upon a template for Ghal Maraz (look at it here). I thought it looked cool and big, but also achievable as a first major project. You can find a bit more info about Ghal Maraz on the Fandom page.
Worth noting the overall design is pulled from various sources, from using the original template for the main dimensions and the Fandom page for colour. As far as I’m aware there’s no official design of Ghal Maraz which can be annoying when you’re trying to make it, but also liberating because now you can add your own spin on it and not worry about it being ‘correct’.
Materials used
- EVA foam (2mm, 5mm, 10mm, including high density 10mm for some bits) for pretty much everything
- Foam Clay to fill gaps and more detailed parts
- Contact cement to glue everything together
- Gorilla glue for making sure things stick when contact cement wasn’t suitable
- Flexbond to seal everything ready for painting
- Gold spray paint for the primary colour
- Clear matt spray sealer to protect the paint
- Red pleather for the braided handle
- Braided trim for extra detail
- PVC Pipe for the handle, also a smaller one for structural support
- PVC Pipe female and male connectors
Tools used
- Knife for cutting out foam
- Silver sharpy for tracing out template
- Circle cutter for cutting out foam in circles or rings
- Heat gun for sealing the foam
- Dremel for cutting pipe and cleanup
- Respirator when working with contact cement or heat-sealing the foam or sand-papering the foam, very important!
- Safety glasses when working with contact cement, you don’t want that stuff in your eyes
- Ruler for general measuring
- Craft knife helpful for cutting paper
The process
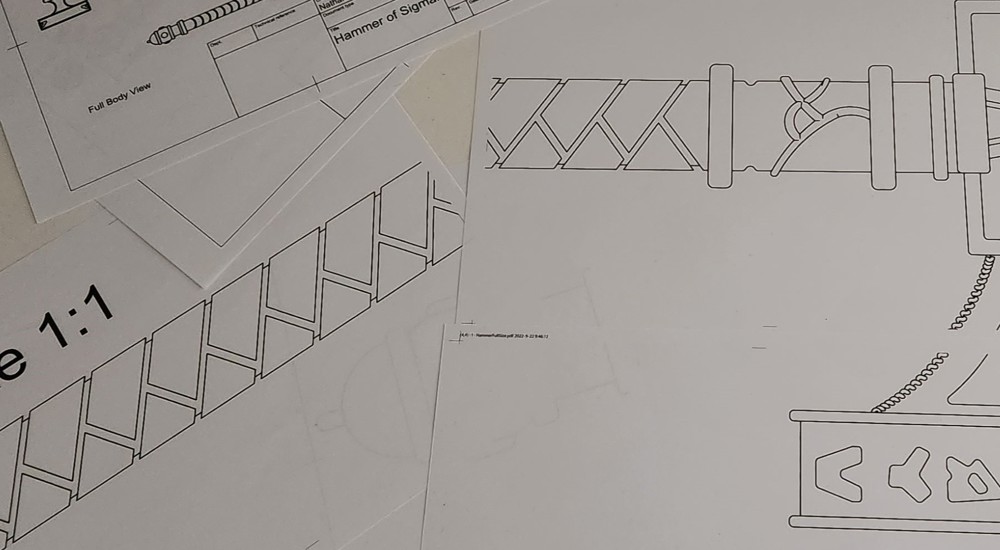
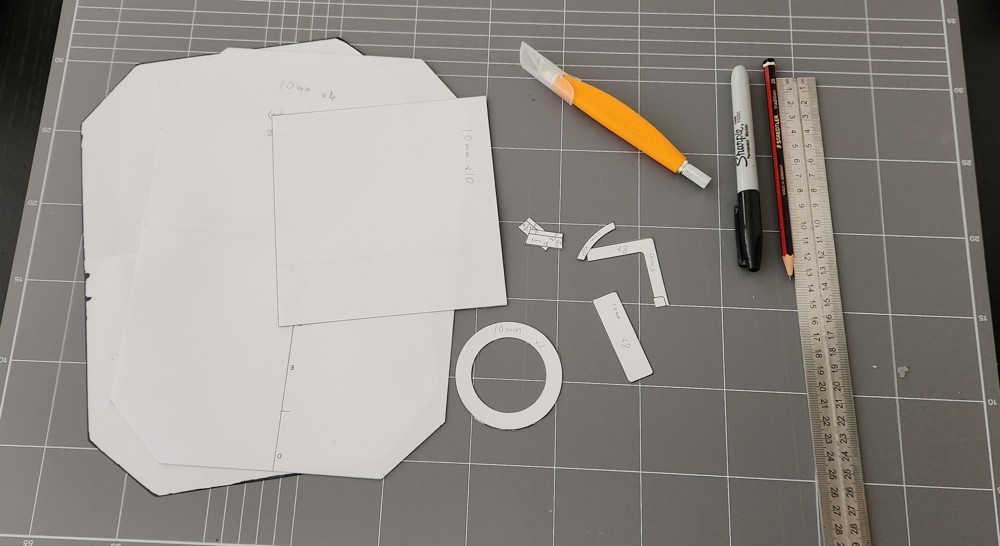
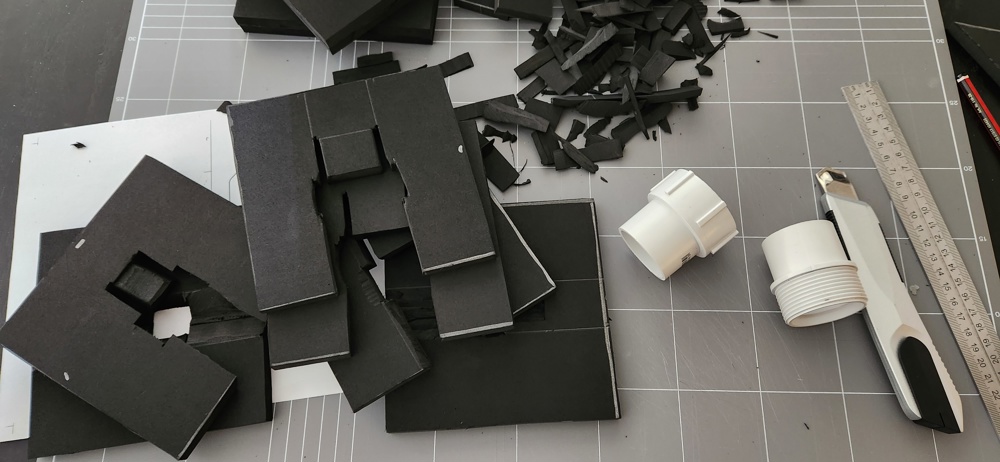
Firstly print out the template. I used one from this etsy page, it was very helpful for measurements and included views from all sides. I printed these out full size (so a lot of paper in the end), cut the templates out of the paper so it can be traced on the foam with the silver sharpy (most coloured metallic sharpies will work well too).
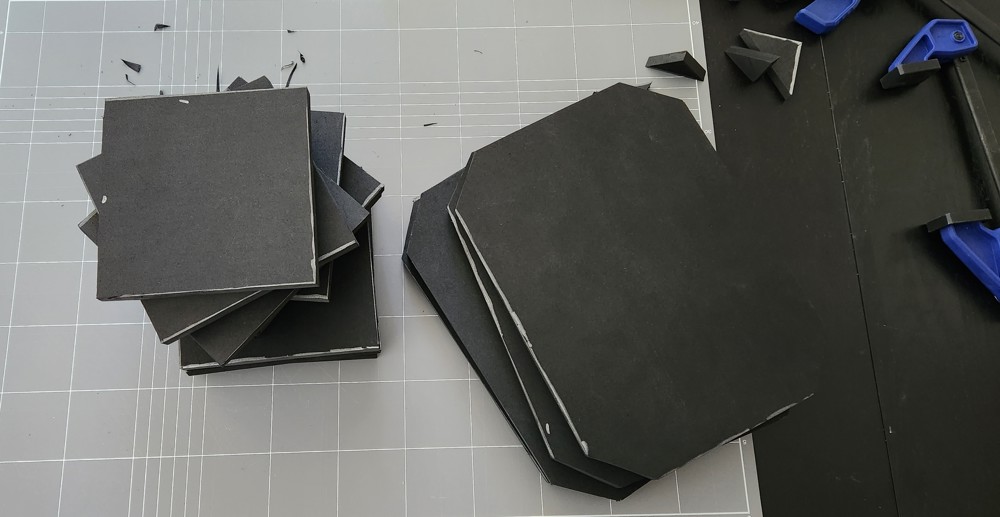
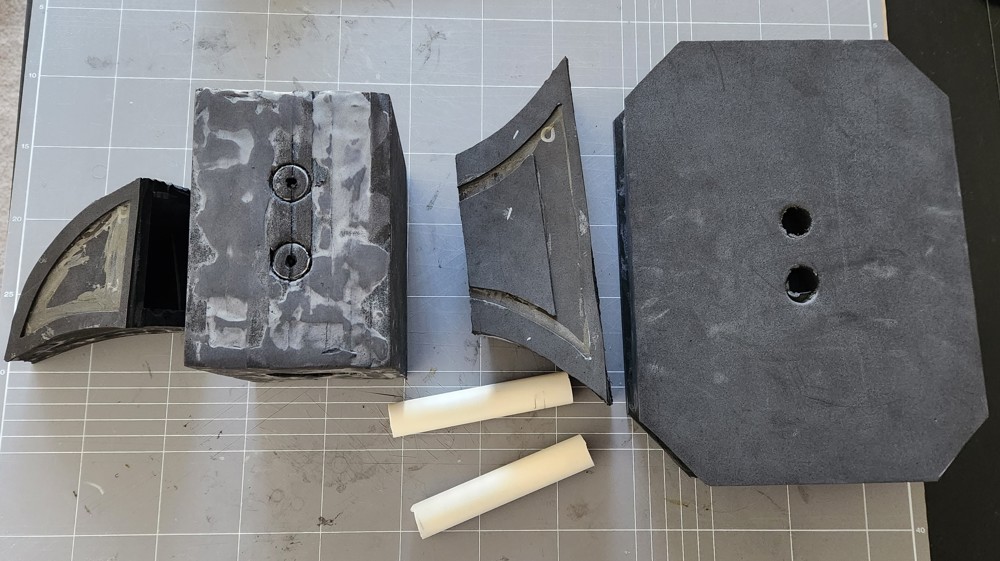
With the templates cut out I could trace them onto the foam and cut them out. Shown above is high-density 10mm EVA foam, I wanted it to add some weight and sturdiness to the prop.
At the time I was unsure how I wanted the handle to look, so I thought if I made it possible to swap the handles I don’t have to commit to a particular design if I wanted something different later.
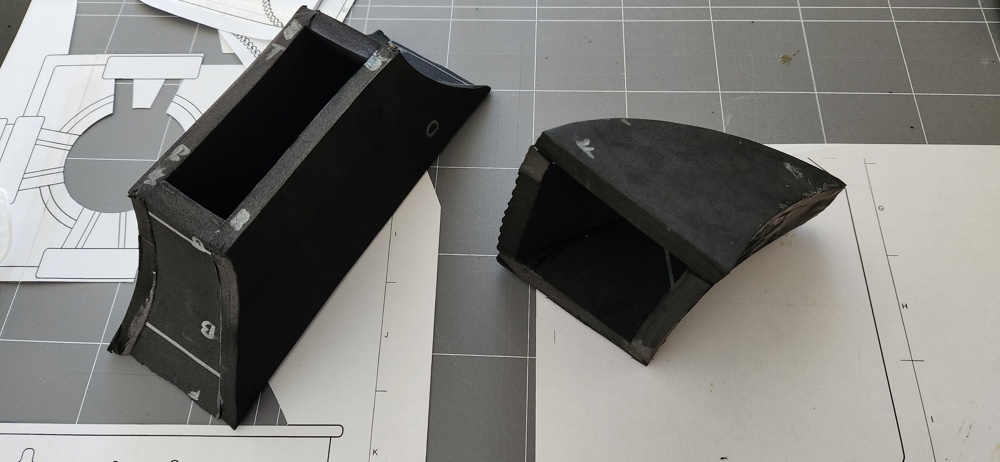
There were 10 pieces that made up the centre of the hammer’s head, about 6 would contain the female PVC connector, which I carved out so that when they were glued together, I could slide on the connector then glue it in when ready.
These bits were tricky to put together, the design has them quite curved which without a clear template for foam is hard to replicate without a bit of trial and error. I’m happy with the outcome, but would spend more time on it if I was doing it again to make sure the curve was consistent on both sides.
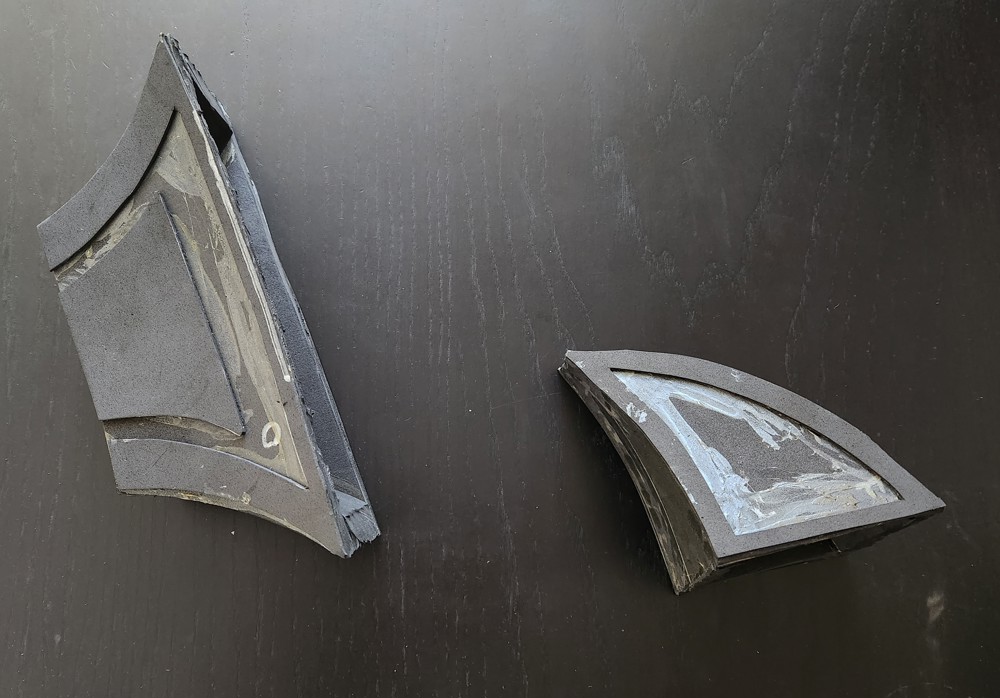
Same pieces as before but with 2mm foam added for some detail. Many other designs of Ghal Maraz have far more detailed lines and curves but I was happy with this, especially as other parts of the hammer already had plenty of detail going on.
Another benefit of making the handle and head detachable means that I could work on both separately, so at this point I pivoted from the head to focus on the handle. Again there are many pictures around that represent the handle differently, but I liked the image of Ghal Maraz on the Fandom page with the red and gold colour, and with the red leather split in half with another gold section.
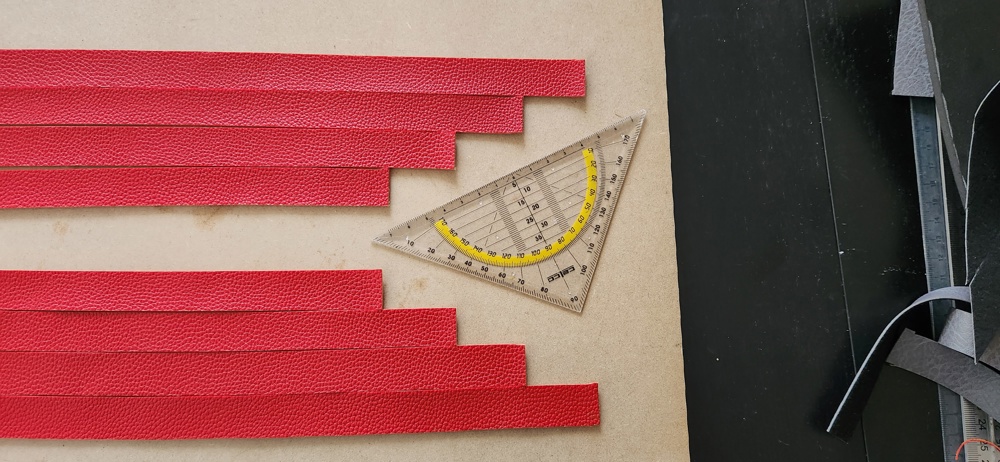
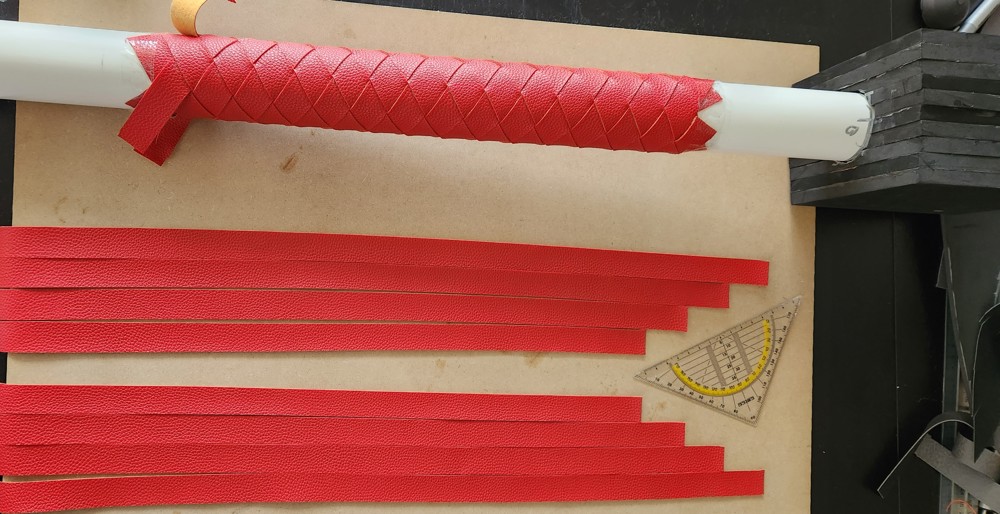
I partially followed the template and other pictures for guidance around the gold parts, but the bit I spent the most time on is the red pleather (fake leather, more like a fabric). This was because I wasn’t sure how to do the braiding I wanted. I found many videos around actual leather braiding which were cool but to me were far more complicated than they needed to be. Using other pleather I had lying around (red pleather isn’t always available), I was able to work out a method that was suitable for this project.
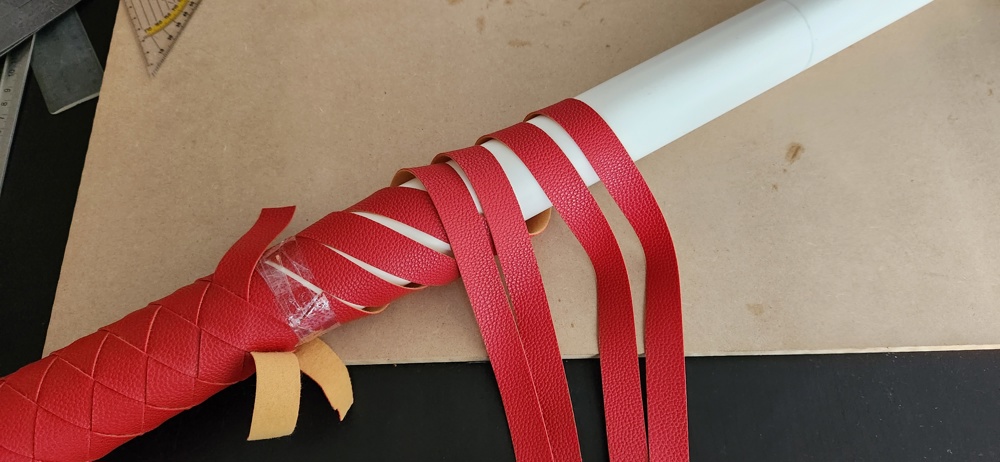
Basically I cut out 8x20mm strips, the length didn’t matter too much as any over hang could be trimmed. The number of strips or their thickness also doesn’t matter too much, it depends what look you’re going for, but I was happy with 8x20mm. The first set of 4 are going to be wrapped around the pipe in one direction.
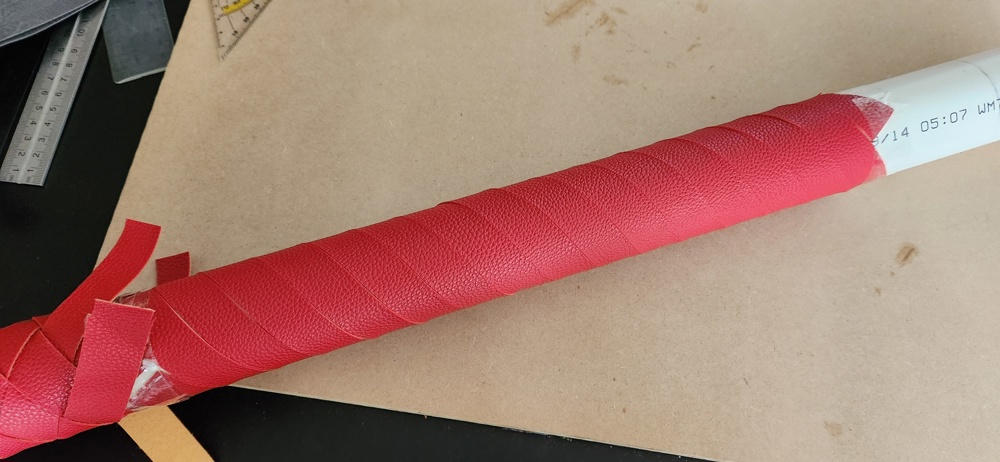
They are offset from each other based on the circumference of the pipe, so I can get the most out of the strip which only needs to be taped to the pipe at the very tip of the strip. The goal is to keep wrapping them around, keeping them tight to each other. Once its fully wrapped, slightly release the tension at the end and tape it down also at the end.
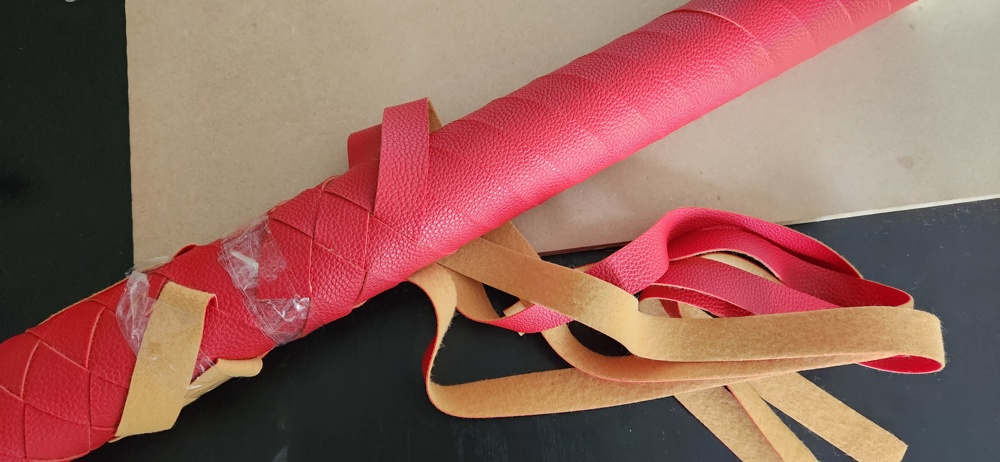
Now the first set of strips are on, we can add the second layer. This layer will wrap around in the other direction and we still want it to be kept tight against other strips in this layer. These can be added individually, and once all have been added then its just a matter of threading them from above and below the original layer of strips, alternating the pattern to get the ‘diamond braid’ effect I was looking for.
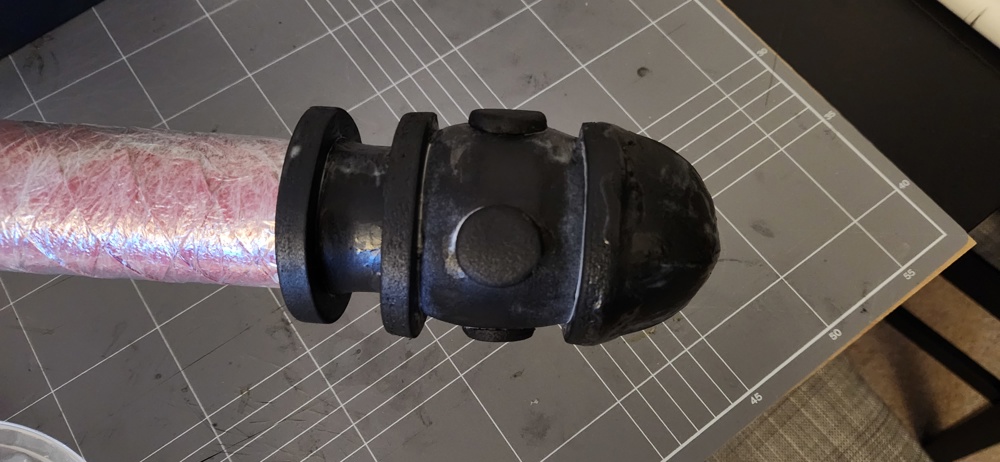
With the pleather in place I could add the foam. I don’t have more pictures of the handle at this stage other than this one of the bottom, the pleather is covered in glad wrap to protect it from the Flexbond, which is the glossy/white texture on the foam (its similar to PVA glue). With the pleather I had cut off bits at the ends so the foam could stick properly to the pipe.
I used a Circle Cutter for most of the bits on the handle. It is possible to cut strips of foam and heat it into shape, but the circle cutter gives it much smoother cut (assuming the blade is sharp!). I also found this video helpful for creating a sphere from foam, which I used for the very bottom of the handle.
With the handle all prepared I got back onto the head. Because of the weight in the middle and front blocks I wasn’t confident the curved bit between them would be enough to hold it together, especially since I intend to display it with the front part hanging down, so I ended up joining them together with PVC pipes. I drilled out the holes with a hole saw bit with about 20mm depth in both pieces (well the front piece I drilled the holes in 2 of 4 10mm sheets, and the 5mm sheet that sits between the front block and curved piece, then glued those pieces together), and cut the pipe to just below length so there was a bit of leeway.
Slight tangent, on the block there are a lot of patchy bits, this is the result of me trying to smooth out the block. When cutting out the individual foam squares they weren’t all consistent, and gluing them together they deviated even further. So to try make it flatter I cut off the obvious bits, applied foam clay everywhere and smoothed it out. Once dry I went over it with some sand paper, swapping between 120 and 400 grit. The result isn’t perfect but it’s much better than if I had left it as is. A lot of the seams on the other pieces got this same treatment to tidy them up too.
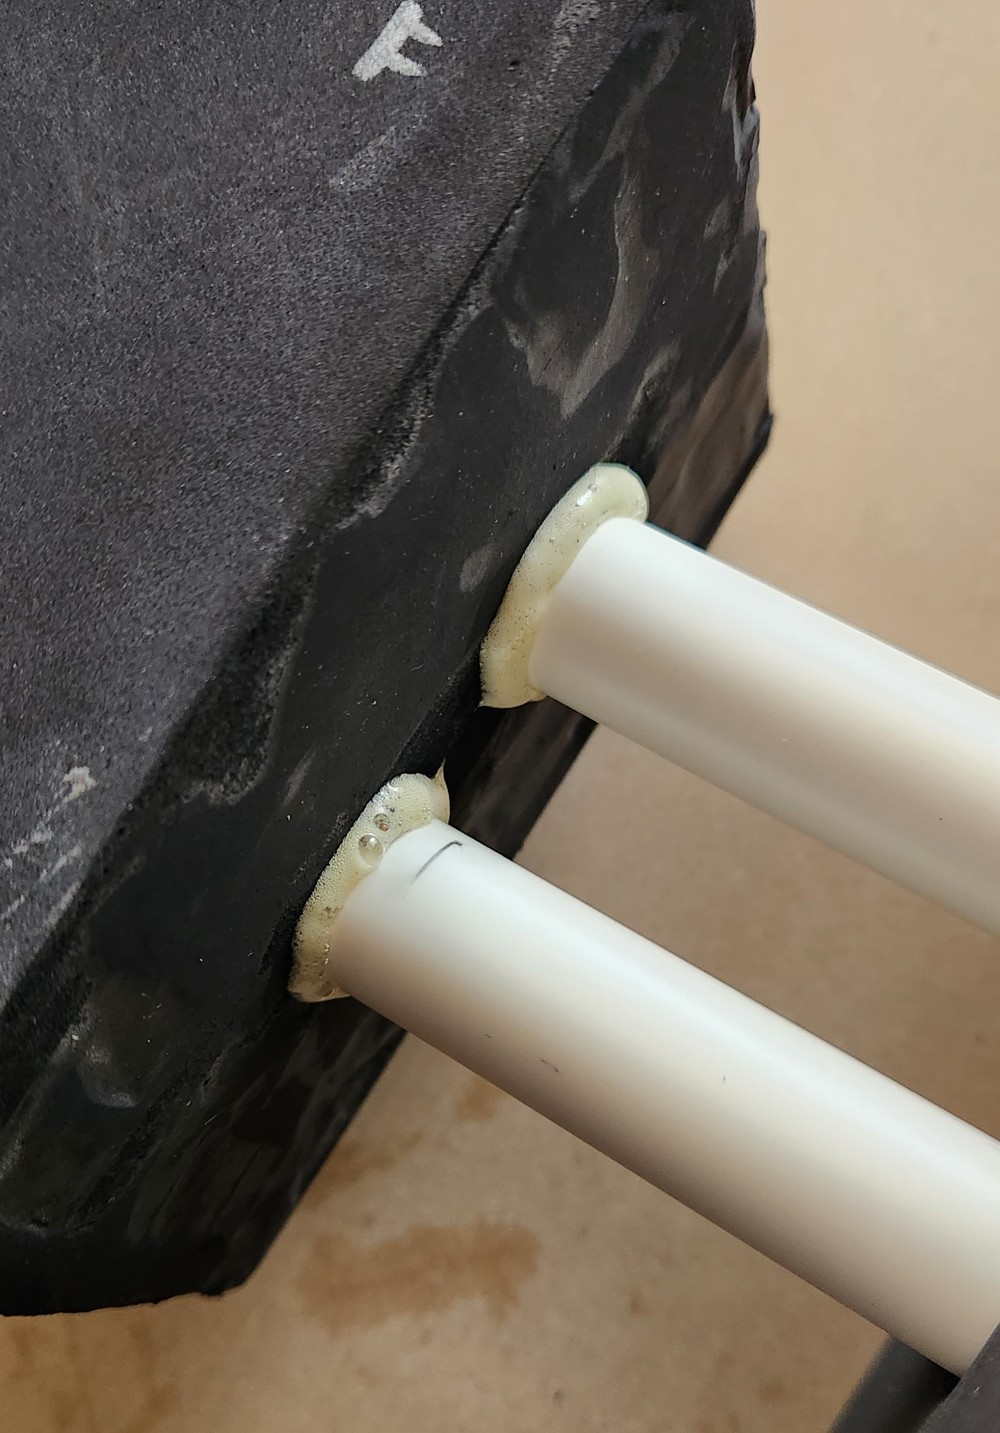
Back to the pipe, here is shot of the pipes glued into the block. The foam that’s coming out is the Gorilla Glue setting, it expands a fair bit but I wasn’t concerned about the overflow as it’ll be covered by the curved piece between it and the front block.
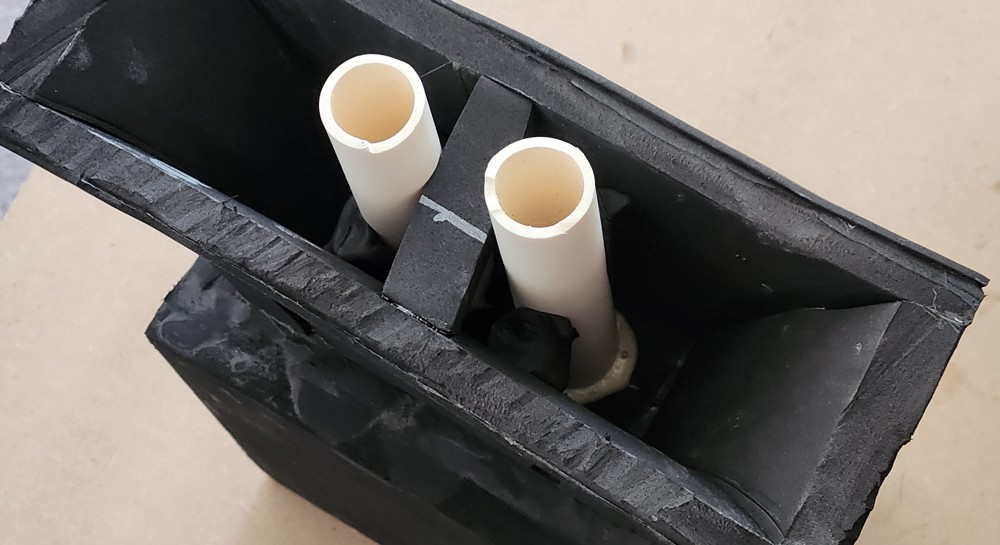
Another shot with the curved piece added. Put a bit of foam in between to spread the piece out a bit to make it straighter, also added foam clay between the pipe and foam just to provide some structural support, though the pipe and Gorilla Glue will be doing all the work.
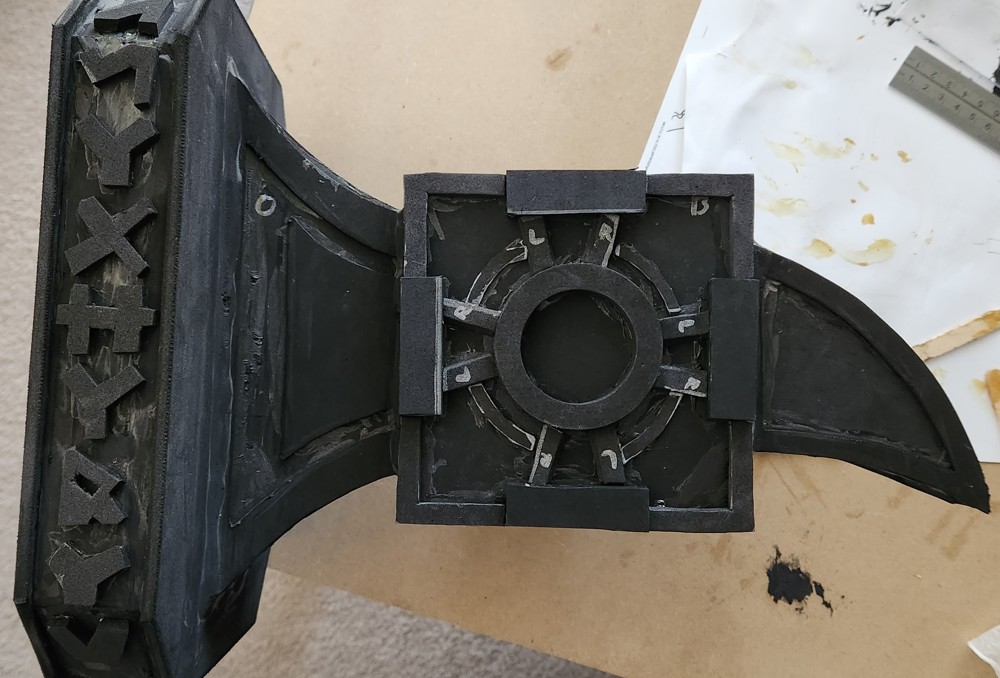
With the front glued in place to the pipe and curved foam, too I was able to add the detailed bits. I cut these out right at the beginning when I was still working things out. Some parts are a bit small and not perfectly aligned but that’s OK, I just added a bit of foam clay here and there to make it look nicer.
Again for all the seams I added foam clay and smoothed it out with sand paper, I also used the sandpaper around all the edges, including the detailed bits, just to round the edges slightly.
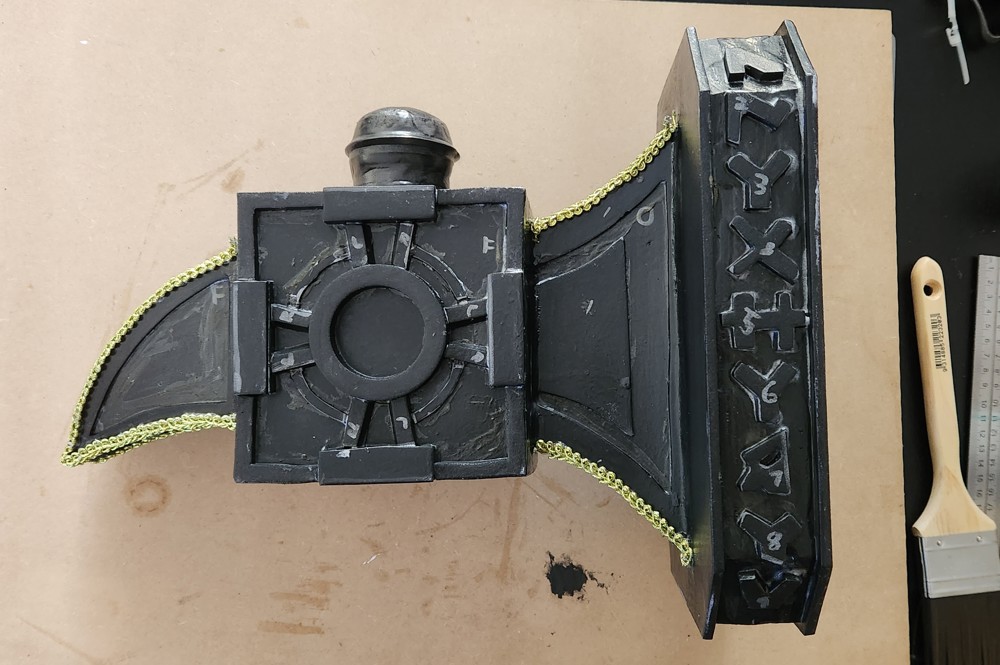
Here is the final piece with all the detailed bits in place, including the circlar block at the top and the braided trim around some of the edges. Didn’t matter too much that these were already gold as they’ll be covered by the paint but still helpful. I just used hot glue to attach them, there isn’t enough flat area on them to use contact cement or Gorilla Glue.
It’s also shiny because I’ve added a few coats of Flexbond, thinned with a bit of water to make it a smooth application. Before that though I went over the foam with a heat gun at a medium temperature to effectively melt the top layer of foam. This removes any air bubbles and pores, so the Flexbond and paint won’t be soaked up by the foam. When it’s been heated you’ll be able to see a slightly-reflective surface to the foam. The respirator got a good work out when heating the foam and using all the contact cement to glue things together.
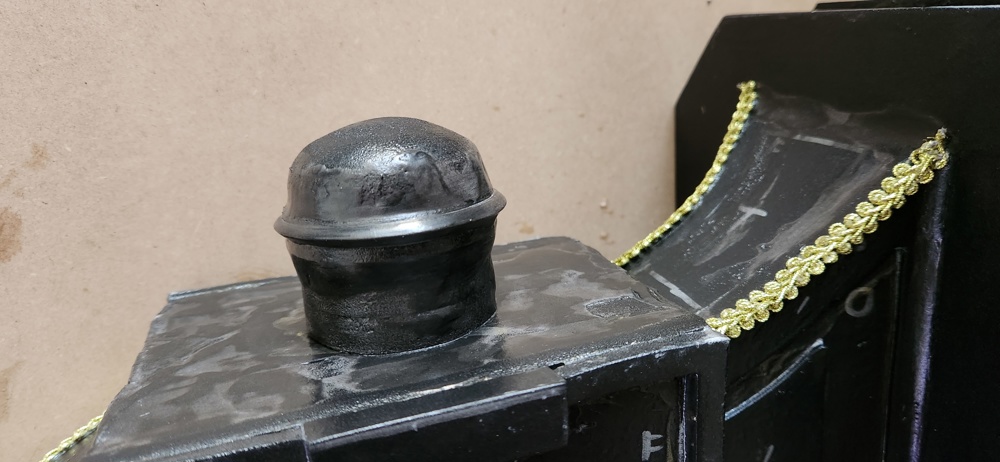
And just a closer shot at the top of the head, most of it is made up of leftover circle cuts I had, the very top was carved out with a knife and smoothed over with sandpaper, and the ring was just pinched foam clay.
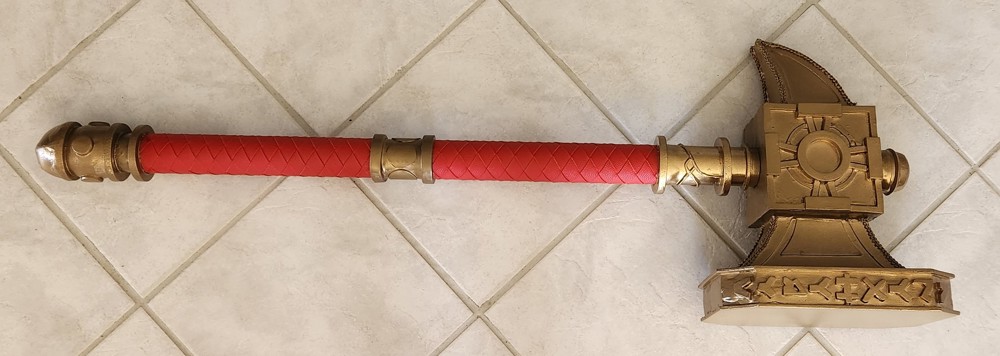
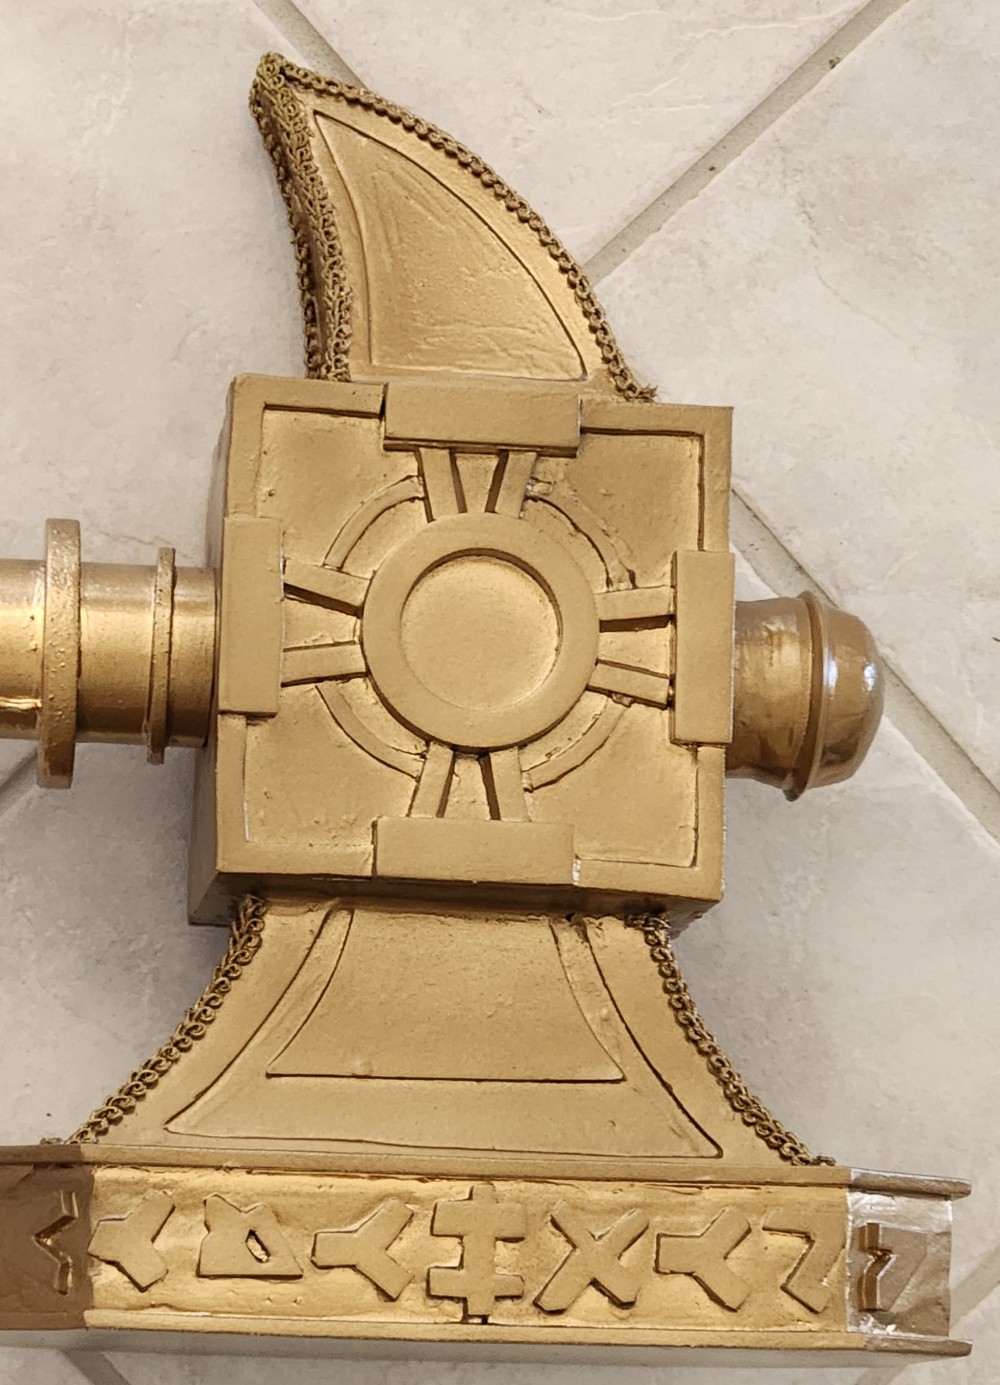
And here is the final result! Hanging the head and handle I went around them with the gold spray paint, followed by the matte sealer. I would generally recommend spray paints for props as it’ll give a much smoother coat of paint than using a brush, but that depends on the look you’re going for.
What I learnt or would do differently
- It’s tricky doing curved foam, especially when you’re only working with the dimensions provided and not the a foam-specific template.
- So if you’re trying something new accept that it won’t be perfect and that you may have to sacrifice some foam to test things.
- The larger pieces weren’t perfectly cut straight and weren’t glued perfectly aligned either, this causes obvious seams to appear. Using foam clay and sand paper helped a lot but more could have been done.
- If its important that there are no seams, you could cut out slightly-larger pieces and glue them together, then use a bandsaw to get straight/smooth cuts of the foam.
- A way to braid the pleather to get the diamond pattern I wanted. The main downside with this method is it wasn’t possible to glue to the pipe as I went, so it is a bit loose when you hold it.
- Even just spots of hot glue here and there as I was braiding should have been sufficient to help hold it all in place.
- Potentially more layers of Flexbond, it’s important for it to be mixed with a bit of water to make it smooth, but its so smooth the underlying bits such as left over contact cement or creases were still quite visible.
- With a few more layers (in theory) it would help smooth over these parts, so later the spray paint would hide everything.
- Happy with the weight of the head, but because its that much heavier than the handle, the balance point is a bit too high above the pleather. This doesn’t work well when trying to display the hammer because it would tip over.
- Since I completed the handle before assembling the head I didn’t know until it was all together how well it would be balanced.
- I found a bit of wooden dowel that fit snug with the pipe and would be a suitable counter balance, but since all the foam was already glued on and Flexbonded, and the top of the handle had the connector glued in, there wasn’t room to slide in the dowel. Knowing the balance was off it would have been good to add the dowel early on.
- A temporary solution was to slide in a decent sized metal bolt, held in place with a rag, which is more than enough to move the centre of balance onto the pleather, which is a better spot for it to sit on the stand.
If you’ve made it this far I hope you enjoyed learning about the journey I went on to make this hammer and that you learned something useful from it.
