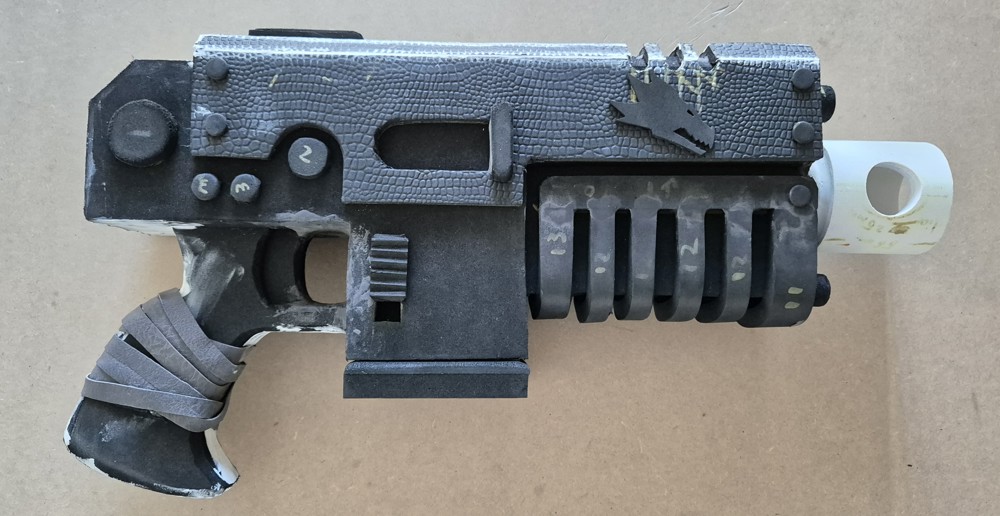
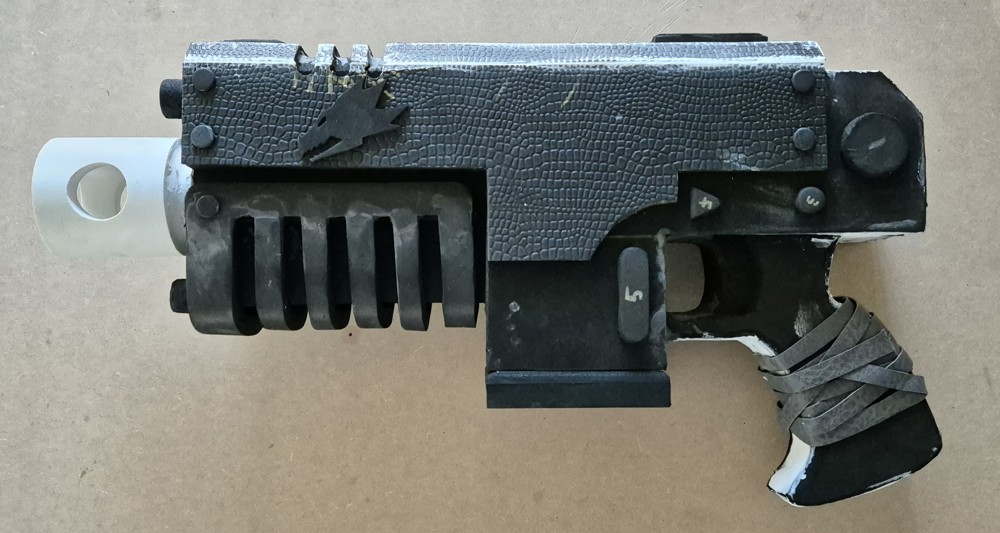
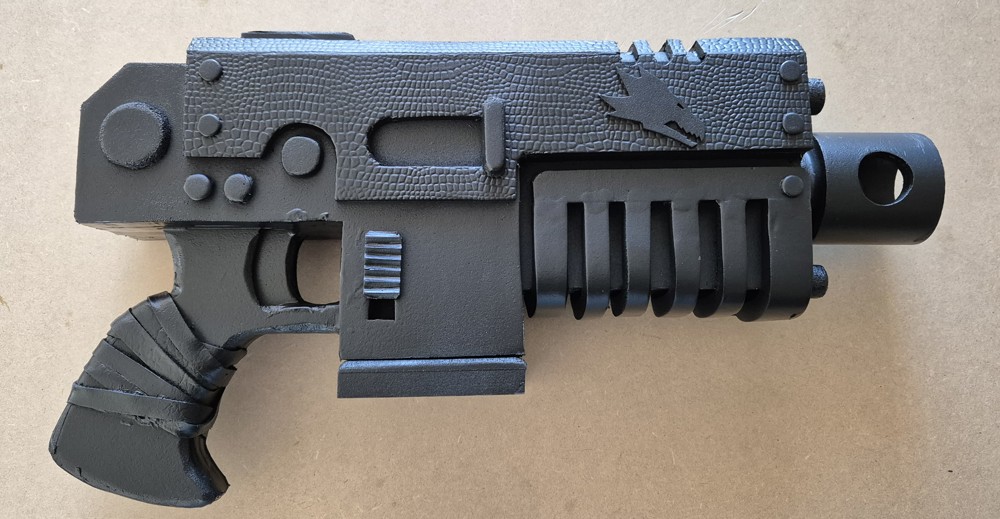
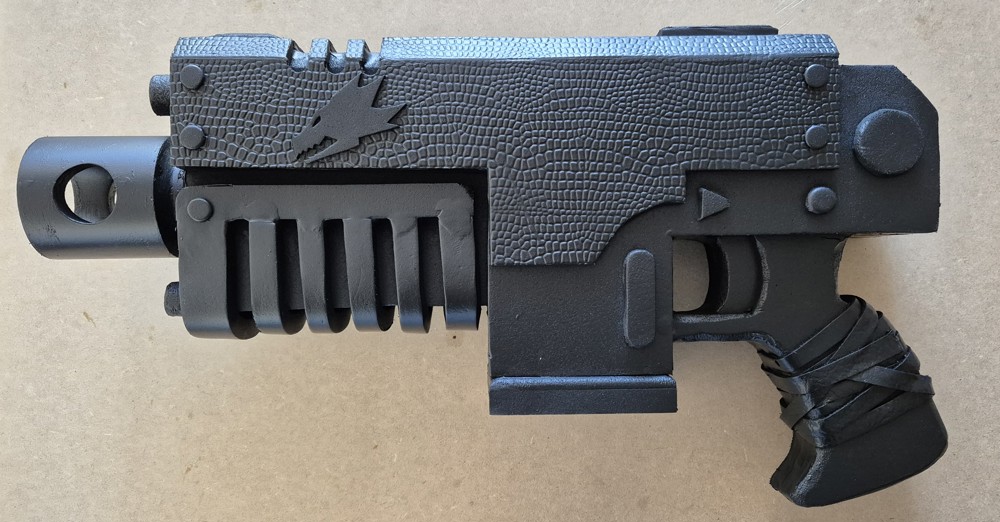
Prop - W40k Heavy Bolt Pistol
I was keen to make another Warhammer prop this time in the 40k setting, and knew I wanted to do a gun but wasn’t sure what kind. Settled on the bolt pistol for a balance of time and difficultly. There’s various templates online but I found this one to be the best for me.
I did follow the template pretty closely except around the scaled part as I was keen to incorporate the Salamanders in some way, so had to adjust things to support that. I found many interpretations of the bolt pistol so I wasn’t concerned about how accurate it was, just that it looked cool.
Materials used
- EVA foam (2mm, 5mm, 10mm, including high density 10mm for some bits) for pretty much everything
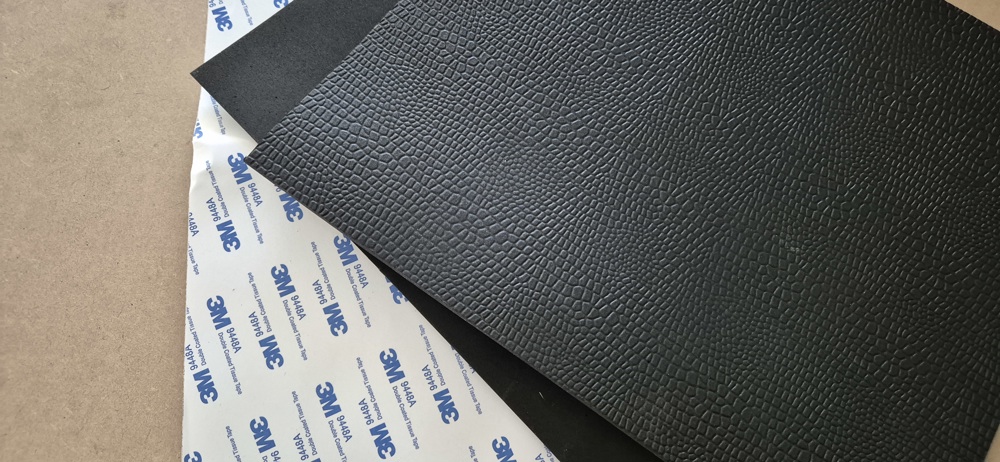
- Scaled foam for top of prop
- Foam Clay to fill gaps and more detailed parts
- Double-sided adhesive to stick everything together, otherwise super glue was used for small bits
- Gorilla glue for sticking pvc pipe together
- Plasti Dip to seal everything ready for painting
- Various paints
- PVC Pipe and adapter for the barrel
- Pleather for handle
- Sinkers for balancing
Tools used
- Knife for cutting out foam
- Silver sharpy for tracing out template
- Heat gun for sealing the foam
- Dremel for cutting pipe and cleanup
- Respirator when working with contact cement or heat-sealing the foam or sand-papering the foam, very important!
- Safety glasses when working with contact cement, you don’t want that stuff in your eyes
- Ruler for general measuring
- Craft knife helpful for cutting paper
The process
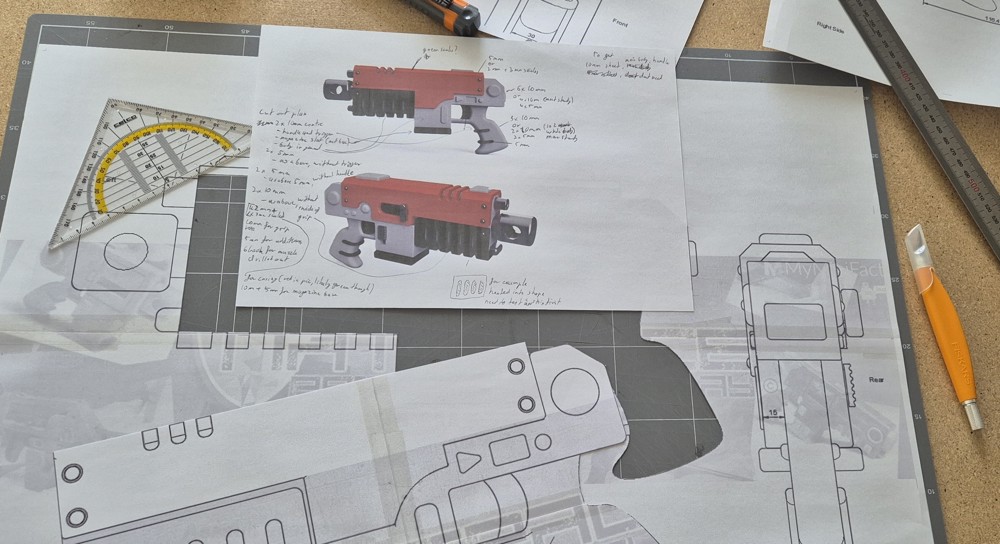
Firstly print out the template. I used one from this etsy page, it was very helpful for measurements and included views from all sides. I printed these out full size (so a lot of paper in the end), cut the templates out of the paper so it can be traced on the foam with the silver sharpy (most coloured metallic sharpies will work well too).
They also provided 3d renders of the pistol which was very helpful for quickly identifying where things should go.
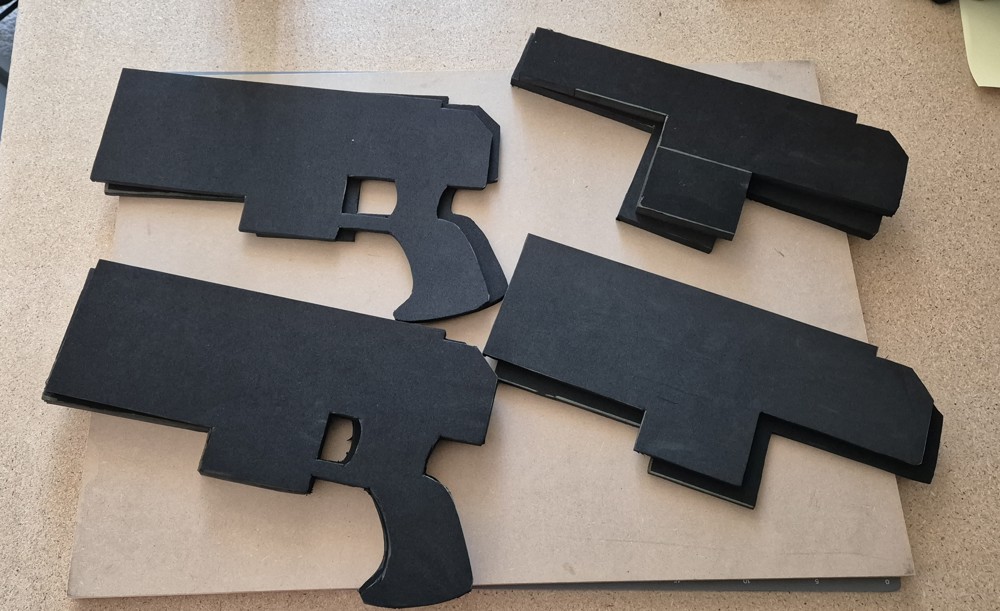
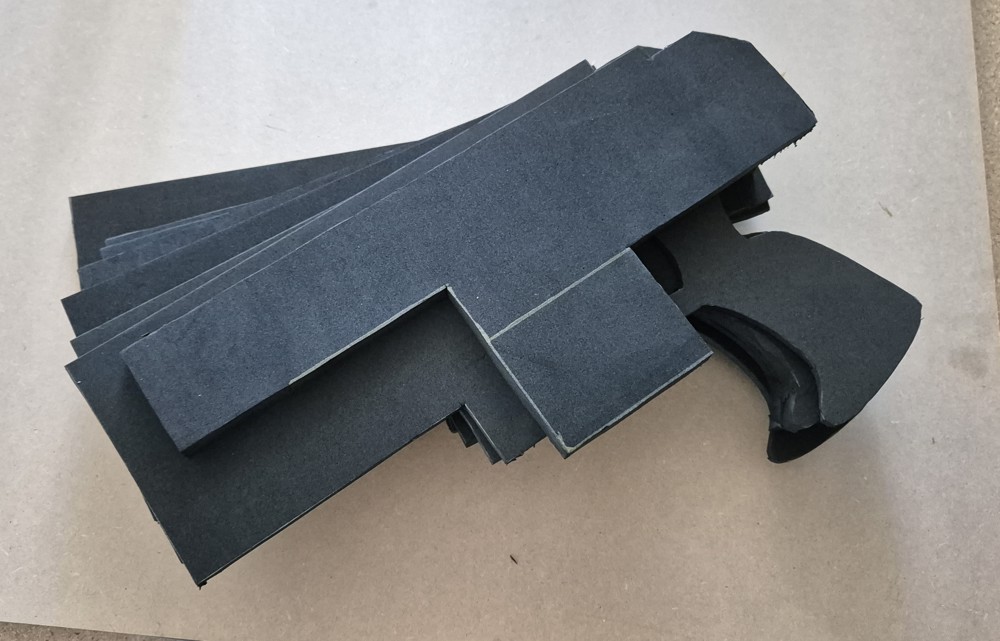
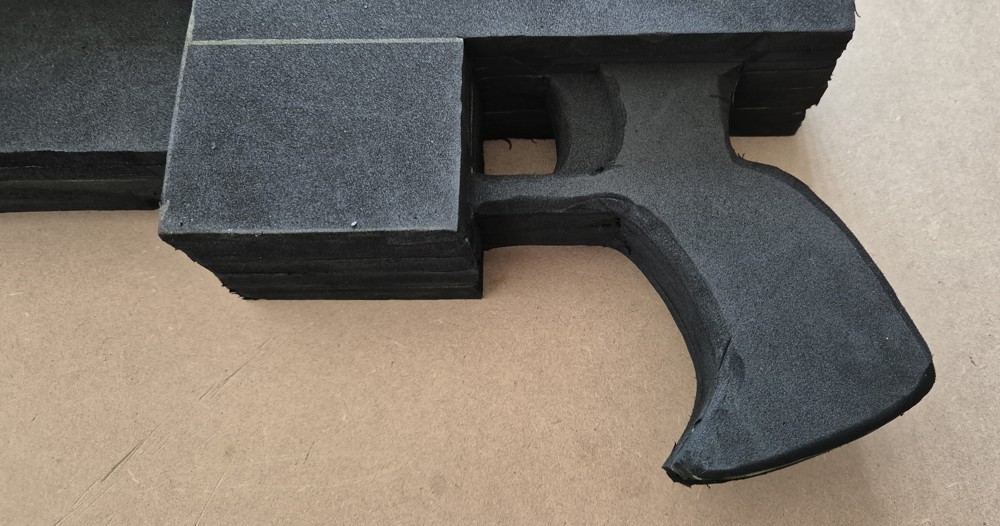
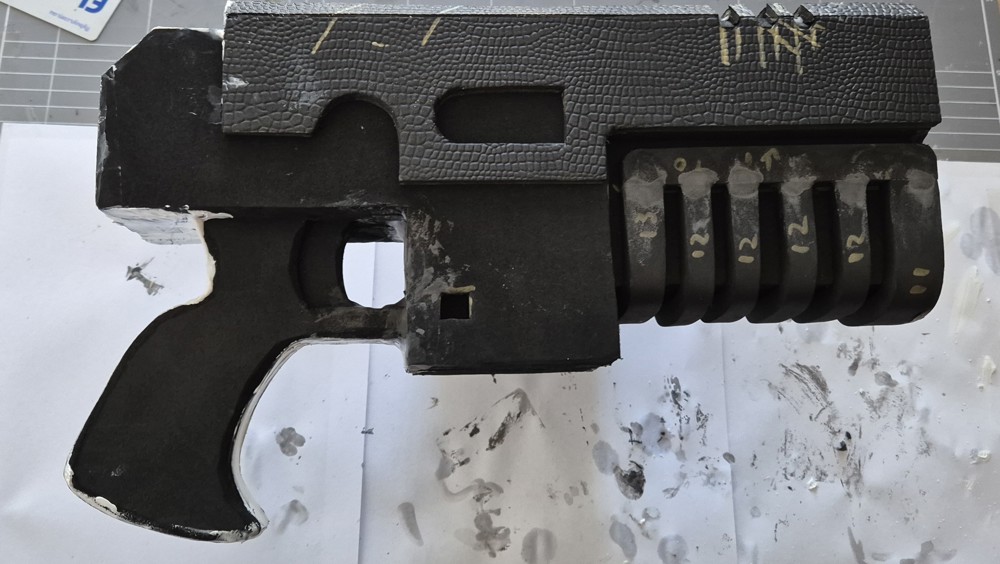
Got all the core layers cut out. Based on width of the pistol in the template and the thickness of the foam (5mm and 10mm) I was able to cut out the bulk of pistol with certain bits left out, from the middle which contains the grip and trigger, same again without the trigger, without the grip, then finally the outer layer without the under grip.
This was with high-density foam, it’s stronger and weighs more helping give the gun a bit more heft, but it’s also much harder to cut.
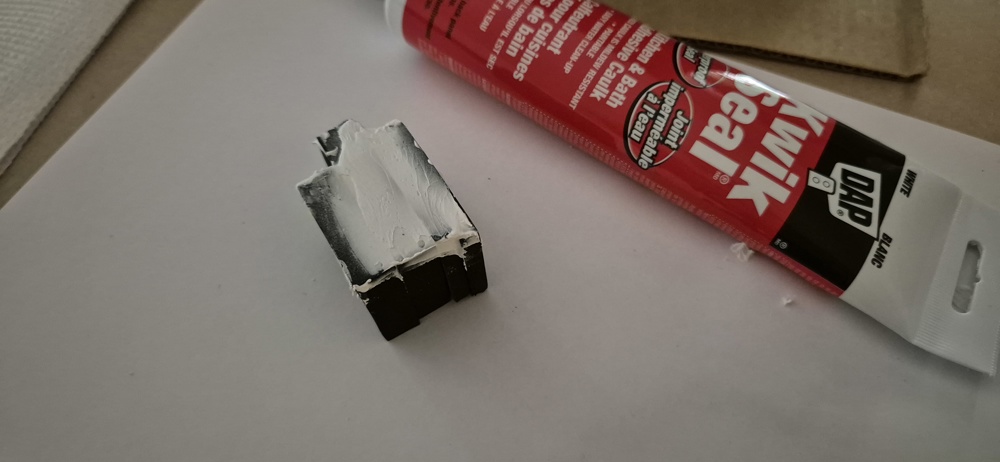
Before getting everything together, I knew by cutting the layers separately by hand that they won’t line up perfectly, so I tested applying kwik seal with a card (like a spatula) to see how it would hide those lines. It faired pretty well, but still needs a sanding afterwards to smooth it out further.
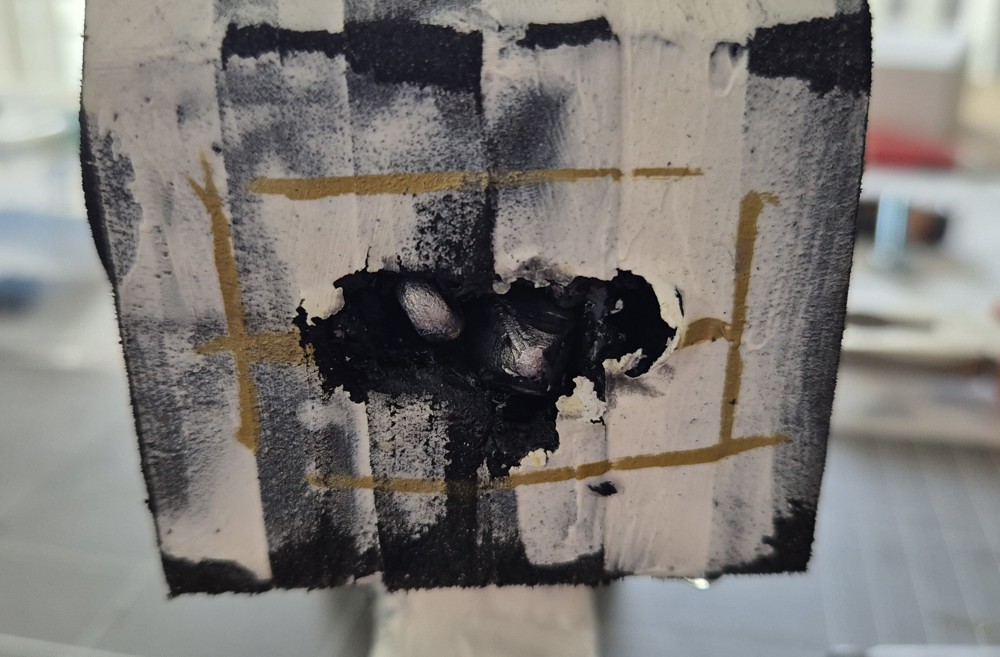
Also testing other things I haven’t done before, including the double-sided adhesive and plasti dip primer. These bits also had foam clay and kwik seal to see how they went when primed too. I haven’t used plasti dip and assumed it was quite a thick spray but it’s actually very light, so lines I scored into the foam were still visible.
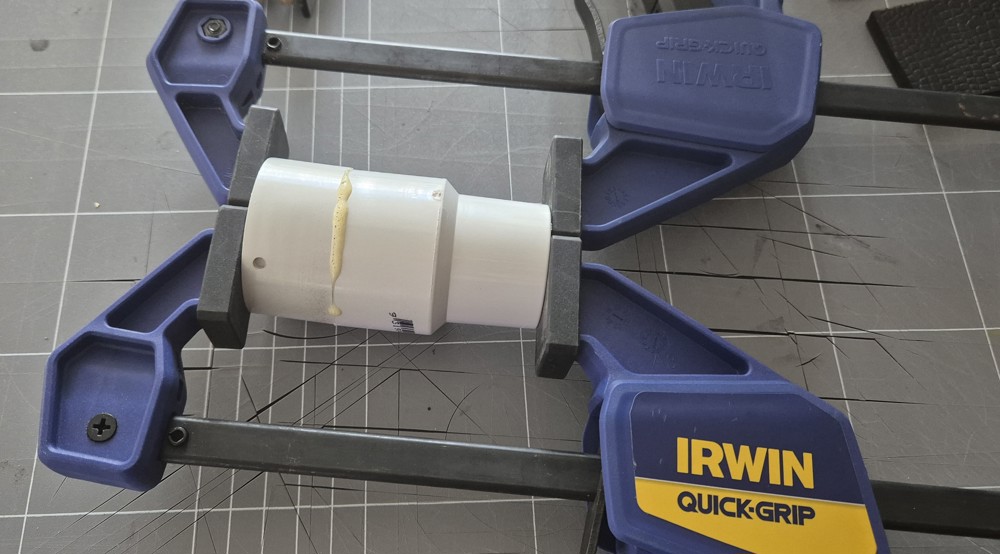
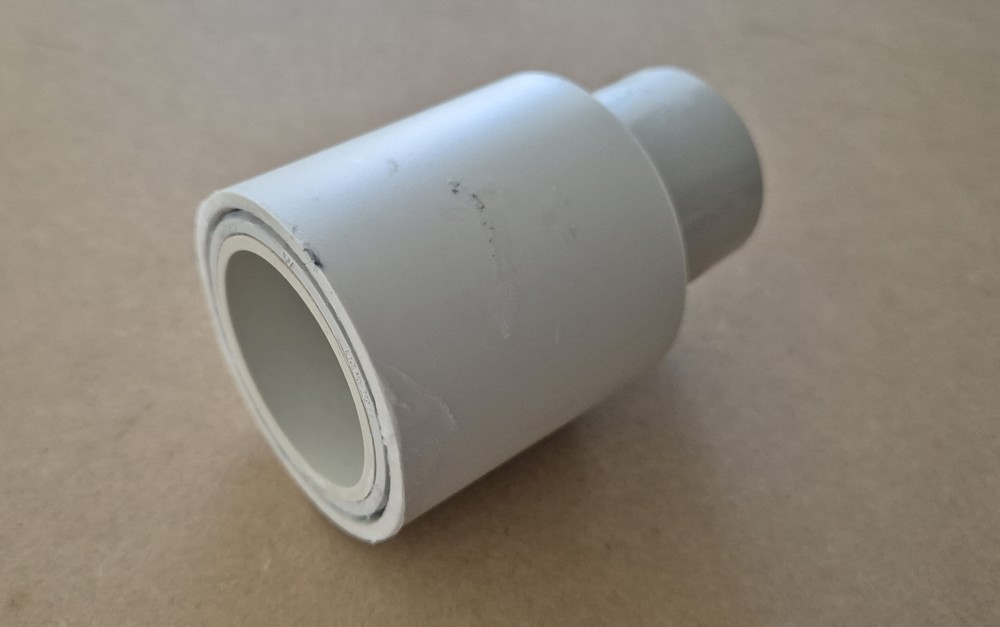
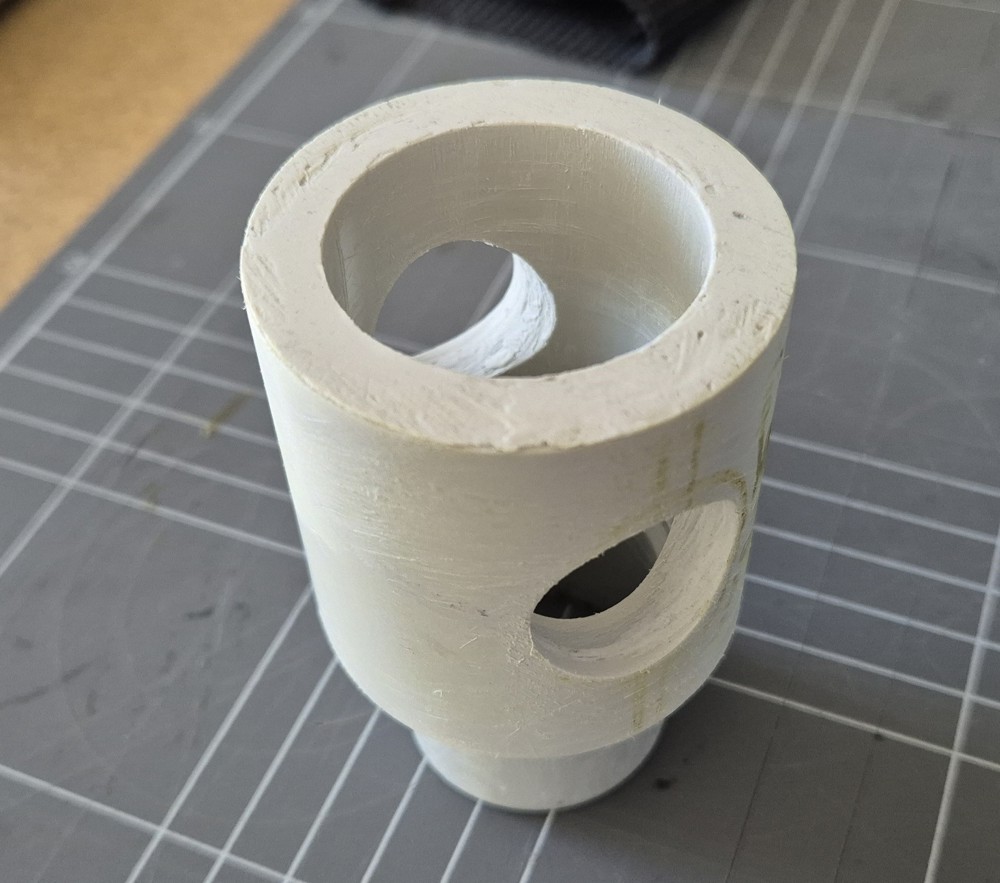
I had some left over pvc pipe pieces from my Ghal Maraz build that I could use as the barrel. The foam seeping out is the gorilla glue as it expands (hence the clamps), but it’s very strong and won’t come apart once it has set. This ended up being the inner part of the barrel, as a another piece of pipe was added over it which worked well as it covered the drill hole and the seam of the two pieces.
I just used paper and lots of super glue between the two pieces as there was a gap between them. Hot glue may have worked too.
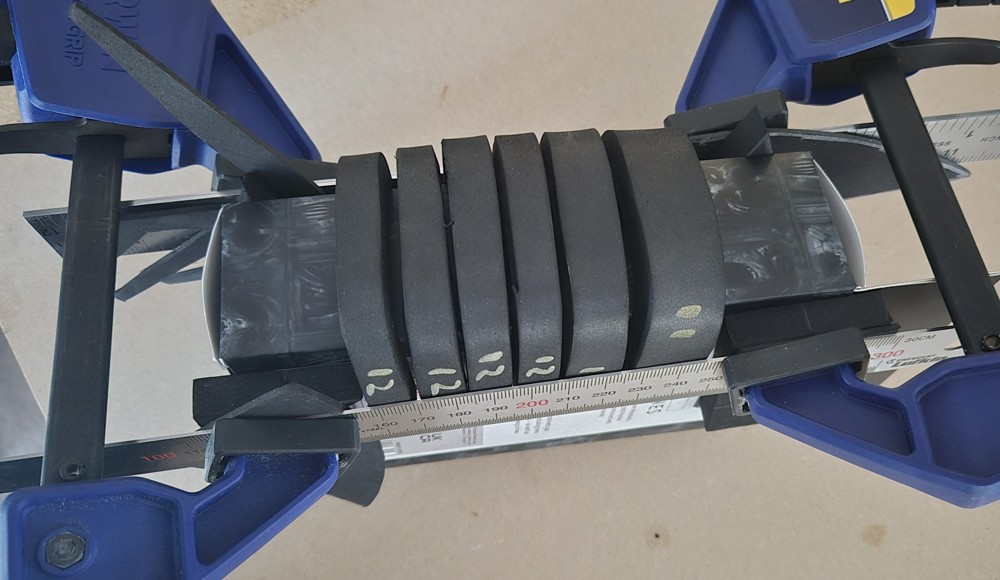
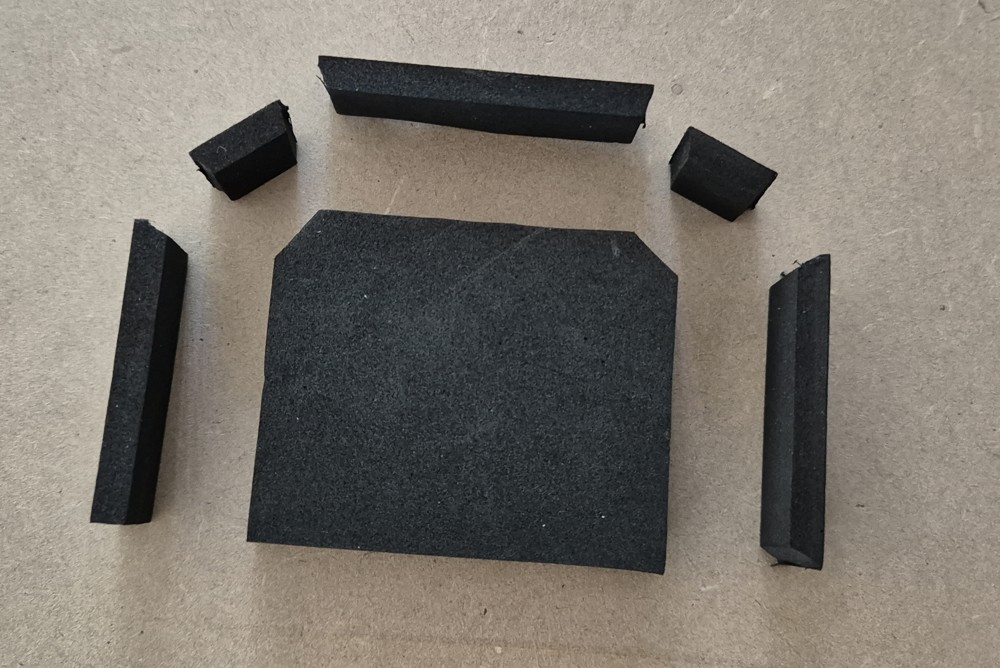
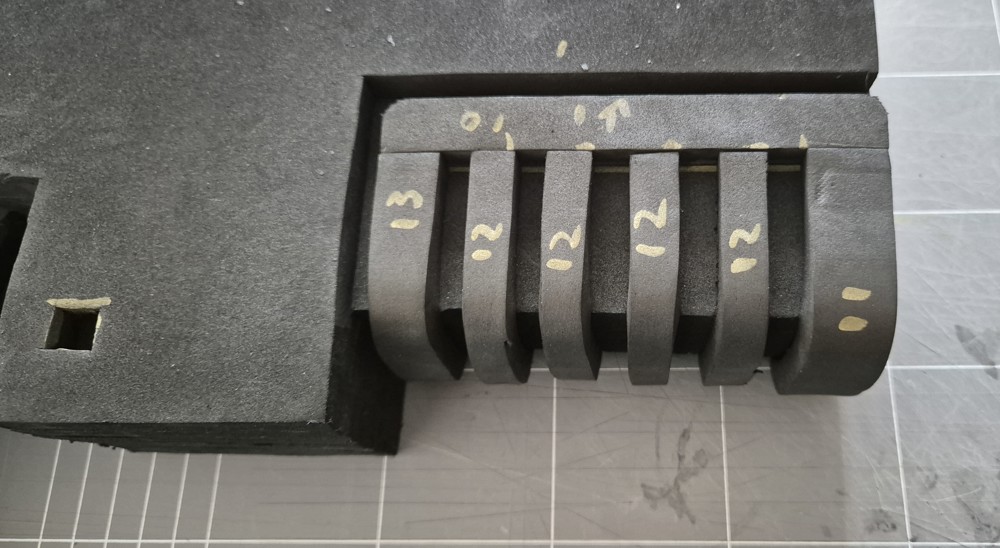
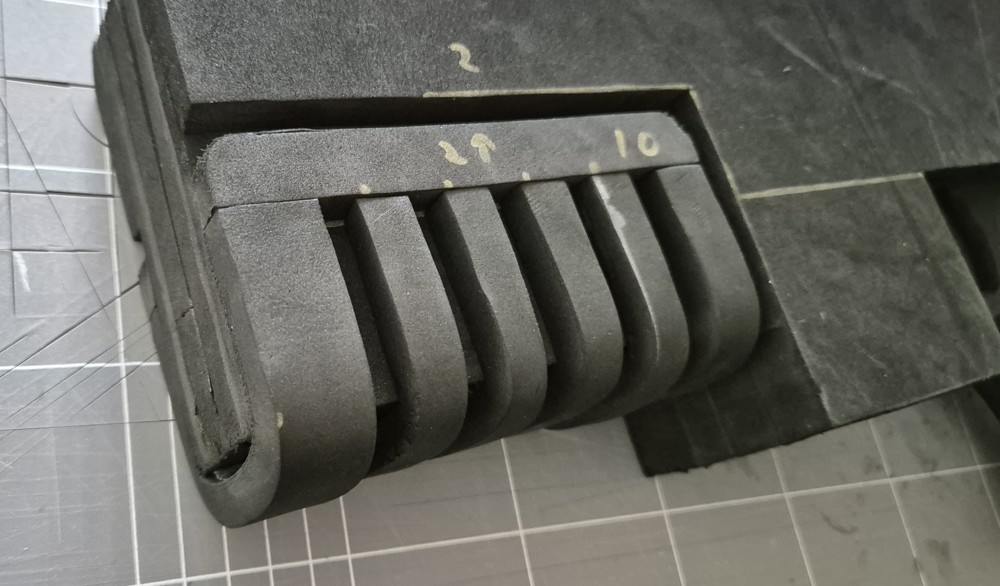
As part of the under grip there’s several strips of different widths, to help hold their shape after heating them I put them in a holder so that they could cool and stay in the shape. It’s not perfect as foam will still want to bounce back, but it helps.
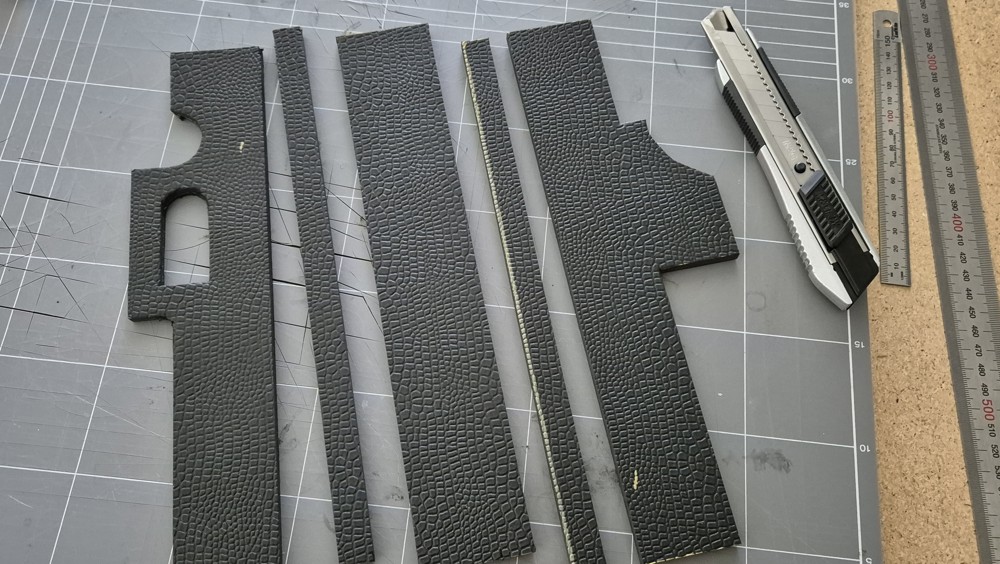
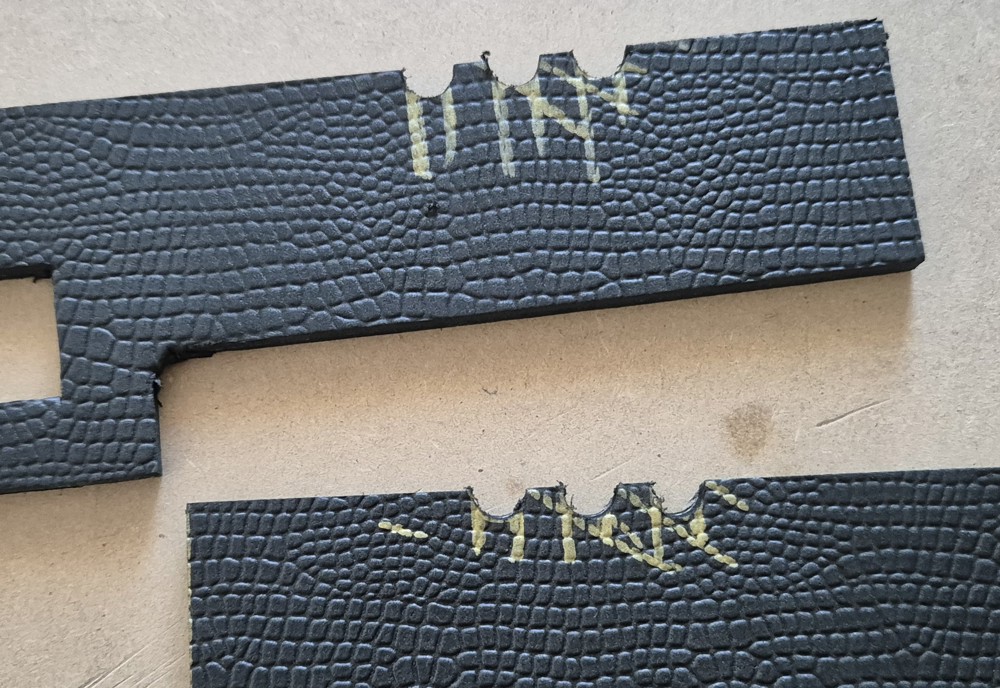
Before committing to the scaled part of the pistol I wanted to test getting the correct angles so it would line up in the correct way. Basically the inner angles had to be 22.5 degrees so the smaller sections were sitting at 45 degrees.
The scaled foam is 3mm thick, so I combined it with 2mm foam which suited the template better at 5mm. I stuck the two foam sheets together then cut on the pieces I needed.
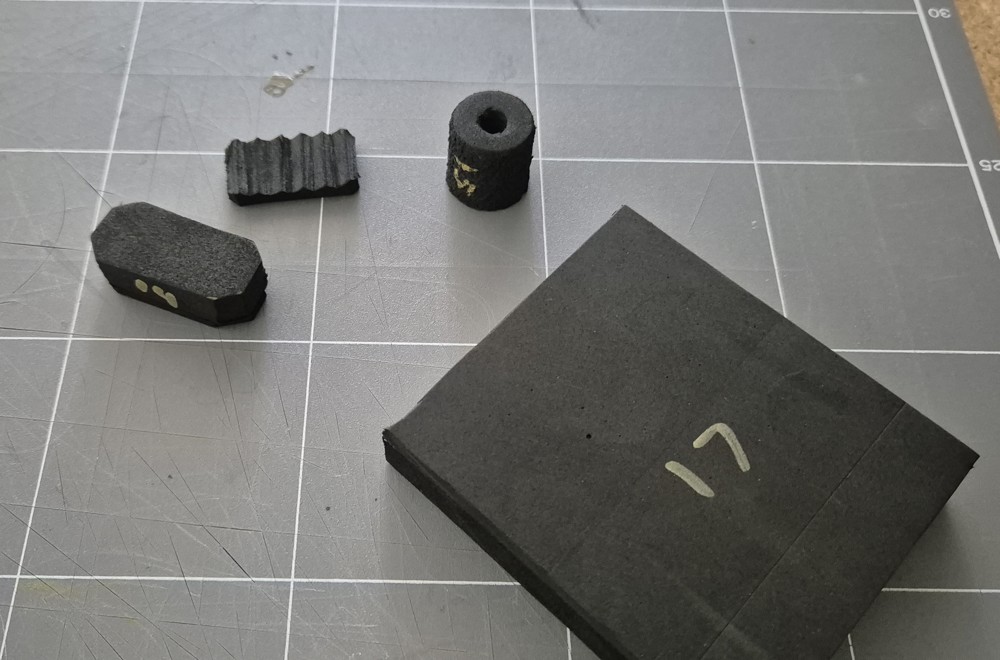
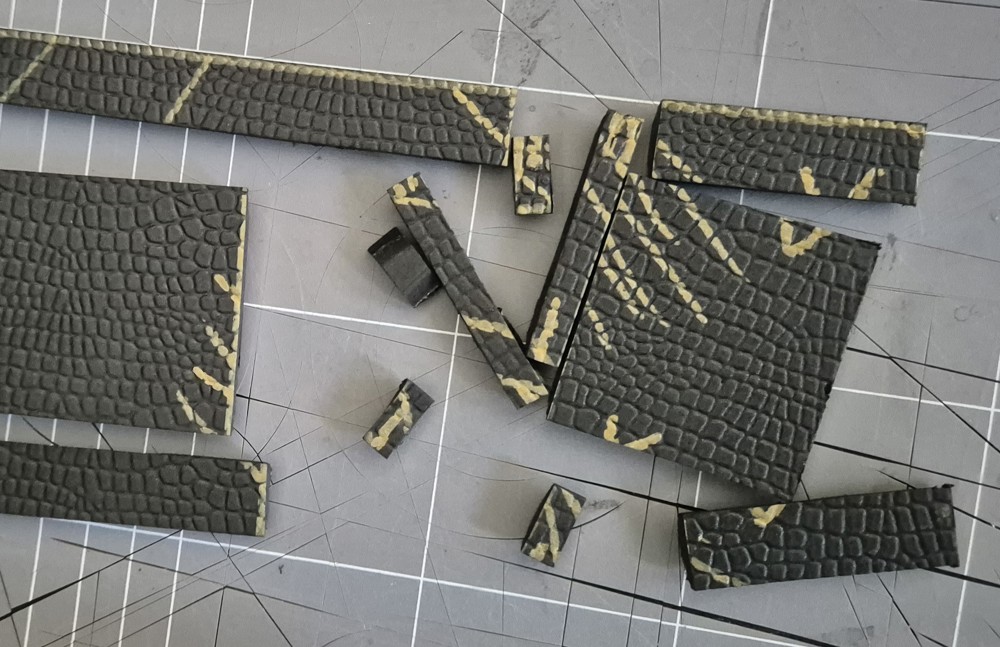
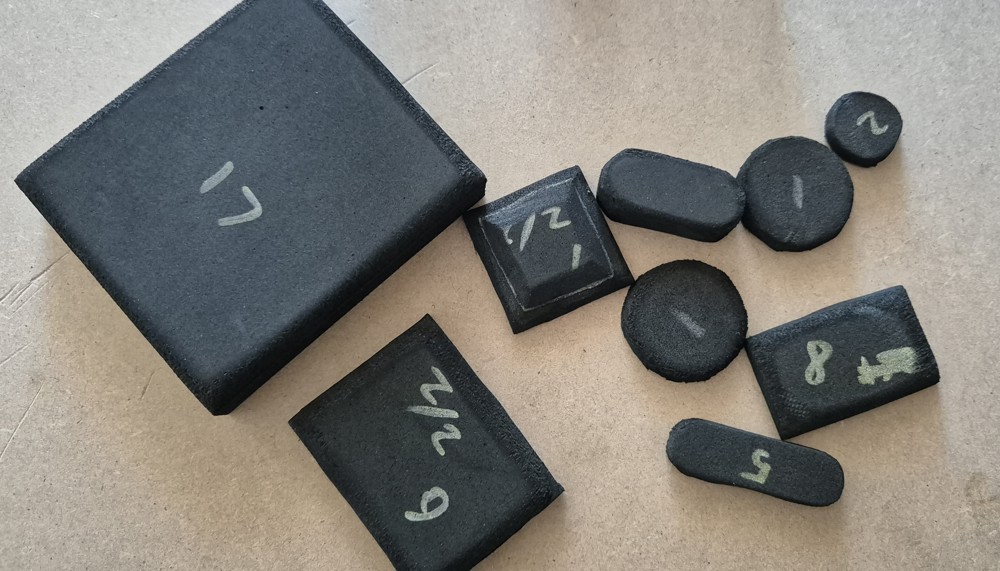
Just a few smaller bits cut out. The cylinder is an offcut from a previous project with the hole saw. The larger square is the base of the magazine.
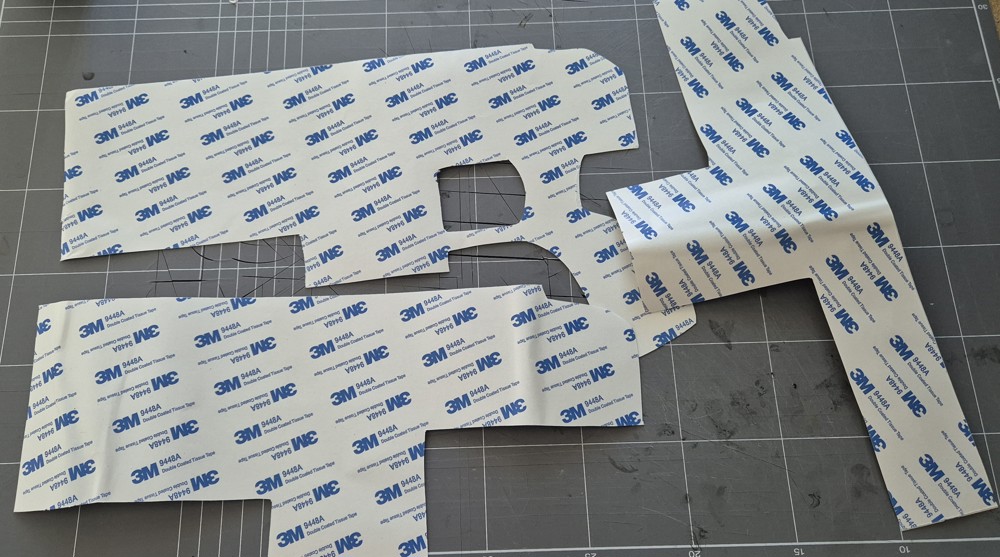
Getting the double-sided adhesives ready for the various layers, they are cut out slightly smaller than the foam layers so that it doesn’t stick out, as it’s tricky to cut off.
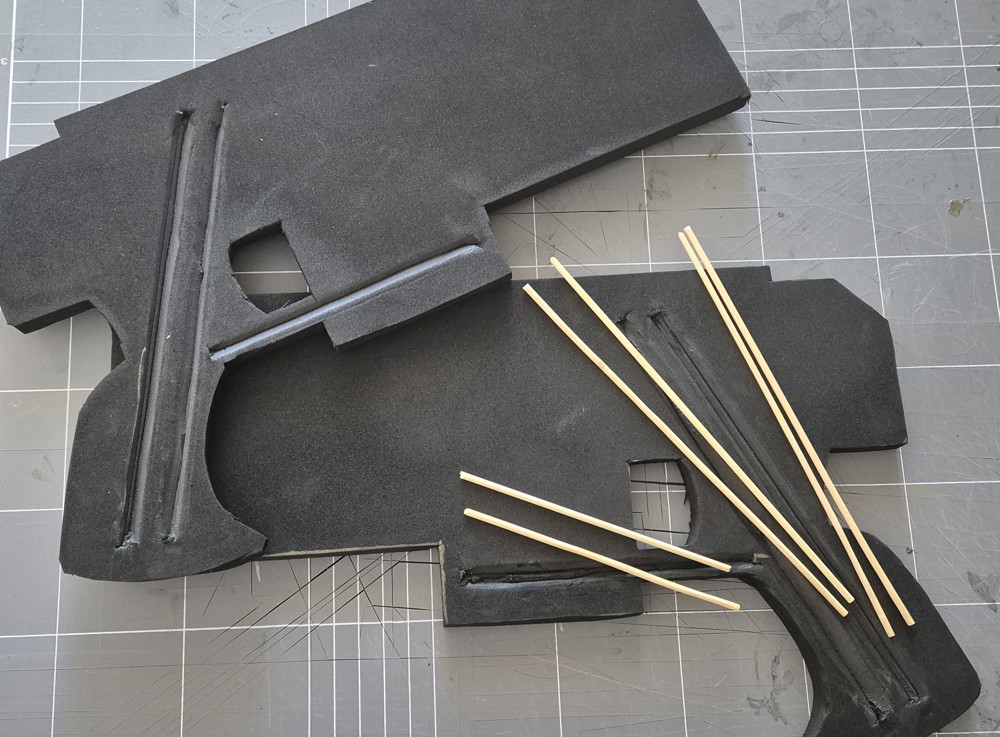
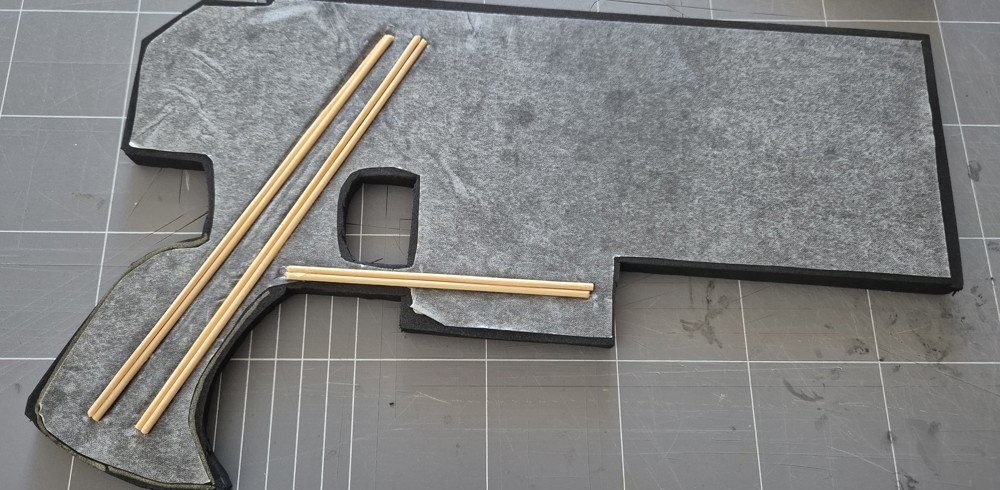
The foam is high-density and pretty strong, but to make it a bit sturdier around the handle I’ve added a few wooden skewers into the core of the gun, this was only done in the middle layer. In hindsight could have used bolts to help balance the gun and provide support, but I address that later.
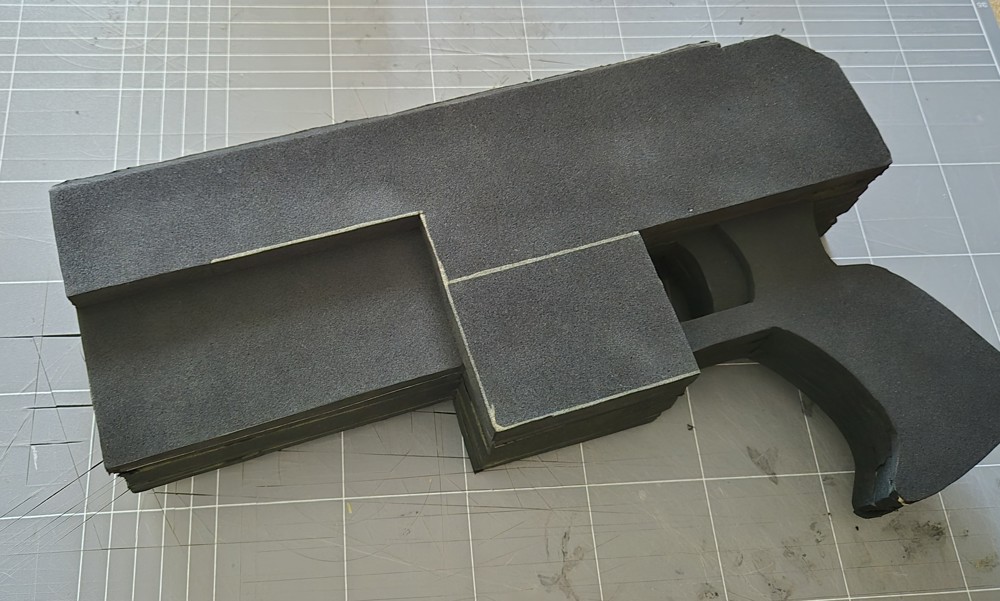
All the core layers together.
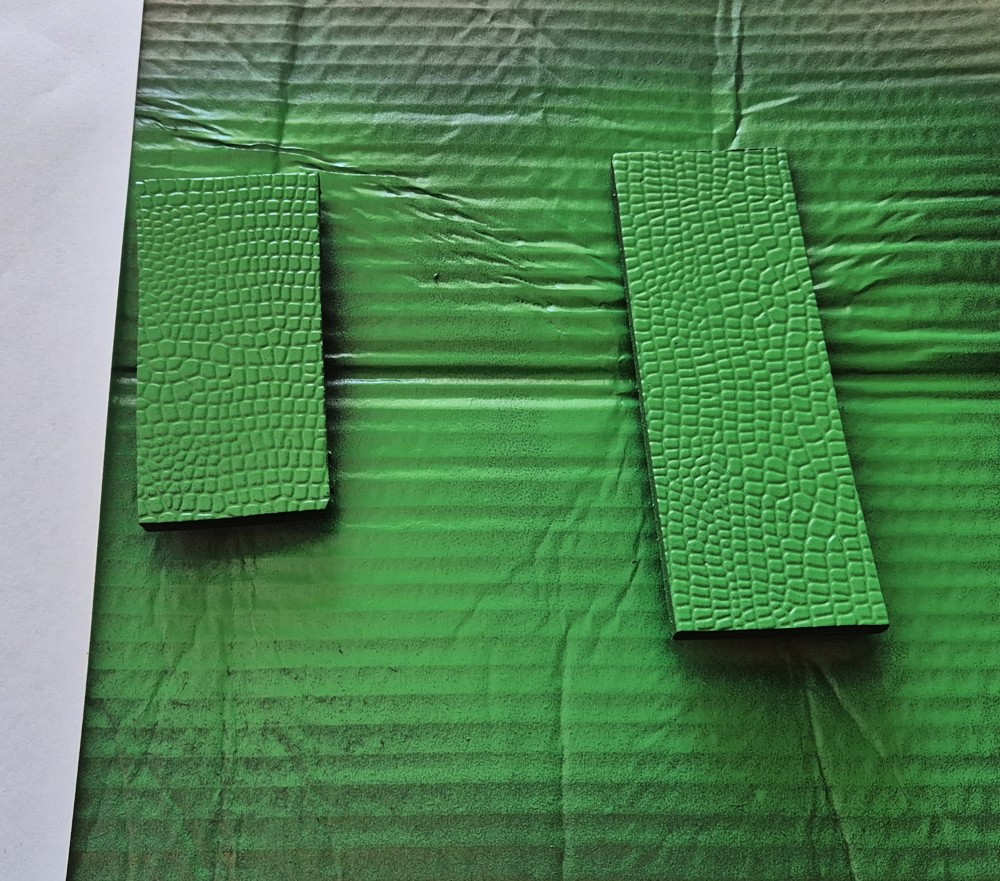
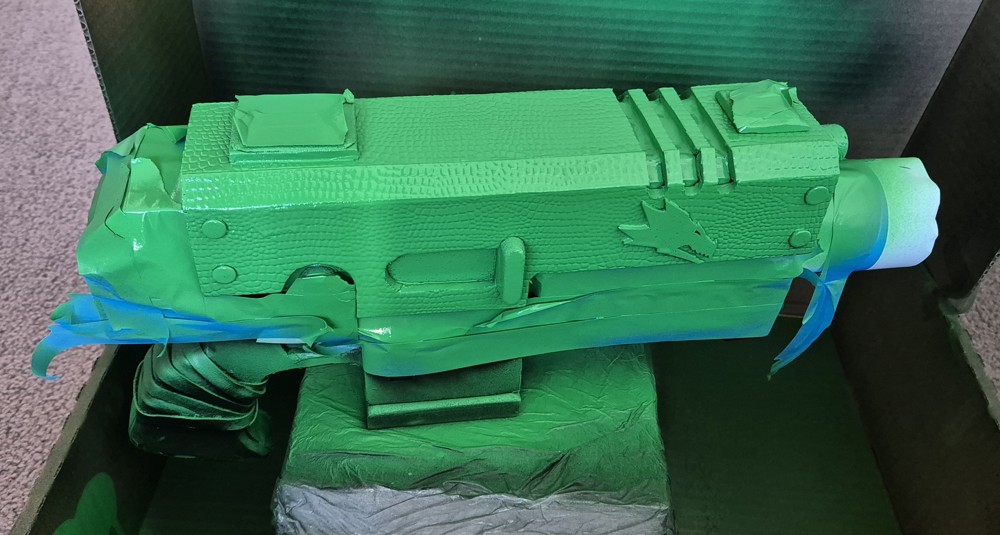
Testing the green spray paint on the scaled foam, this is over the top of plastidip. Both are quite thin so it doesn’t clog up the grooves which was my main concern. I used these bits later to test out the other paints and the matt varnish.
Using the dremmel I’ve gone around and smoothed out various parts of the gun, showing the handle here but also smoothed out where the different foam layers didn’t line up well.
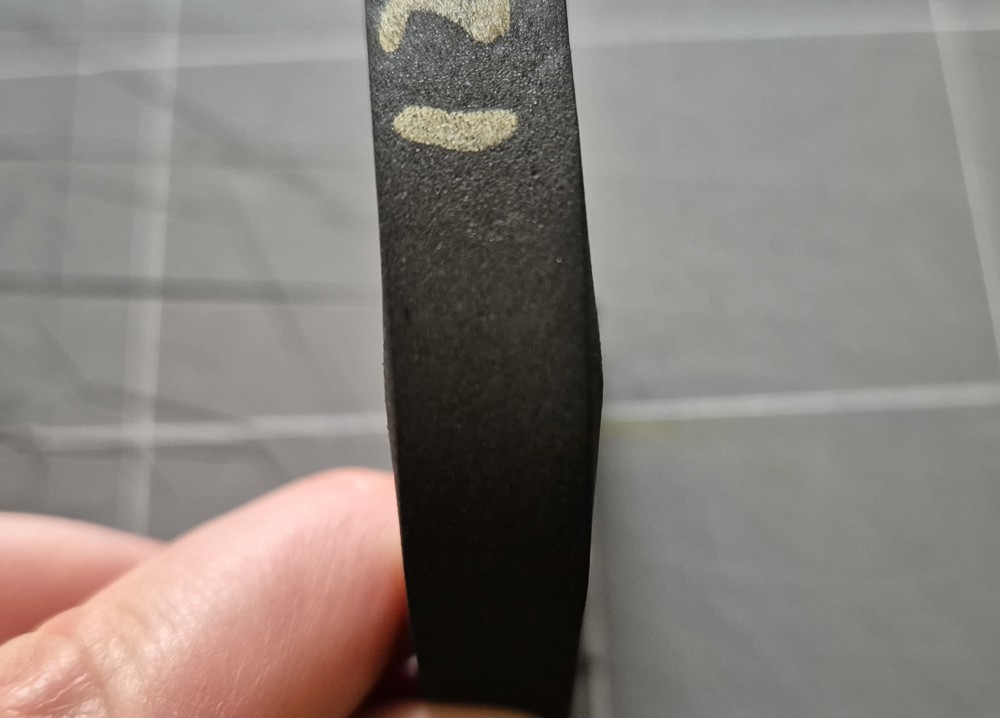
As part of heat shaping the foam for the undergrip I found that a small buldge occurs, but it’s not too noticeable when they’ve been stuck on.
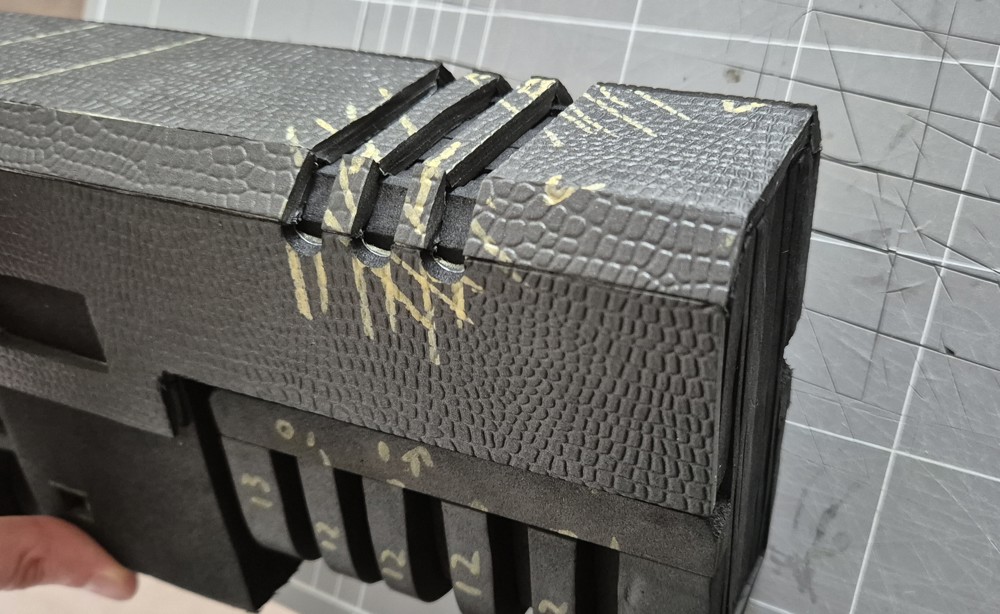
Used the dremmel to cut out the grooves on the side of the scaled parts of the foam, sticking all the bits on was tricky though. In hindsight I could have focused more on this so different bits blended better, as some of the angled bits stick higher than the middle part, but again it’s not too noticeable.
Various bits with the edges smoothed out with the dremmel. Not showed here are the rivets, they were done with 2mm foam and the top part of a pen to basically punch out the disc.
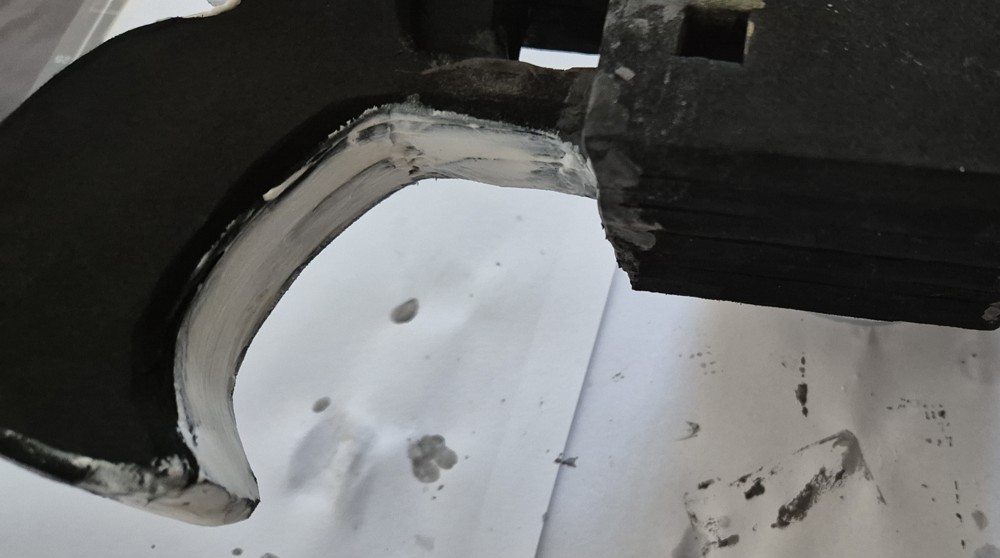
Starting to fill in the gaps and smooth things out, using either foam clay or kwik seal. It doesn’t really matter but leant towards foam clay for smaller sections and the kwik seal for the larger sections. Also used low and high grit sand paper to smooth things out further.
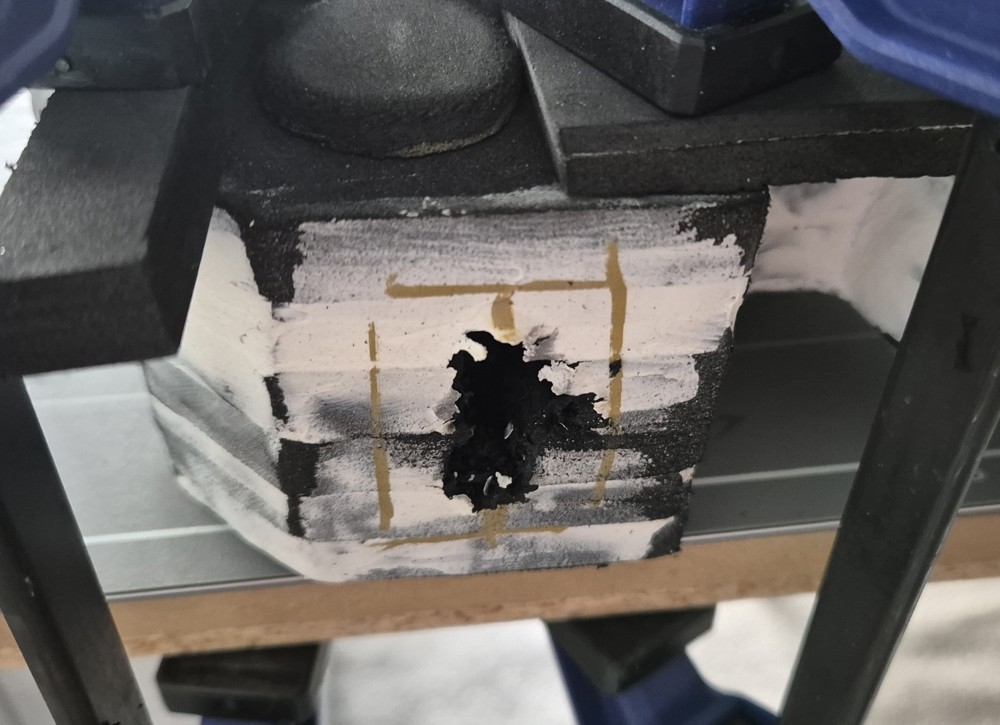
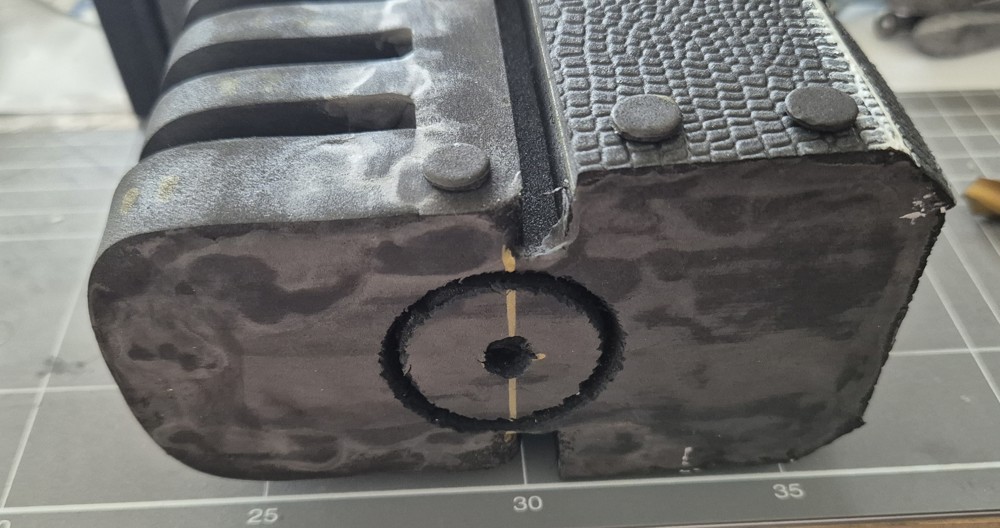
Before putting the barrel in I could tell it was a bit too heavy so needed a suitable counter weight to balance it out. There was a good spot on the back I could put something in. Initially looked at bolts but found sinkers were more dense and fit better. Just drilled out a few holes, pushed the sinkers in along with some gorilla glue to hold them in place.
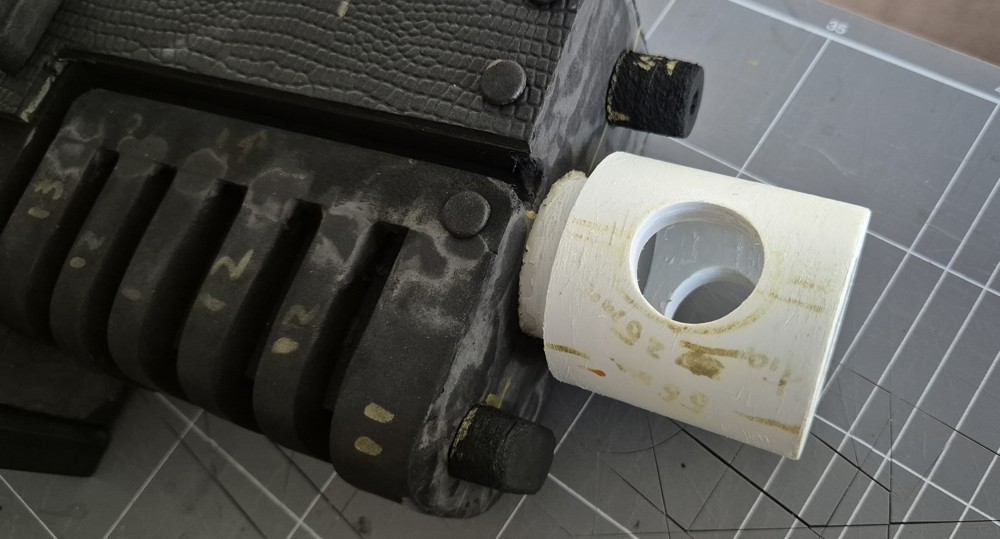
Using a hole saw, drilled into the foam ready for the barrel, which was also cut out to get the distinct side holes (thanks dad), and plenty of kwik seal to fill in the gaps between the pvc pieces, then smoothed things out with sand paper. It was a very tight fit and had to wrestle it into place, but with that and a bit of gorilla glue it’s not going to fall out.
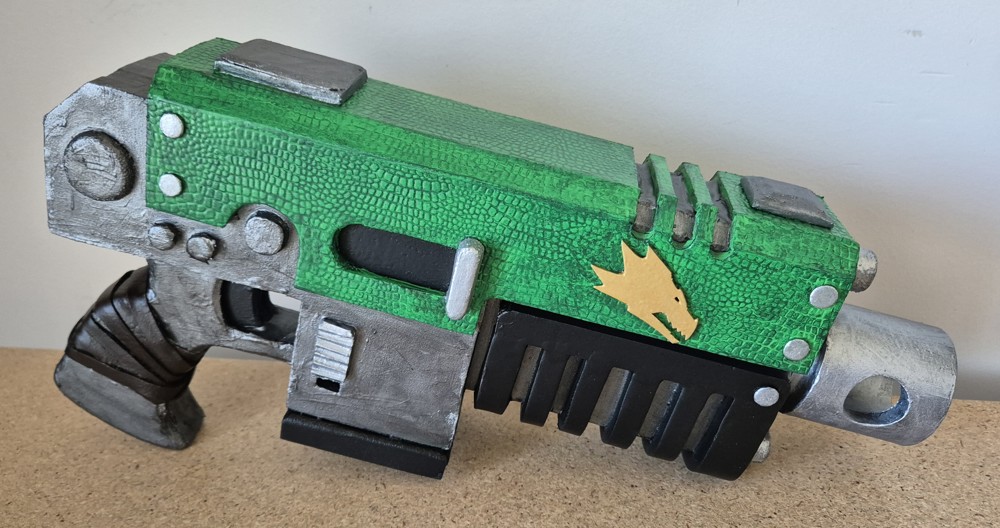
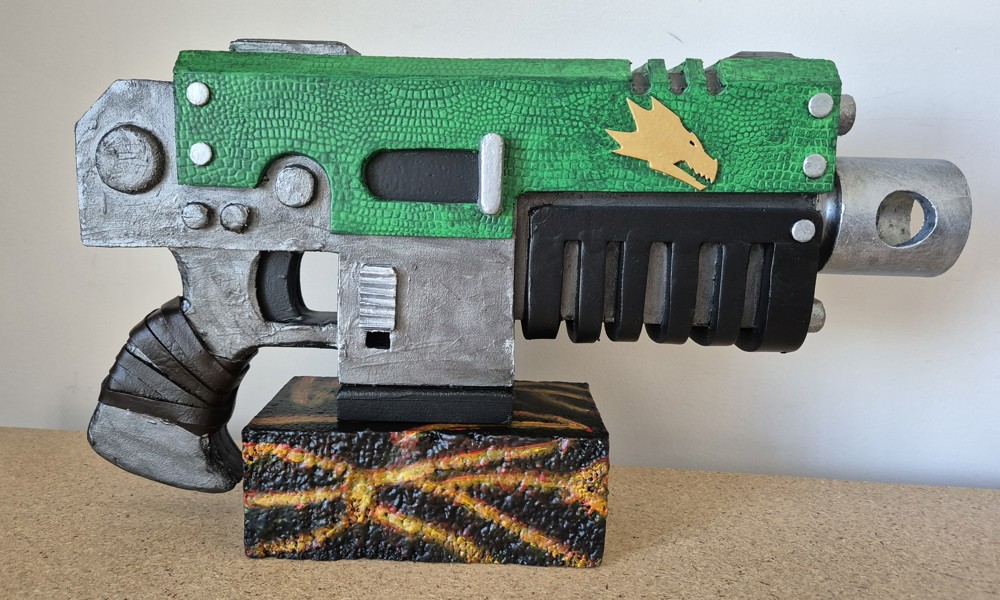
And the last piece that was added before moving onto the undercoat was the Salamander dragon head symbol. I was torn where to put it or whether to use it at all, but happy with it in the end.
Here’s the final piece with everything together. Most bits were added with double-sided adhesive, the small bits just used super glue. The same was done with the leather strapping around the handle, which I thought helped break things up as it was going to be pretty bland otherwise, potentially adds a story to the overall piece.
And how it looks after the undercoat being applied with several coats of plastidip, got through the entire can with about to 2-3 layers over the whole piece. If the plastidip was a bit thicker it may have covered things like the foam clay in some seams, but that’s OK it’ll be less noticeable when the paint is applied.
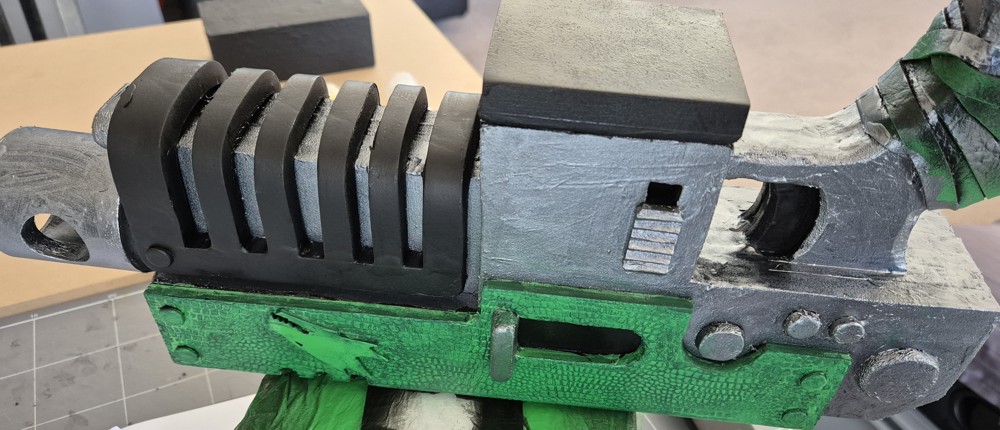
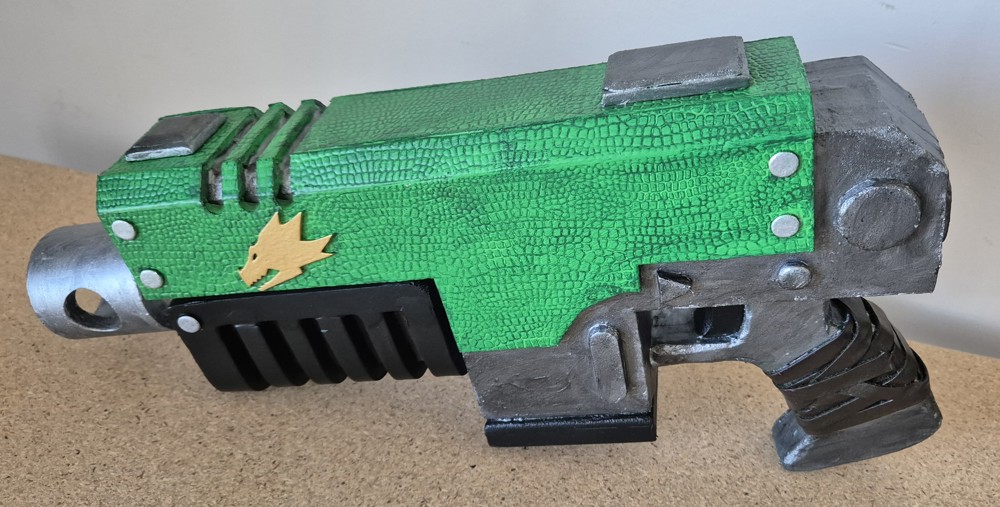
Painted most of the prop with a brush, but initially coated the scaled part from a green spray can as it was a good base colour. The metal was a mixture of silver metallic and pewter paints, with just silver metallic on key bits and on the edges for some basic weathering.
And here’s the finished prop. After painting, I coated it in several layers of matt spray varnish. Also quickly put together a stand for it (styrofoam block, leaning into the Salamanders theme with the lava) so that it’s sitting properly long term.
Learnings
- Cutting into high-density foam is difficult, especially trying to keep the cut upright and based on the template
- Using something like a bandsaw would have helped a lot, combing pieces together and cutting them would have also allowed for less obvious seams
- Always wear gloves when using super glue. As part of putting the pvc pipe together for the barrel, it slipped and in the reaction to fix it I got all over my hands. Also the pipe was out of position but the glue had already set by then so I couldn’t position it correctly.
- After soaking it in water for a while and some hits with the hammer I was able to get them apart and attempted it again, successfully.
- With the scaled foam, I stuck it to 2mm foam so that it fit the template measurements well. I cut them out at 90 degrees, with the plan of cutting the roughly 22 degree to get everything the correct position.
- Because of the double sided adhesive, those cuts become very difficult as the blade was sticking to it a bit as I was cutting, or if it wasn’t doing that it was only cutting half of the foam, the other half was under the adhesive which caused the pieces to not line up well.
- Potentially using contact cement may have helped, or considering these angled edges would be hidden could have not had the adhesive up to the edge making it easier to get the cut.
- Did end up using the dremmel to clean up the pieces as much as i could, it was good enough for this purpose.
- Related to above, should have spend more time getting the angled bits to line up properly so I wouldn’t have to fill in the gaps. Filling it in with kwik seal was OK but should have applied masking tape along the edges, as the kwik seal was being pushed into the groves of the scales, which would have impacted the painting later.
- Was able to wipe and wash most of it out, and a 2nd layer with masking tape was much more successful.
- Spray painting the green, I should have covered/masked off the rest of the prop more beforehand.
- Wasn’t too concerned because I was going to paint over everything anyway, but when working with paints that can be quite thin and require a few coats, you need to make much more of an effort to cover as otherwise the green will still appear through the paint. Otherwise if it was just black underneath it’s not so obvious.
